Strategy ONE
Creating a Custom Toolbar Group
Sometimes you want only a few icons to display on the shortcut toolbar. You can accomplish this by modifying an existing toolbar and hiding the unwanted shortcut icons. In this scenario, you modify the Data toolbar to display only the following icons:
| Toolbar Icon | Action |
|---|---|
|
Save Grid |
allows you to display a report in grid mode |
|
Graph |
allows you to display a report in graph mode |
|
Hide Nulls/Zeroes Refresh |
allows you to refresh the data in a report |
This customization is applied to the default Report Execution page, so all reports will display the Data toolbar with the custom toolbar icons.
When a toolbar icon is hidden, it essentially means that the icon is available for the user, but hidden for the current workflow. For instructions on how to hide icons based on feature availability, refer to the scenario, Hiding Toolbar Items Based on Feature Availability.
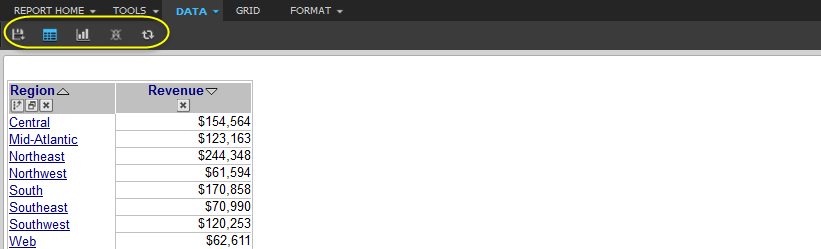
Before customization:

After customization:
This customization can be accomplished using either of the following methods:
Deploying the plug-in provided with MicroStrategy SDK
MicroStrategy SDK provides a plug-in (ZIP file) that can simply be extracted to thepluginsfolder to view the customization in MicroStrategy Web. The following steps guide you in locating the plug-in and deploying it.
-
Access the plug-in: JSP version or ASP .NET version.
-
Extract the plug-in to the plugins subfolder inside the MicroStrategy Web installation folder.
-
Launch MicroStrategy Web to view the customization.
Using the Web Customization Editor to create a plug-in
MicroStrategy SDK provides a Web Customization Editor that can be used to create a customization plug-in. The following steps guide you in creating the plug-in and deploying it.
-
Click on MicroStrategy Web Configuration inside the Application Settings view to expand the hierarchical tree. The expanded list comprises the different settings that can be modified to perform customizations.
-
Click on Pages to expand the list of pages used in MicroStrategy Web.
-
Right-click report (Report Execution) and select Toolbars->Edit Toolbars. This launches the Edit ToolbarsWizard.
-
Select the check box for ReportDataToolbarModel.
-
Click Next.
-
Select the radio button for Uncheck all toolbar buttons.
-
Select the check boxes for the toolbar buttons that you want. For this scenario, select tbGraph (Graph), tbRefresh (Refresh) and tbGrid (Grid).
-
Click Next.
-
Click Finish.
-
-
Launch MicroStrategy Web to view the customization.
See Also