Strategy ONE
Removing the Page Section on the Report Execution Page that contains Related Reports
You can customize any page in the application by adding or removing components (called page-sections) from that page. You have the flexibility of removing parts of a page-section or an entire page-section. The layout of the page-sections on a MicroStrategy Web page is determined by a page template, specified in the definition of that page in the Page Configuration file.
In this scenario, you modify the page template that is responsible for displaying reports on the Report Execution page. You change the template so that it does not display the Related Reports content, which is a listing of all the reports available in the same folder. You accomplish this by removing the reference to a page-section file for the dockLeft page-section, which contains the Related Reports content, from the custom page-template file.
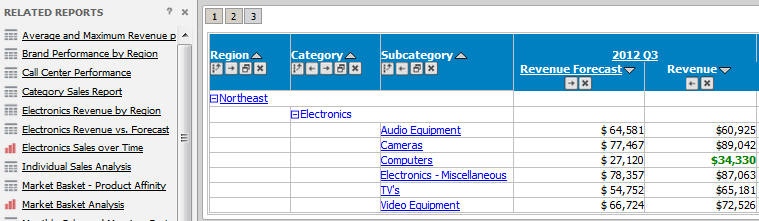
The Related Reports content, which provides a listing of all the reports available in the same folder, is not displayed by default. You make it visible by choosing Related Reports from the Tools menu or by clicking the Related Reports button from the Tool toolbar. Since you are removing the Related Reports content, you also need to remove the Related Reports option from both these places. For detailed steps on removing an option from the report's menu and toolbar, see Removing a Menu Item and Removing a Toolbar Item respectively.
Before customization:
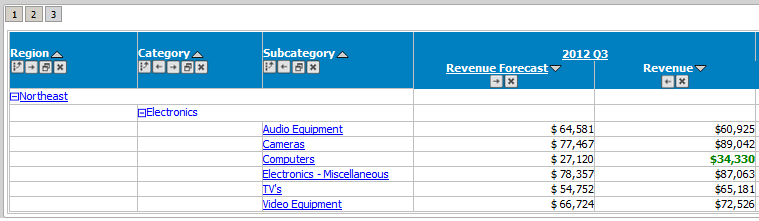
After customization:
This customization can be accomplished using either of the following methods:
Deploying the plug-in provided with MicroStrategy SDK
MicroStrategy SDK provides a plug-in (ZIP file) that can simply be extracted to thepluginsfolder to view the customization in MicroStrategy Web. The following steps guide you in locating the plug-in and deploying it.
-
Access the plug-in: JSP version or ASP .NET version.
-
Extract the plug-in to the plugins subfolder inside the MicroStrategy Web installation folder.
-
Launch MicroStrategy Web to view the customization.
Using the Web Customization Editor to create a plug-in
MicroStrategy SDK provides a Web Customization Editor that can be used to create a customization plug-in. The following steps guide you in creating the plug-in and deploying it.
-
Click on MicroStrategy Web Configuration inside the Application Settings view to expand the hierarchical tree. The expanded list comprises the different settings that can be modified to perform customizations.
-
Click on Pages to expand the list of pages used in MicroStrategy Web.
-
Double-click the report (Report Execution) page.
-
Click the Template Properties tab at the bottom in the right frame to make changes to the Default page template.
-
Right-click the dockLeft page section and select Make section empty.
-
Save your changes.
-
Launch MicroStrategy Web to view the customization.