Strategy ONE
Displaying Folder Contents and Report on the Same Page
By default, folder contents and reports are displayed on separate MicroStrategy Web pages. Folder contents are displayed using any of the Folder Browsing pages, such as Shared Reports or My Reports, while reports are displayed on the Report Execution page.
In this customization scenario, you modify the Report Execution page so that both the report and folder contents are displayed on the same page. This allows you to browse through folders on the same page on which a report is displayed. It also allows you to replace the current report with another report— without leaving the report page— simply by selecting a different report from the folder contents displayed on the same page as the report.
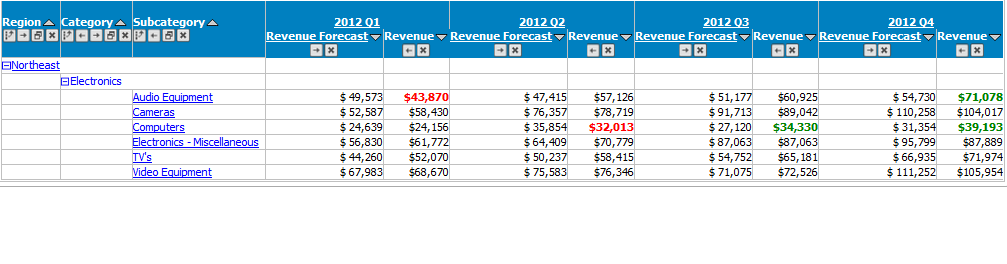
Before customization:
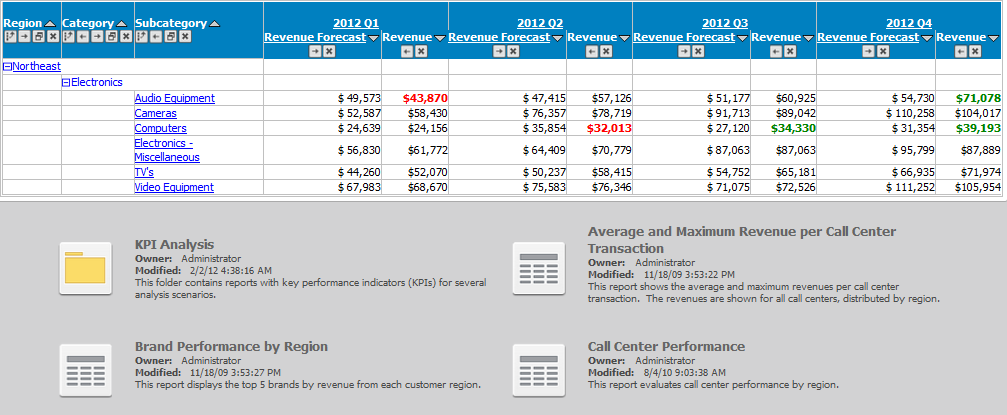
After customization:
This customization can be accomplished using either of the following methods:
Deploying the plug-in provided with MicroStrategy SDK
MicroStrategy SDK provides a plug-in (ZIP file) that can simply be extracted to thepluginsfolder to view the customization in MicroStrategy Web. The following steps guide you in locating the plug-in and deploying it.
-
Access the plug-in: JSP version or ASP .NET version.
-
Extract the plug-in to the plugins subfolder inside the MicroStrategy Web installation folder.
-
Launch MicroStrategy Web to view the customization.
Using the Web Customization Editor to create a plug-in
MicroStrategy SDK provides a Web Customization Editor that can be used to create a customization plug-in. The following steps guide you in creating the plug-in and deploying it.
-
Click on MicroStrategy Web Configuration inside the Application Settings view to expand the hierarchical tree. The expanded list comprises the different settings that can be modified to perform customizations.
-
Click on Pages to expand the list of pages used in MicroStrategy Web.
-
Double-click the report (Report Execution) page.
-
Click the Template Properties tab at the bottom in the right frame to make changes to the Default page template.
-
Right-click the content page section and select Edit current file.
-
Click the Yes button in the prompt to edit Report_Content.jsp/ascx.
-
Make the following code changes shown below.:
J2EE environment:
Add the following lines of code shown in bold. The bold lines include the CSS and JavaScript files required for displaying the contents of the folder.
...
...
%><%@ page errorPage="JSP_Error.jsp"
%><%@ page contentType="text/html; charset=UTF-8"
%><%@ taglib uri="/webUtilTL.tld" prefix="web"%>
<link rel="stylesheet" type="text/css" <web:resource type="style" attribute="href" name="mstr/pageFolder.css"/>/>
<web:ifFeature name="dhtml"><web:then>
<script language="JavaScript" <web:resource type="javascript" attribute="src" name="ObjectManipulation.js"/>></script>
</web:then></web:ifFeature>
...
...
Add the following lines of code after every occurrence of <web:displayGuiComponent name="report_area" isContainer="true"/>.
<web:displayGuiComponent name="folder_browser" isContainer="false"/>
<web:displayGuiComponent name="object_manipulation" isContainer="false"/>.NET environment:
Add the following lines of code shown in bold. The bold lines include the CSS and JavaScript files required for displaying the contents of the folder.
<%@ Control Language="vb" AutoEventWireUp="false" CodeFile="Report_Content.ascx.vb" Inherits="MicroStrategy.Report_Content"%>
<%@ Register TagPrefix="web" Namespace="MicroStrategy.Tags"%>
<link rel="stylesheet" type="text/css" <web:resourcerunat="server"type="style" attribute="href" name="mstr/pageFolder.css"/>/>
<web:ifFeature name="dhtml"><web:mthen>
<script language="JavaScript" <web:resourcerunat="server"type="javascript" attribute="src" name="ObjectManipulation.js"/>></script>
</web:mthen></web:ifFeature>
...
...
Add the following lines of code after every occurrence of <web:displayGuiComponent runat="server" name="report_area" isContainer="true"/>.
<web:displayGuiComponent runat="server" name="folder_browser" isContainer="false"/>
<web:displayGuiComponent runat="server" name="object_manipulation" isContainer="false"/>
-
Save your changes.
-
Navigate back to report (Report Execution) and right-click on Beans and select New Bean to launch the New Web Bean Wizard.
-
Enter the following information::
Name: fb
System Bean: FolderBean
Persist Mode: Request -
Click Next.
-
Do not select any Web Features, and click Next.
-
Select Yes to specify a custom event handler for this bean.
-
Click ... and enter AggregatedFolderEventHandler.
-
Select AggregatedFolderEventHandler from the project and click OK.
-
Click Next.
-
Select initialization parameters: sysFolder, objectID and flags, and click >>.
-
Click Next.
-
Select request parameters: sysFolder and click >>.
-
Click Next.
-
Click Finish. The new bean fb gets added as a bean under Beans.
-
Click fb to view the bean details in the Bean Properties editor.
-
In the Initialization Properties panel, make the following changes.
-
Change Type and Value for flags to int and 268453447 respectively.
-
Change Source and Value for objectID to preference and sharedReportsFolderID respectively.
-
Change Type and Value for sysFolder to int and 7 respectively.
-
-
In the Request Properties panel, make the following changes
-
Change Type, Source and Value for sysFolder to int, request and systemFolder respectively.
-
-
Save your changes.
-
Right-click on Beans and select New Bean to launch the New Web Bean Wizard.
-
Enter the following information::
Name: OMD
System Bean: ObjectManipulationDialogBean
Persist Mode: Request -
Click Next.
-
Do not select any Web Features, and click Next.
-
Select No since there is no custom event handler for this bean and click Next.
-
Select initialization parameters: targetBeanPathandisModal, and click >>.
-
Click Next.
-
Do not select any request parameters, and click Next.
-
Click Finish. The new bean OMD gets added as a bean under Beans.
-
Click OMD to view the bean details in the Bean Properties editor.
-
In the Initialization Properties panel, make the following changes.
-
Change Type and Value for isModal to boolean and true respectively.
-
Change Value for targetBeanPath to fb.
-
-
In the Bean Styles panel, click Add.
-
Select ObjectManipulationDialogStyle and click >> to add the style.
-
Click OK.
-
Save your changes.
-
Right-click on OMD under Beans and select New Bean to launch the New Web Bean Wizard.
-
Enter the following information::
Name: omdfb
System Bean: FolderBean
Persist Mode: Request -
Click Next.
-
Do not select any Web Features, and click Next.
-
Select No since there is no custom event handler for this bean and click Next.
-
Do not select any initialization parameters, and click Next.
-
Do not select any request parameters, and click Next.
-
Click Finish. The new bean omdfb gets added as a child bean under OMD .
-
Click omdfb to view the bean details in the Bean Properties editor.
-
In the Bean Styles panel, click Add.
-
Select FolderStyleOMDBrowse and click >> to add the style.
-
Click OK.
-
Save your changes.
-
Navigate back to Pages->report (Report Execution) page.
-
Double-click the report (Report Execution) page.
-
Click the Template Properties tab at the bottom in the right frame.
-
Click New in the Display Components section.
-
Enter folder_browser in the Component Name text field.
-
Select fb from the drop-down menu for Web Bean associated with this component.
-
Click Next.
-
Enter folderViewMode in the Style associated to this component text field.
-
Select the check box for From Preference.
-
Click Next.
-
Click Finish.
-
Click New in the Display Components section.
-
Enter object_manipulation in the Component Name text field.
-
Select OMD from the drop-down menu for Web Bean associated with this component.
-
Click Next.
-
Enter ObjectManipulationDialogStyle in the Style associated to this component text field.
-
Click Next.
-
Click Finish.
-
Save your changes.
-
Launch MicroStrategy Web to view the customization.
See Also
-
Fundamentals of Customization: Application Page Structure
-
Fundamentals of Customization: Data Presentation
-
Page content and layout: Web beans and Web components