Strategy ONE
Custom AppDelegate Sample in iOS
Sample name: CustomAppDelegate
iPad iPhone
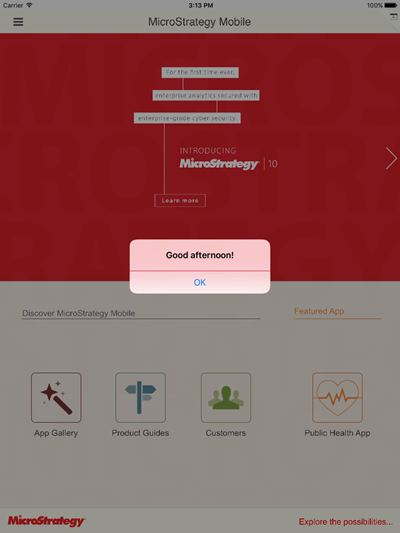
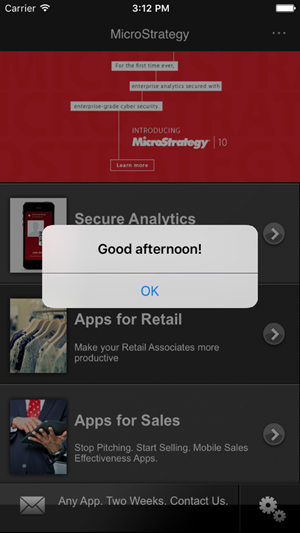
Functionality showcased: This sample illustrates how to add a custom app delegate in the MicroStrategyMobile project. In this sample, an alert is displayed saying "Good morning", "Good afternoon" or "Good evening", depending on the time when the application is launched. Between 6 am and 12 noon, the alert displays "Good morning". Between 12 noon and 6 pm, the alert displays "Good afternoon". Otherwise, the alert displays "Good evening".
Using the sample: The following instructions will help you deploy this sample to your mobile device or simulator.
- Install the Mobile SDK on your development machine.
On a Mac® computer, go to the MicroStrategy Download site and download the iOS Client file for the latest Mobile SDK.
The latest Mobile SDK may or may not be the same version as the version of Intelligence Server you are using.
Double-click the downloaded MicroStrategy Mobile SDK.dmg file.
Click Agree to accept the terms of the license agreement. This opens the disk image.
Copy all the folders to your local drive.
Eject the disk image.
-
Build and deploy the sample.
-
Download the .zip file containing the custom files for the sample and unzip it to a location on your machine.
-
Launch the MicroStrategy Mobile project in Xcode®. Double-click MicroStrategyMobile.xcodeproj.
-
Add the custom files for the sample to the project.
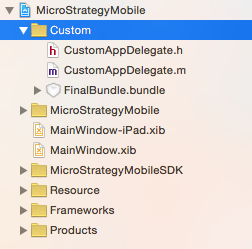
- Expand MicroStrategyMobile, right-click the Custom folder, and choose "Add Files to "MicroStrategy Mobile.
- Navigate to the location where you unzipped the custom files for the sample and select them.
- Make sure the check box for Destination: Copy items if needed is not selected.
- Select the radio button for Added folders: Create folder references.
- Select the appropriate check boxes for Add to targets.
-
Click Add. The files are added to the Custom folder.
-
Specify that the project should use the custom application delegate.
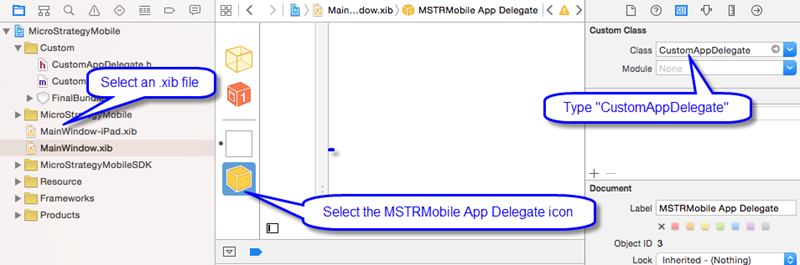
- Under MicroStrategyMobile in the left pane, select either MainWindow-iPad.xib for an iPad application or MainWindow.xib for an iPhone application. If you are building this project for both kinds of applications, perform the steps below for each.
- In the center pane, select the MstrMobile App Delegate icon.
- Under Custom Class in the right pane, type "CustomAppDelegate" for Class.
-
Click the Run button to compile and deploy the application to a simulator. Confirm that it compiles and deploys successfully.
To upload the application to a device, set the destination in the scheme to the mobile device and then build and run. For other requirements on deploying to a device, refer to documentation from Apple. You can access useful links to the Apple documentation from the Distributing iPhone or iPad Applications topic.
-
-
Use the sample.
Launch the CustomAppDelegate application from the mobile device or simulator.
See also