Strategy One
Create a Mosaic Model Using Mosaic Studio and Import Data
You can create Mosaic Studio and import data from a database by selecting tables to retrieve data from the source. An intuitive visual interface makes it easy to import your data by dragging and dropping tables.
Importing data from a database requires a connection to a data source. You can Create Data Sources before you begin importing or during the import process.
Prerequisites
To create and edit Mosaic model, using Mosaic Studio, you need the following privileges:
-
Use Mosaic Studio
-
At least one of the following:
-
Access data (files) from Local, URL, DropBox, Google Drive, Sample Files, Clipboard, Push API
-
Access data from Databases, Google BigQuery, Big Data, OLAP, BI tools
-
Access data from Cloud Apps (Google Analytics, Salesforce Reports, Facebook, Twitter)
-
Create a Mosaic Model Using Mosaic Studio
-
Open Strategy Library.
-
Choose Create New
 > Mosaic Model.
 -
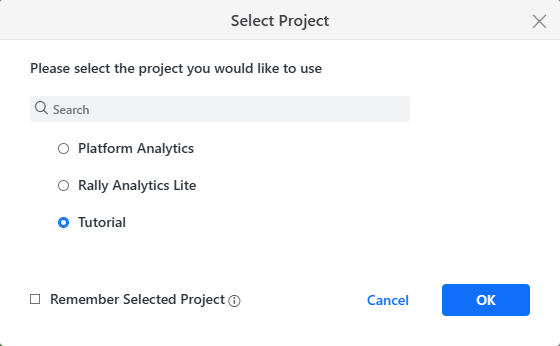
Choose a Project.
-
Click OK.
-
Proceed to import data:
-
Add Tables: Import a variety of data sources into your Mosaic model including local files, URLs, public data, data from your clipboard, sample data, data from a database, data from file storage, and data from an API source.
-
Add Models: Import an Existing Mosaic Model.
Importing existing Mosaic models is a preview feature. Contact Strategy Support to enable it.
You can use either option or both to build your Mosaic model.
-