Strategy ONE
Adding a line to the Customer Header section
The final piece of the Customer Header section is a double line at the bottom of the section, to separate the customer information from the invoice details.
To add a line
- Click the Line icon in the toolbar. When you move the cursor to the Layout area, the pointer becomes crosshairs.
- Click at the bottom of the Customer Header section to add the line.
- Set the following in the Property List:
Line style: Double, to change it to a double line from the default of Solid
Line weight: 2
Top: 1, which moves the line to the bottom of the Customer Header section
Length mode: 100%, which stretches the line across the width of the page
If the line disappears off the Layout area, drag the Detail Header down to show more of the Customer Header section. This does not affect the size of the sections in the PDF, only in Design View.
For more information on formatting lines, see Formatting lines and rectangles.
Your Customer Header section should now look like the following:

Previewing the Customer Header
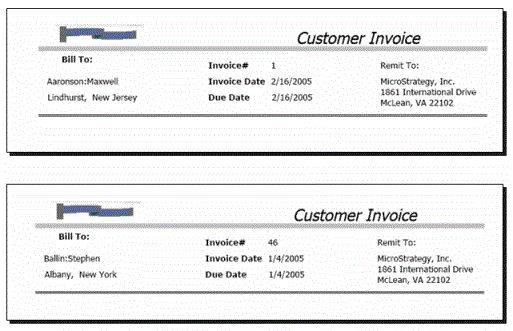
Switch to PDF View, by clicking PDF View on the toolbar, to generate the PDF and check your progress. The document, in contrast to the first preview, now looks different in PDF View and Design View. This is because you added attributes to the document, which are replaced with the actual data when the PDF is generated. Notice that the document now contains two pages, grouped by Customer, as shown in the following sample.

To continue working on the document, click Design View on the toolbar.
