Strategy ONE
Modifying the Images on the Prompt Selection Shopping Cart
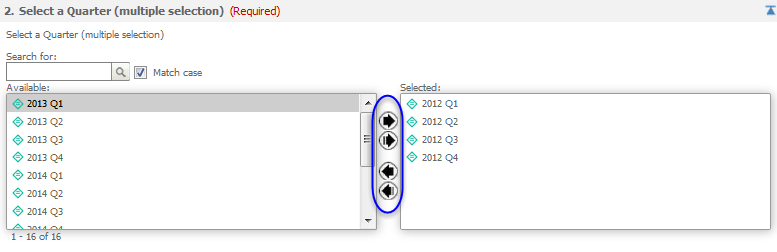
In this example, the images used for adding or removing prompt selections to or from the shopping cart style of Prompt are modified. In this example, modify the CSS file that is responsible for rendering the icons used for grid reports and graph reports.
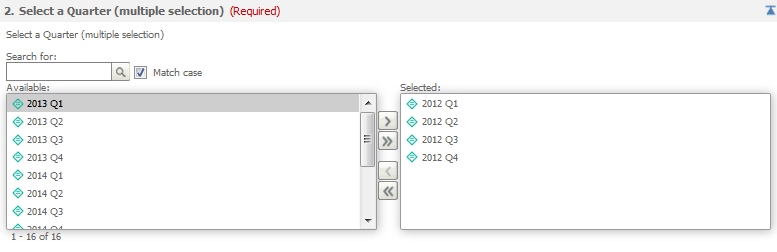
Before customization:
After customization:
This customization can be accomplished using either of the following methods:
Deploying the plug-in provided with MicroStrategy SDK
MicroStrategy SDK provides a plug-in (ZIP file) that can simply be extracted to thepluginsfolder to view the customization in MicroStrategy Web. The following steps guide you in locating the plug-in and deploying it.
-
Access the plug-in: JSP version or ASP .NET version.
-
Extract the plug-in to the plugins subfolder inside the MicroStrategy Web installation folder.
-
Launch MicroStrategy Web to view the customization.
Using the Web Customization Editor to create a plug-in
MicroStrategy SDK provides a Web Customization Editor that can be used to create a customization plug-in. The following steps guide you in creating the plug-in and deploying it.
-
Click on Pages to expand the list of pages used in MicroStrategy Web.
-
Click on report (Report Execution) to expand the child nodes under it.
-
Double-click on CSS to expand the child nodes under it.
-
Click on Customizations to expand the child nodes under it.
-
Right-click reportPage.css and select New Selector.
-
Enter .mstrBGIcon_tbAdd in the Selector text field.
-
Select the radio button for Apply Selector to This Page.
-
Click OK.
-
Right-click .mstrBGIcon_tbAdd and select New Property.
-
Enter background-image in the Property text field.
-
Select the radio button for Apply to This Page.
-
Click Utils >>.
-
Click Image to select the new image and click Open.
-
Click OK.
-
Right-click reportPage.css and select New Selector.
-
Enter .mstrBGIcon_tbAddAll in the Selector text field.
-
Select the radio button for Apply Selector to This Page.
-
Click OK.
-
Right-click .mstrBGIcon_tbAddAll and select New Property.
-
Enter background-image in the Property text field.
-
Select the radio button for Apply to This Page.
-
Click Utils >>.
-
Click Image to select the new image and click Open.
-
Click OK.
-
Right-click reportPage.css and select New Selector.
-
Enter .mstrBGIcon_tbRemove in the Selector text field.
-
Select the radio button for Apply Selector to This Page.
-
Click OK.
-
Right-click .mstrBGIcon_tbRemove and select New Property.
-
Enter background-image in the Property text field.
-
Select the radio button for Apply to This Page.
-
Click Utils >>.
-
Click Image to select the new image and click Open.
-
Click OK.
-
Right-click reportPage.css and select New Selector.
-
Enter .mstrBGIcon_tbRemoveAll in the Selector text field.
-
Select the radio button for Apply Selector to This Page.
-
Click OK.
-
Right-click .mstrBGIcon_tbRemoveAll and select New Property.
-
Enter background-image in the Property text field.
-
Select the radio button for Apply to This Page.
-
Click Utils >>.
-
Click Image to select the new image and click Open.
-
Click OK.
-
Right-click reportPage.css and select New Selector.
-
Enter .mstrToolButtonRounded in the Selector text field.
-
Select the radio button for Apply Selector to This Page.
-
Click OK.
-
Right-click .mstrToolButtonRounded and select New Property.
-
Enter background-image and url() in the Property and Value text fields respectively.
-
Select the radio button for Apply to This Page.
-
Click OK.
-
Save your changes.
-
Launch MicroStrategy Web and view the customization.