Strategy One
Create an Application
With custom applications, organizations can design and create unique viewing experiences for different groups of users. Use the Application editor in Strategy
-
Dashboard Settings (dashboard color palettes)
-
More Settings (email address for reporting problems and Library Mobile settings)
Once you've customized your application, you can edit and duplicate it.
Check out the video below to learn more.
- Open the Workstation window.
-
 next to Applications.
You must have the Manage Library Application privilege to create and edit applications.
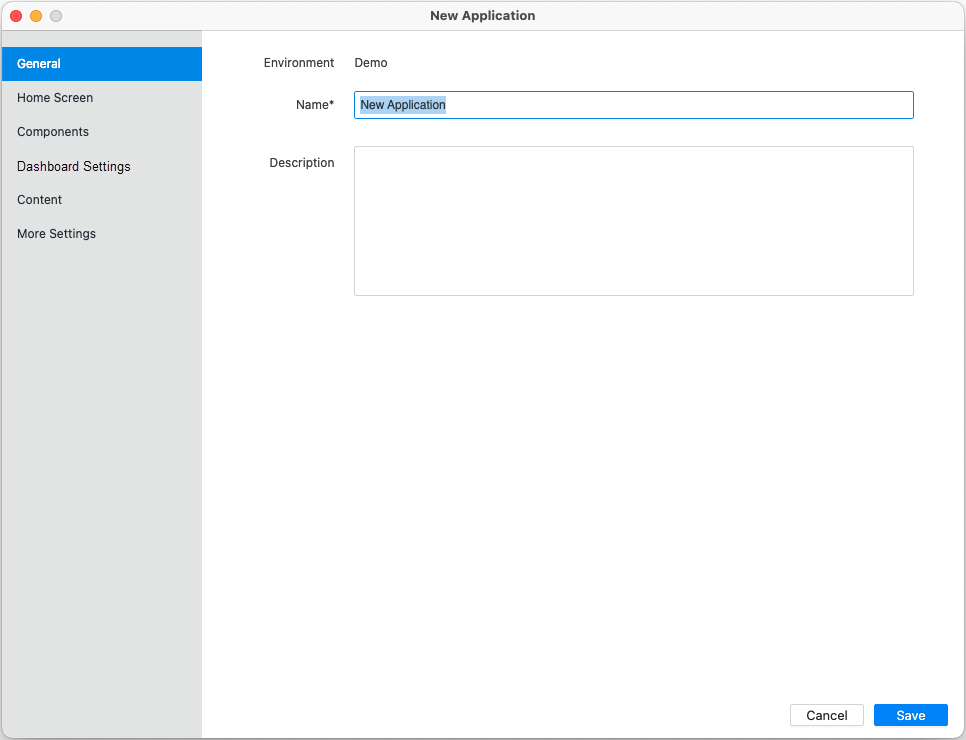
General: Name and Description
-
Type an application Name.
This name helps to keep track of applications created and which users should be given access. If the application uses the default Library home screen, you can display this name on the home screen. See Application Home Screen for steps.
-
Type the application's Description.
A description is optional but helpful for noting the use of the application and its content available.
-
Select the authentication modes. If you select Choose Specific Authentication Modes for the App, choose the authentication modes to use. To define one as the default, hover your cursor over the mode and click Set As Default. For more details on authentication modes in applications, see Select an Authentication Mode at the Application Level.
-
-
Continue to another element or, if you have completed customizing your application, click Save to return to the Applications list.
Application Home Screen
The home screen of an application is the initial page of the application. The home screen can be any of the following:
-
The default Library home screen
-
A dashboard or document
-
An agent (bot)
Use the Preview on the right side of the screen to view updates. Switch between Tablet, Phone, and Web views as needed.
After you define the home screen, continue to another element or, if you have completed customizing your application, click Save to return to the Applications list.
Use the Default Library Home Screen
An application can use the Library interface, but you can customize components of the interface. You can also limit content by adding content groups in Content.
-
In the left pane, click Home Screen.
-
Choose Use the Default Library Home Screen.
-
-
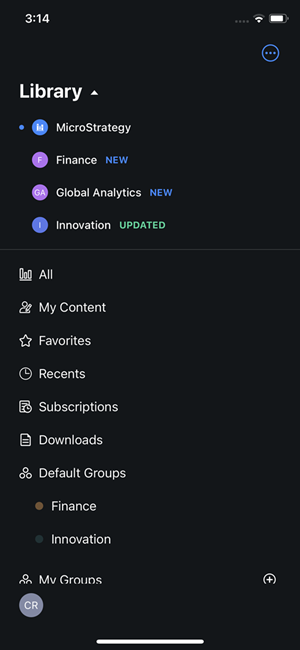
When enabled, the Browse Folders component is the first option in the Library sidebar, as shown in the preview below. The Browse Folders home screen displays in Library Web; tablets and phones still use the default Library home screen.
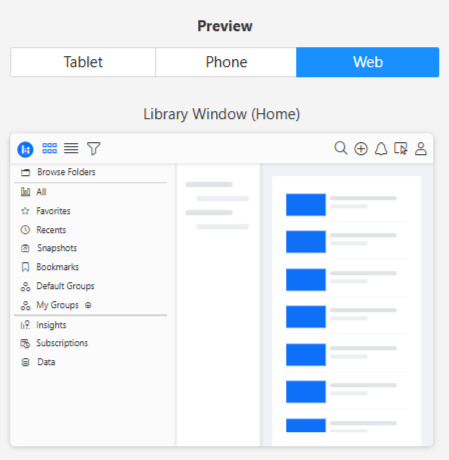
After the initial login, Library remembers the last component the user accessed and opens it when they log into Library again using the same browser.
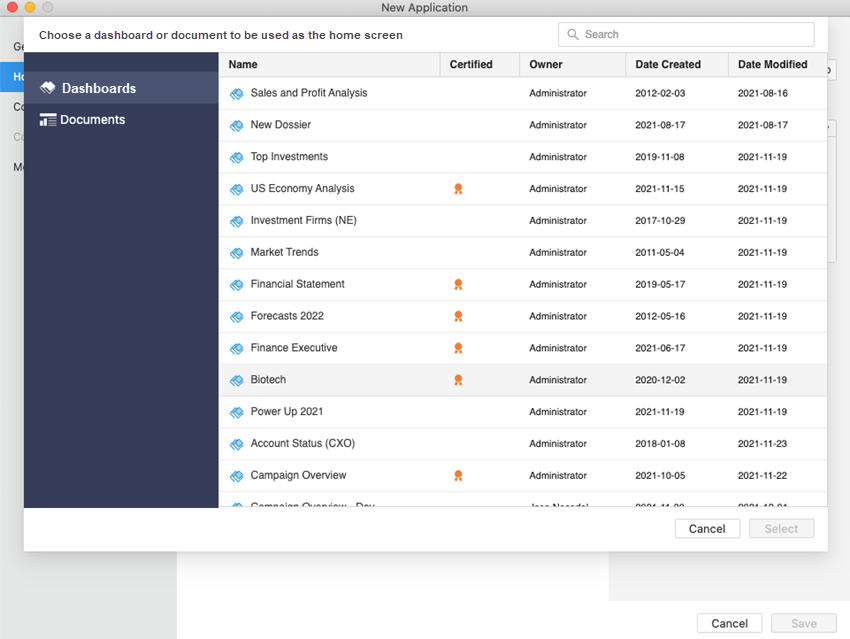
Use a Dashboard or Document in the Current Server as the Home Screen
An application can use a specific dashboard
-
In the left pane, click Home Screen.
-
Choose Use a Dashboard
-
Click Choose a Dashboard
-
Select the content to use as the home screen.
-
Click Select to confirm the content.
Use an Agent in the Current Server as the Home Screen
Starting in MicroStrategy ONE (March 2024), an application can use a specific agent (bot) as the home screen.
-
In the left pane, click Home Screen.
-
Choose Use an Agent in the Current Server as the Home Screen.
-
Click Choose an Agent.
-
Select the agent to use as the home screen.
-
Click Select to confirm the content.
Application Content
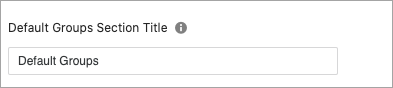
When the application uses the default Library home screen, you can define the application's content. In Content, you can add content groups to the application.
Add Content to an Application
-
In the left pane, click Content.
-
Name the section where the content groups display.
-
Click Add Content.
-
Select the content groups to add to the application. To view the content of a group, expand the group name.
-
Click Select. The selected content groups display.
-
The following are not pre-cached:
-
Bookmarks, although a user can manually pre-cache them
-
Prompted datasets
-
Links defined with URLs
-
-
By default, only selected content is available in the application. To allow users to view content in their Library and to create new content, select Allow Users to View and Create New Content in the drop-down list

-
Continue to another element or, if you have completed customizing your application, click Save to return to the Applications list.
Before enabling pre-caching, clear any dashboard caches on the server that were generated before the upgrade to MicroStrategy ONE (December 2024). For details on how pre-caching works, see Download and Pre-Cache Dashboards for Offline Use.
Visualization Settings
-
In the left pane, click Visualization Settings.
-
Disable Maximize Visualization to hide the Maximize Visualization icon
 .
. -
Disable Show Data to hide the Show Data option for visualizations. The option is available when you click the menu icon
 ; the Export option remains available, depending on the user's privileges.
 -
In the left pane, click Components.
-
In the Dashboard Windows section, expand Share.
-
Disable Export to Excel and Export to PDF.
-
View your changes in the preview area, where you can switch from Web view to Mobile view.
-
Continue to another element or, if you have completed customizing your application, click Save to return to the Applications list.
If the home page is an agent, you cannot adjust the Visualization Settings.
More Settings
Use More Settings to provide an email address for reporting problems and to configure the Library Mobile settings listed below:
-
Network timeout for connectivity
-
Maximum log size in terms of items
-
Disable logging (set Logging Level to Off)
-
The level of logging, such as message, warning, and so on
-
Disable or enable cache clearing when a user logs out
-
Disable or enable smart download, which automatically downloads dashboards based on users' usage patterns
Save the Application
-
After you have completed customizing your application, click Save.
-
The new application displays in the Applications list.
Copy the Application Link
To log into the application, users must have the application link and View Access. Follow the steps below to obtain the link.
-
In the Navigation pane, click Applications.
-
Hover your cursor over the application name in the list.
-
Click Copy Link
 .
.For Library Mobile, once one application link is added, all applications that the user has access to are automatically added. Users can then switch between workspaces.
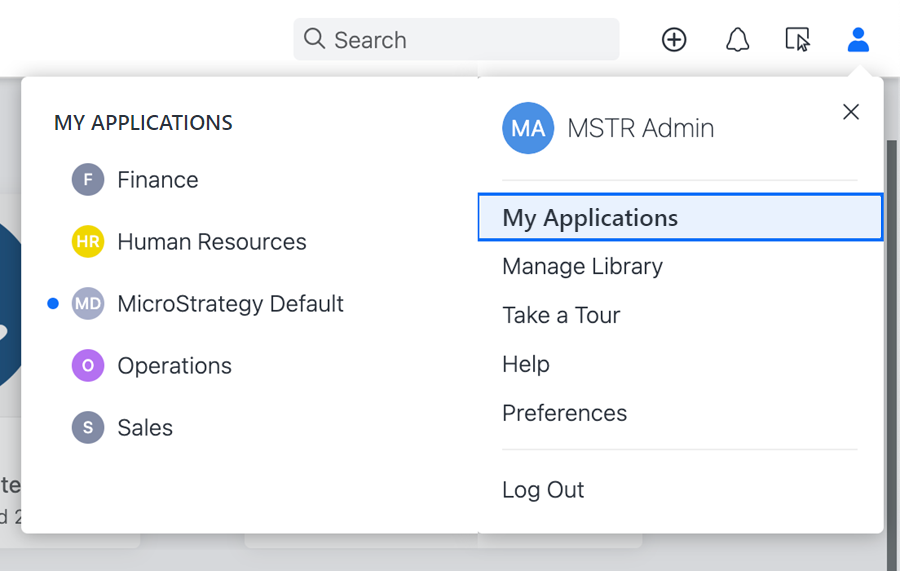
Similarly, for Library Web, all applications that the user has access to are automatically listed in the Account menu under the My Libraries option. This allows users to switch between workspaces.
Add Security
Applications are governed by access control lists (ACLs). To log into the application, users must have the application link and View access. If access is not granted, users see an error when they access the application.
Users can have access to more than one application.
Grant View Access for an Application
-
In the Navigation pane, click Applications.
-
Right-click an application and choose Properties.
-
On the left, click Security Access.
-
Search for and select the user or user group to add.
-
If the new user or user group does not have the View permission, select View from the Permissions drop-down list.
-
Click OK.
-
By default, all users (Everyone) have access to the Strategy default application, although you can change that access at any time.
Edit an Application
-
In the Navigation pane, click Applications.
-
Right-click the application and choose Edit.
-
Make any changes to the application elements.
-
Click Save.
Duplicate an Application
-
In the Navigation pane, click Applications.
-
Right-click the application and choose Duplicate. A copy of the selected application displays in the Edit Application window.
-
Make any changes to the application elements.
-
Click Save.
The duplicated application is not created until it is saved.
Troubleshoot Pin and Dock Panels
Why is only one panel shown if both the Filter and Comments panel are pinned?
To avoid panel overlap, two panels are not allowed to appear on the same side.
Refresh Status
For manipulations like reset, refresh page, and apply bookmark, the latest panel status before making changes is kept rather than the application configuration. For example, a Filter panel is set as a pin in the application configuration. In Library Web, the user closes the Filter panel and manually pins the Comments panel. After executing changes, the Comments panel is still pinned.
Special handling in documents, reports, and agents
Filters are not supported in documents. The Filter panel does not display, even if it set to be pinned in the application.
Comments are not supported in reports. The Comments panel does not display, even if it is set to be pinned in the application.
Tables of contents, filters, and comments are not supported in agents. The Table of Contents, Filter, and Comments panels do not display, even if they are set to be pinned in the application.
Related Topics