Strategy One
Manage Content Groups
Starting in Strategy One (March 2025), optionally enter a description of your change when saving a content group.
Content groups allow organizations to send a collection of content to specific users or user groups, providing easier management of content distribution. These content groups are surfaced in the Library view and cannot be removed or edited by the end users. If content is removed or edited by the content group owner, the content is removed or updated for the users in the content group. New content groups are synced and can be seen across all Library clients.
Starting in Strategy ONE Update 10, you can add reports to a content group.
Workstation, Library, and the Intelligence server must be on MicroStrategy 2021 Update 5 or newer.
You must have the Manage Content Group and Publish Content privileges to create and edit content groups.
The Manage Content Group privilege can only be assigned to a user or group, and not a security role.
Check out the video below to learn more!
Create Content Groups
- Open the Workstation window.
- In the Navigation pane, click
 , next to Content Groups.
 - In the General tab, add a name and select a group color for the content group. This is how the group appears in the Sidebar menu.
You can also choose to enable or disable the email notification.
- On the Content tab, click Add Content.
- Select dashboards, reports, agents (bots),
-
On the Recipients tab, click Add Recipient.
-
Add users or user groups that should have this content in their library by default.
To grant view access to the users of this content group, select the Grant View Permission to all recipients of content from this group checkbox.
-
Click Add.
-
Click Save.
-
Your new content group is automatically published to recipients.
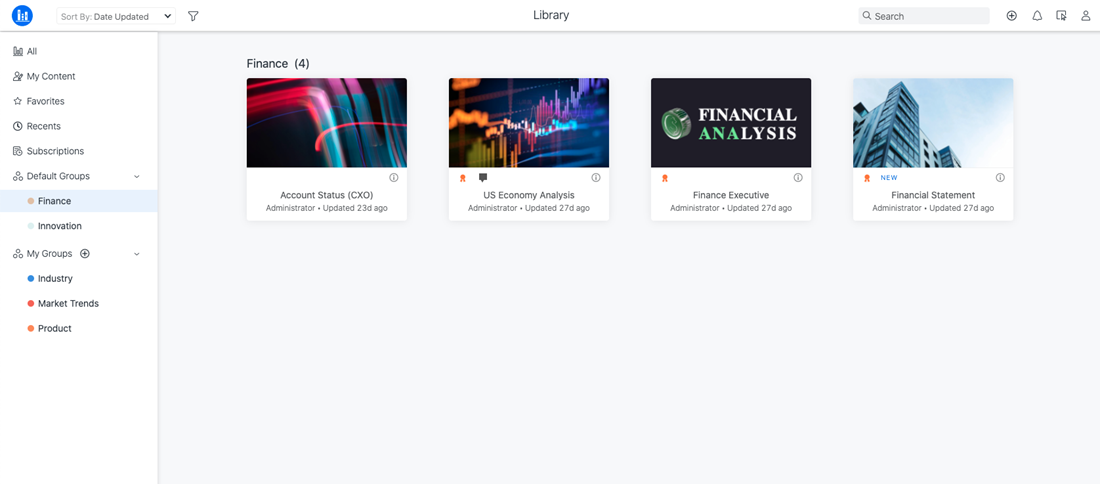
View a Content Group
Once a content group is saved and published, recipients can view it in Library.
The username and password of the recipient(s) must be used.
-
Open Library Web.
Content groups are also available to view with Library Mobile or the Strategy application.
-
Log into Library Web using the username and password of the recipient(s).
-
In Library Home, click on
 Library icon to view the Sidebar menu.
View the Default Groups section with the new content groups available to you. This content is locked in your library.
Edit a Content Group
- Open the Workstation window.
-
In the Navigation pane, click Content Groups.
-
Right-click a content group.
-
Select Edit.
-
View the application dialog and make changes.
-
Click Save.
-
Add Content Groups to an Application
- Open the Workstation window.
-
In the Navigation pane, click Applications.
-
Right-click an application and choose Edit or New Application.
-
On the Home Screen tab, click Use the default Library home screen.
Content groups can only be added to this type of configuration.
-
On the Content tab, click Add Content.
-
Select the previously defined content groups for the application.
-
Click Select.
-
In Default Groups Section Title, change the section name. The new name appears in the sidebar menu of the interface.
-
Click the drop-down list at the bottom of the dialog and choose Limit Library content in this application to above Content Groups or Allow users to view and create new content.
-
Click Save. The new content groups appear in the application.
When you choose to limit the content in an application, Content Groups display a curated and focused experience for business users. When you choose to allow users to view and create new content, users can benefit from access to multiple applications. This enables your users to switch between applications and access multiple Content Groups which provides a second level of content organization.