Strategy ONE
Deploy Strategy Cloud Platform for Azure to an Existing VNet
This page describes how to deploy Strategy Cloud Platform for Azure in an existing VNet.
To deploy a Strategy Cloud Platform for Azure environment to an new VNet, see: Create and Configure an Environment with Your Azure Account.
How to Deploy Strategy Cloud Platform for Azure to an Existing VNet
- Go to the Strategy Cloud Platform.
-
Log in with your Resource Center account.
To learn how to create a Resource Center account, see Create a Resource Center Account.
- Click New Environment.
-
Select the configuration that fits your requirements. You can go back later and deploy a new environment with a different configuration.
-
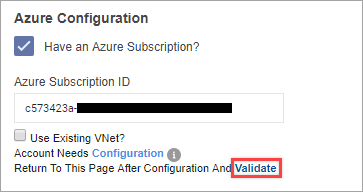
Enter your Azure Subscription ID.
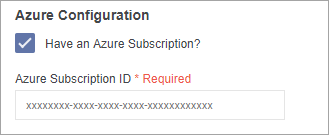
To create a Microsoft Azure account, go to the Azure website.
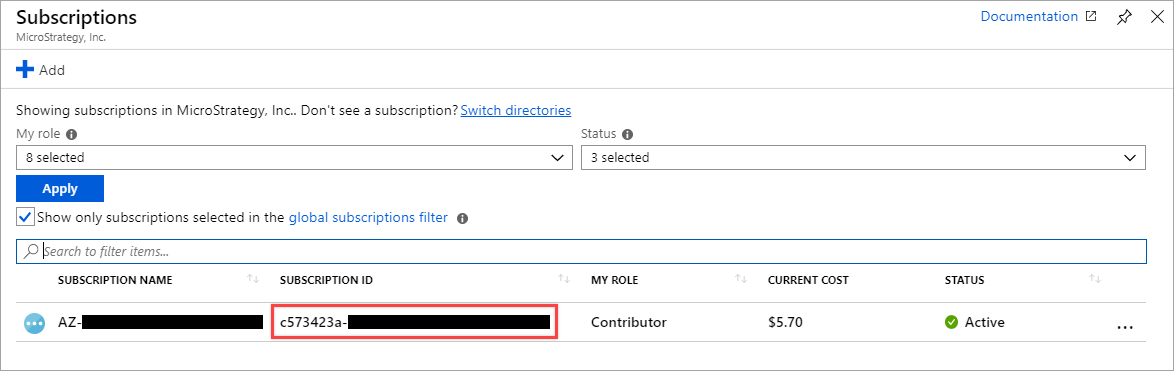
You can find your Azure Subscription ID in the Azure Portal. From All Services, select Subscriptions.
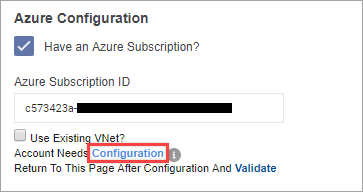
- Select the Use Existing VNet? checkbox.
-
Click Configuration.
-
Log in to your Azure account.
Is there an error?If you are creating a new Azure account and there is an error configuring your Azure subscription, create a storage account with a resource group. Follow this Microsoft guide for instructions.
Once authentication is complete, a pop-up appears requesting access to your Azure subscription. The permission is necessary to deploy the Strategy One platform.
-
Click Accept. You must have global administrator rights to be able to click Accept.
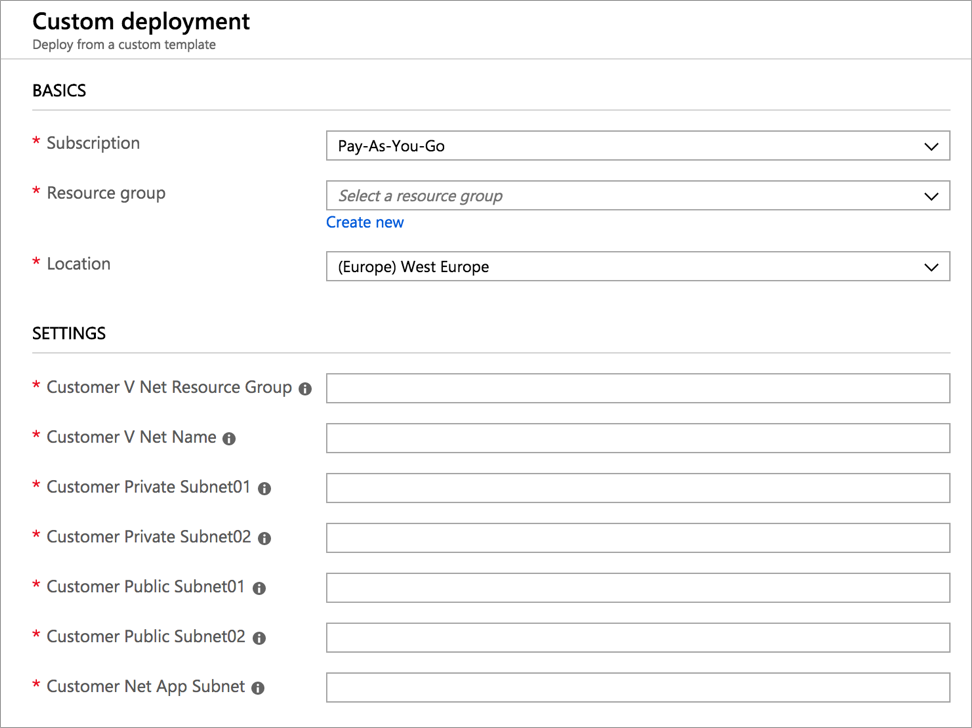
The Custom Deployment page in your Azure portal opens. The Azure Resource Manager (ARM) is used to create the VNet and Storage Account necessary to configure and deploy the Strategy One platform.
-
Enter the appropriate information for the ARM deployment on the Custom Deployment page.
- In the Basics section, Resource group, select MicroStrategyOnAzure-<region>.
- In the Settings section:
Customer V Net Resource Group: Enter the name of the Resource Group of your VNet.
Customer V Net Name: Enter the name of the VNet you want to use for deployments.
Customer Private Subnet01: Enter the name of your primary private subnet in the VNet that you specified in the previous step.
Customer Private Subnet02: Enter the name of your secondary private subnet in the VNet that you specified in the previous step. If your VNet only contains one private subnet, enter "NA".
Customer Public Subnet01: Enter the name of your primary public subnet that exists in the VNet that you specified in the previous step.
Customer Public Subnet02: Enter the name of your secondary public subnet that exists in the VNet that you specified in the previous step. If your VNet only contains one public subnet, enter "NA".
Customer Net App Subnet: Enter the name of your Microsoft.NetApp/volumes delegated subnet. This is a required parameter for customers wishing to deploy Enterprise environments. Otherwise, enter NA. To learn more, see Microsoft: Delegate a subnet to Azure NetApp Files.
- Accept the terms and conditions and click Purchase.
-
In the Azure Portal, go to the resource group you have selected and check the status of your deployment.
-
To validate the configuration once the ARM template deployment is completed, go back to the Strategy Cloud Platform and click Validate.
- Click Create Environment.