Strategy One
Edit a Dashboard
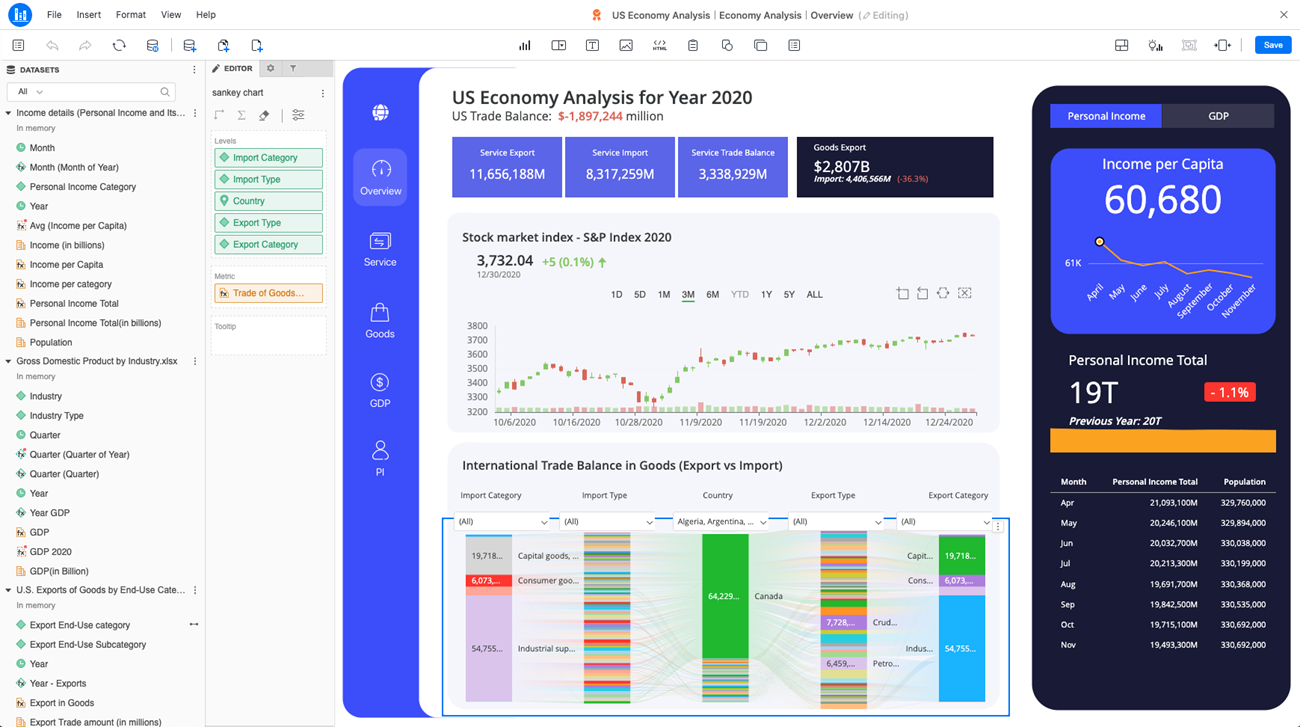
Dashboard authors can easily edit and view changes all in one web application. You can add new data, switch visualization types, and update formatting in the dashboards. Easily save and certify the dashboard from the Save or Save As menu.
-
Go to a dashboard.
-
Click
 Edit. Edit Mode will open the dashboard in the original base state for editing.
You can also access Enter Mode by clicking
Edit from the information window of a dashboard. -
Go to View and select the panels you need for editing.
You can add the Datasets, Editor, Filter, and Format panels and others from the View menu.
- Add data or new visualizations to the canvas.
- Click Save in the top right corner.
Save a Dashboard
-
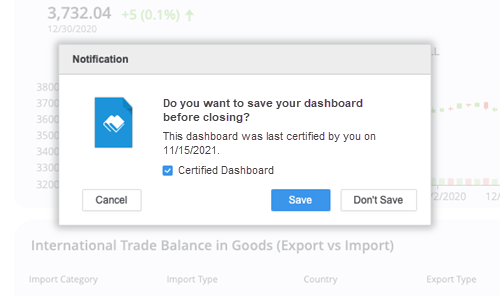
From Edit Mode, click Save in the top right corner.
You can also go to File > Save. This saves changes to the original dashboard and changes can be viewed by others.
-
If available, choose whether to keep the dashboard certified or not. Select the checkbox to keep the dashboard certified.
-
Click Save.
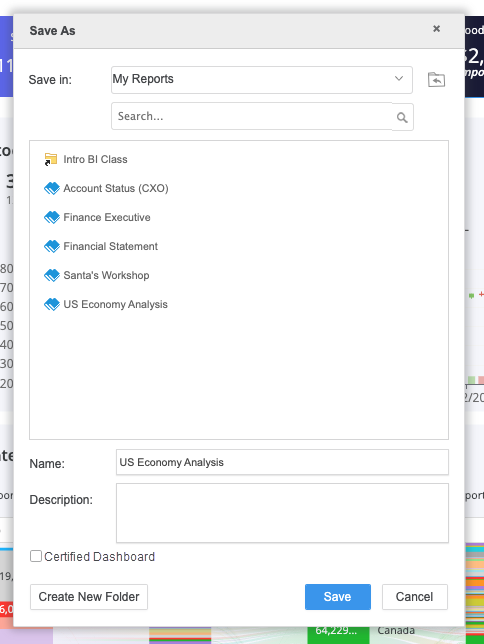
Save As Workflow
-
Go to File > Save As.
-
Select a folder to save your new dashboard in.
The shown folders are the same folders available in Strategy Web. You can create a new folder with the Create New Folder button in the bottom left corner.
-
Add a name and an optional description for the dashboard.
-
If available, select the Certified Dashboard checkbox to certify your dashboard.
-
Click Save.
New content and content that you already own are available in the My Content folder of the sidebar menu in Library Home. You can also create a new dashboard.