Strategy One
Use the TapClicks Connector
Starting in MicroStrategy ONE Update 12, you can use the TapClicks as part of the new data import experience. If you are using a version earlier than MicroStrategy ONE Update 12, see Use the TapClicks Connector Before MicroStrategy ONE Update 12.
Check out the following topics to get started:
Configure Parameters for TapClicks in Old Data Import
See Strategy Community Data Connectors to configure the TapClicks connector.
Import Data from TapClicks
Once you configure the required parameters, you can start importing data. This feature is only available when the new data import experience is enabled.
- Log in to Strategy Library Web.
- Go to the Data Import home page.
- Choose TapClicks from the Services drop-down.
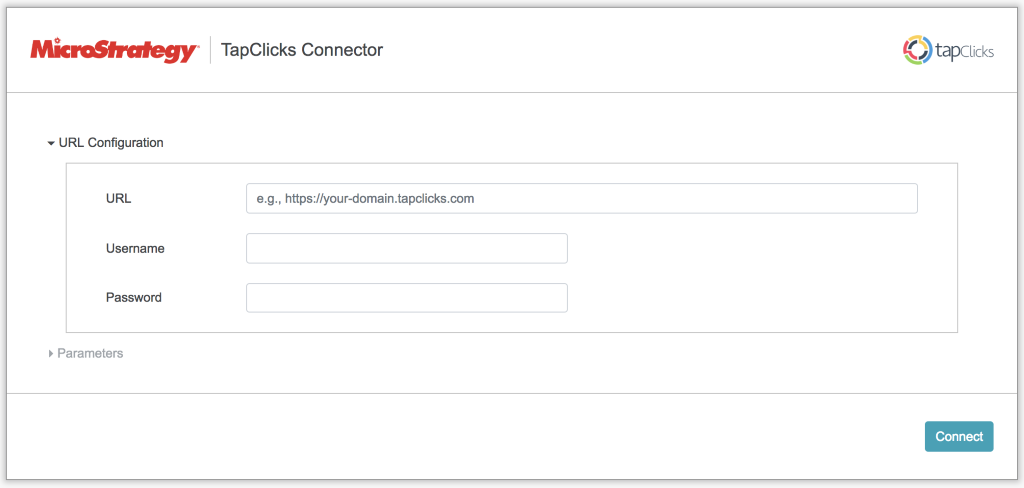
- Enter your Tapclicks URL, Username, and Password.
- Click Connect. The Parameters section expands.
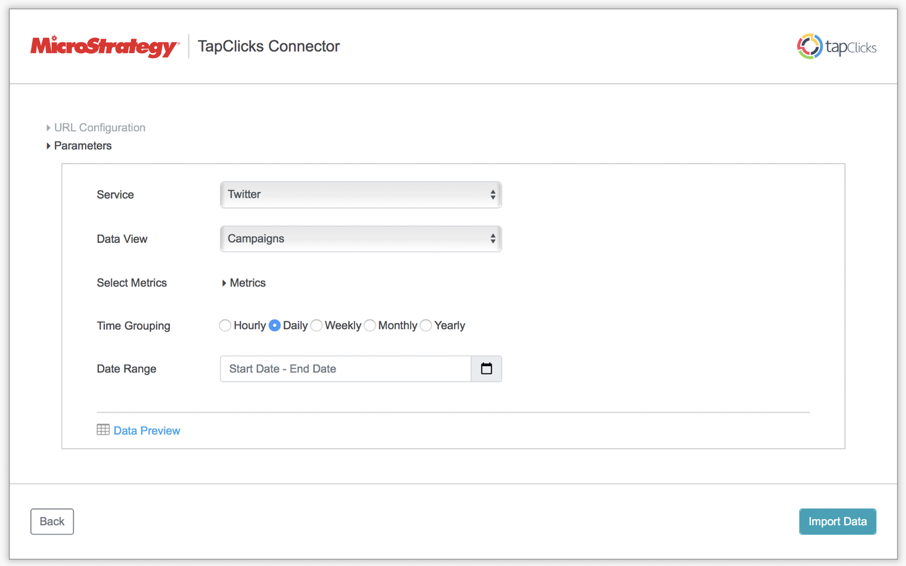
- Select the Service you want to import data from.

- Select the Data View you want to import.

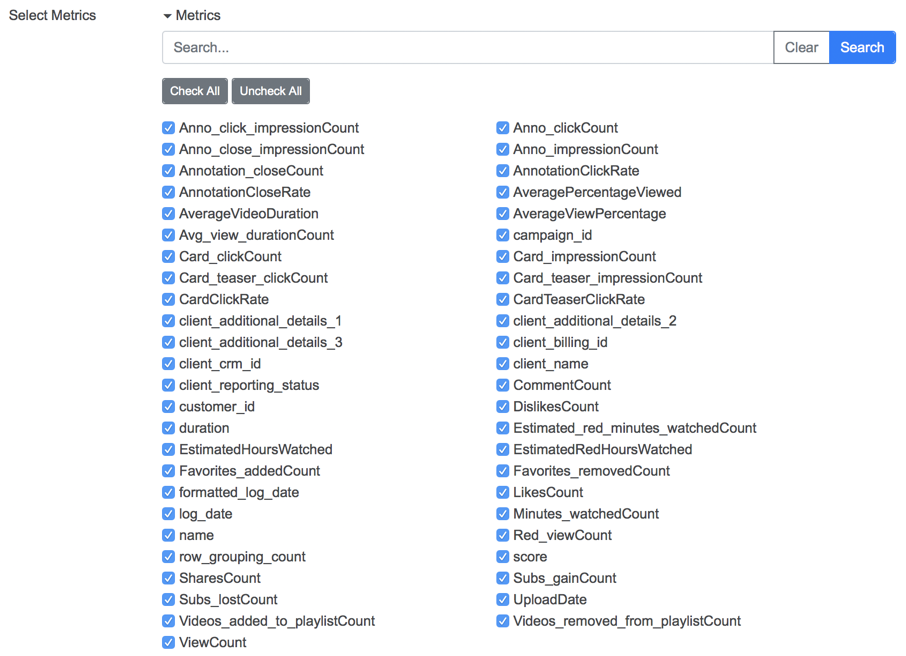
- Select the metrics to import.
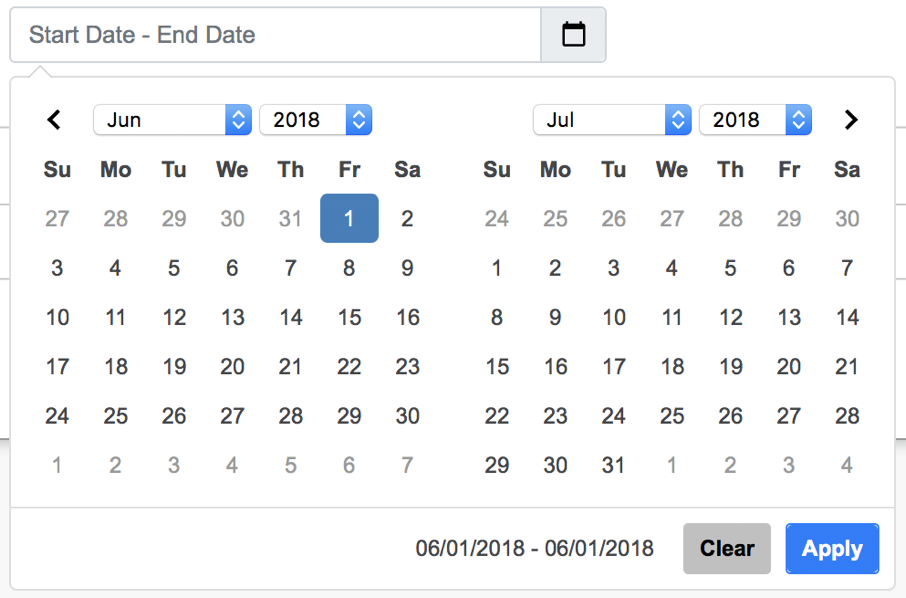
- Select the dates to import data from.
- Click Import Data.
- If necessary, click Prepare Data to view the sample data and adjust column types.
- Publish the cube to Strategy .
Use the TapClicks Connector Before MicroStrategy Update 12
- Open a new or existing dashboard.
- Choose Add Data > New Data.
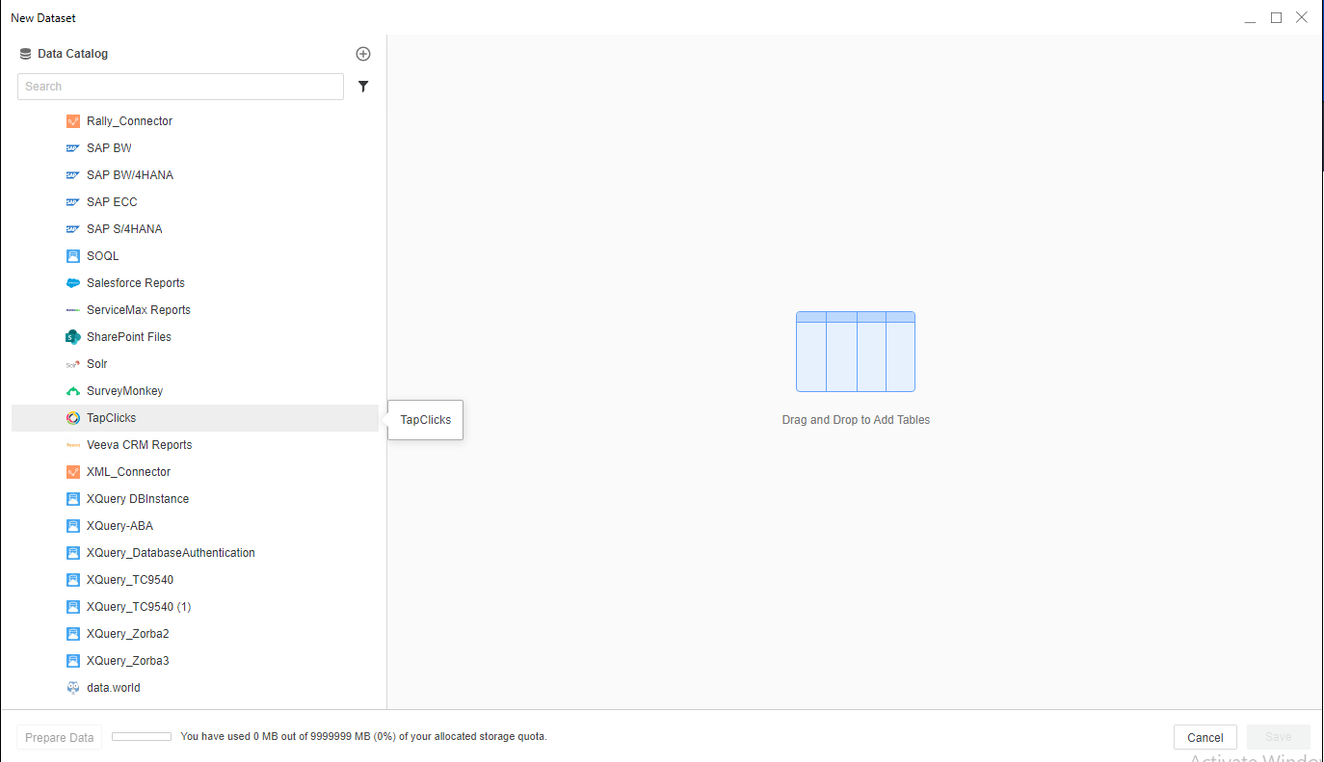
- Click the TapClicks connector icon from the data source list.
- Enter the URL, Username, and Password.

- Click Connect. The Parameters section expands.

- Select the Service you want to import data from.

- Select the Data View you want to import.

- Select the metrics to import.
All metrics are checked by default. There is a live filtering field at the top. Enter or paste the name of the field you want to find.

- Select the dates to import data from.

- Click Data Preview to preview data.
It is important to use this feature to see if your parameters are correct.
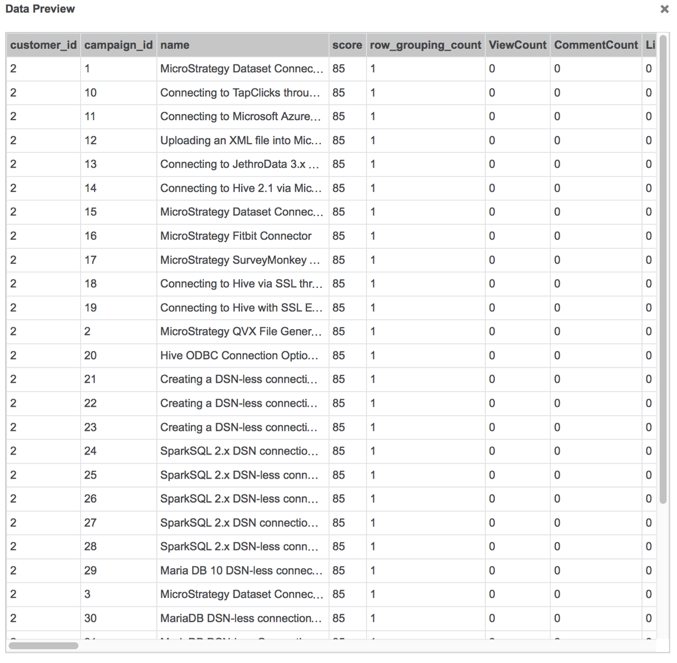
- Click Submit. A preview of your imported data appears.
-
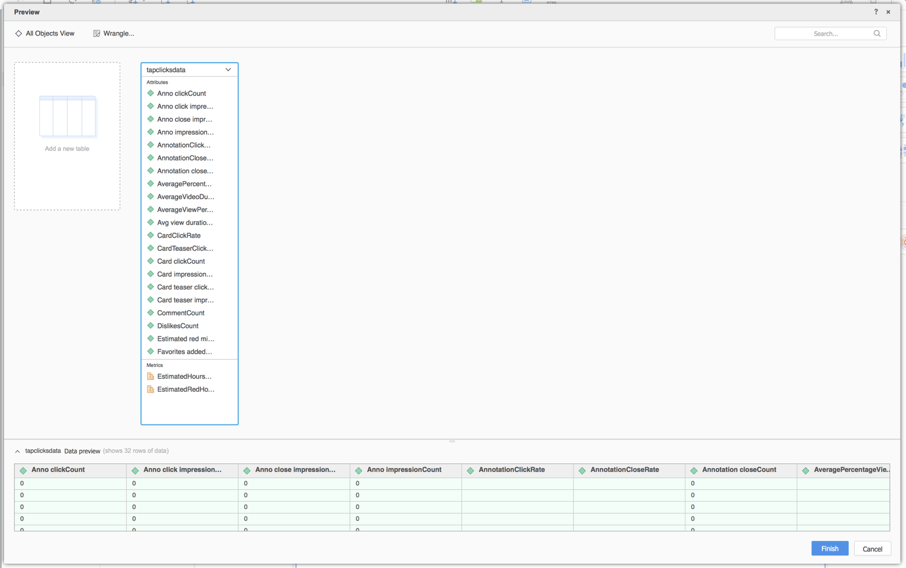
On the Preview dialog, wrangle your data and click Finish.
