Strategy One
The MicroStrategy for Jupyter extension is no longer developed and supported and was removed from the mstrio-py package in March 2024. You can still use the mstrio-py library and all its current and upcoming features.
MicroStrategy for Jupyter
MicroStrategy for Jupyter enables the data scientist to import MicroStrategy data into Jupyter Notebook and export dataframes to MicroStrategy as an in-memory dataset.
MicroStrategy for Jupyter requires MicroStrategy 2019 Update 4 or later.
You must enable CORS (Cross-Origin Resource Sharing) settings on the Library server to use the connector.
The following must be installed to use MicroStrategy for Jupyter:
- Python 3.10 for Mac or Windows
- Jupyter Notebook
MicroStrategy for Jupyter is not supported on Jupyter version 7 and newer.
It is recommended that you install Jupyter and mstrio-py within a Python virtual environment.
mstrio-py requires urllib3 in version 1.26.0 or higher. If an older version is installed on your machine, upgrade it manually using pip install --upgrade urllib3 inside your virtual environment.
Install mstrio and the MicroStrategy for Jupyter Extension
-
To install mstrio, open a command prompt and run the following command:
pip install mstrio-py
-
Install and enable the Jupyter Notebook extension:
jupyter nbextension install connector-jupyter --py --sys-prefix
jupyter nbextension enable connector-jupyter --py --sys-prefix
-
Launch Jupyter Extension by entering the following command in the command prompt:
jupyter notebook
Connect to MicroStrategy
-
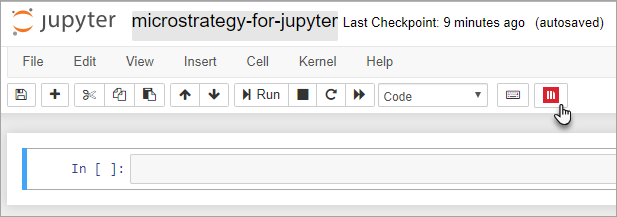
From the toolbar, select the MicroStrategy for Jupyter extension.

-
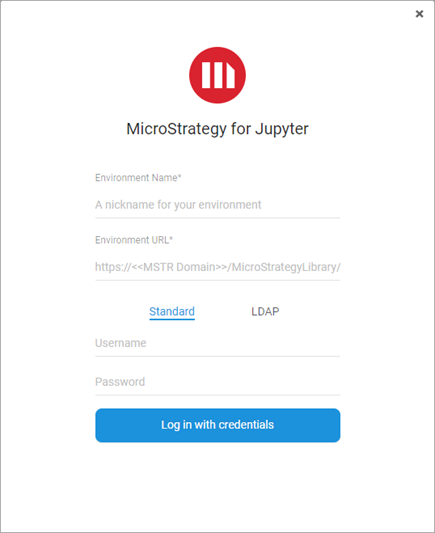
Log in to MicroStrategy for Jupyter:

Import MicroStrategy Data
- Select the MicroStrategy projects to display the datasets and reports available for import.
- Click OK.
- In the Import Data tab, select the data to import.
- Click Prepare Data.
- Select the attributes, metrics, and filters you want applied to your data for import.
- Click Import.
Export Data to MicroStrategy
- In the Export Data tab, click Create
- In the Available Dataframes panel, select the dataframes to export.
- Select the attributes and metrics to include for export.
- Click Next.
- In the Save as field, enter a name for the dataset.
- Browse to the destination folder or click New folder to create a destination for the export.
- To certify the dataset, select the Certify checkbox.
- Click Save.
Update Previously Created Datasets
Your modeled data structure must correspond to the structure of the cube you are updating.
- In the Export Data tab, select the dataset to update.
- Click Update.
- In the Available Dataframes panel, select dataframes to update your dataset with.
- Click Next.
- From the Update Policy drop-down, choose ADD, UPDATE, UPSERT, or REPLACE for each dataframe.
- Click Publish.
Jupyter and the Jupyter logos are trademarks or registered trademarks of NumFOCUS
