Strategy One
Create and Edit Hierarchies
Starting in Strategy One (October 2025), optionally enter a description of your change when saving a hierarchy.
Learn how to create and edit both system and user-defined hierarchies using the Hierarchy Editor:
Check out the video below to learn more!
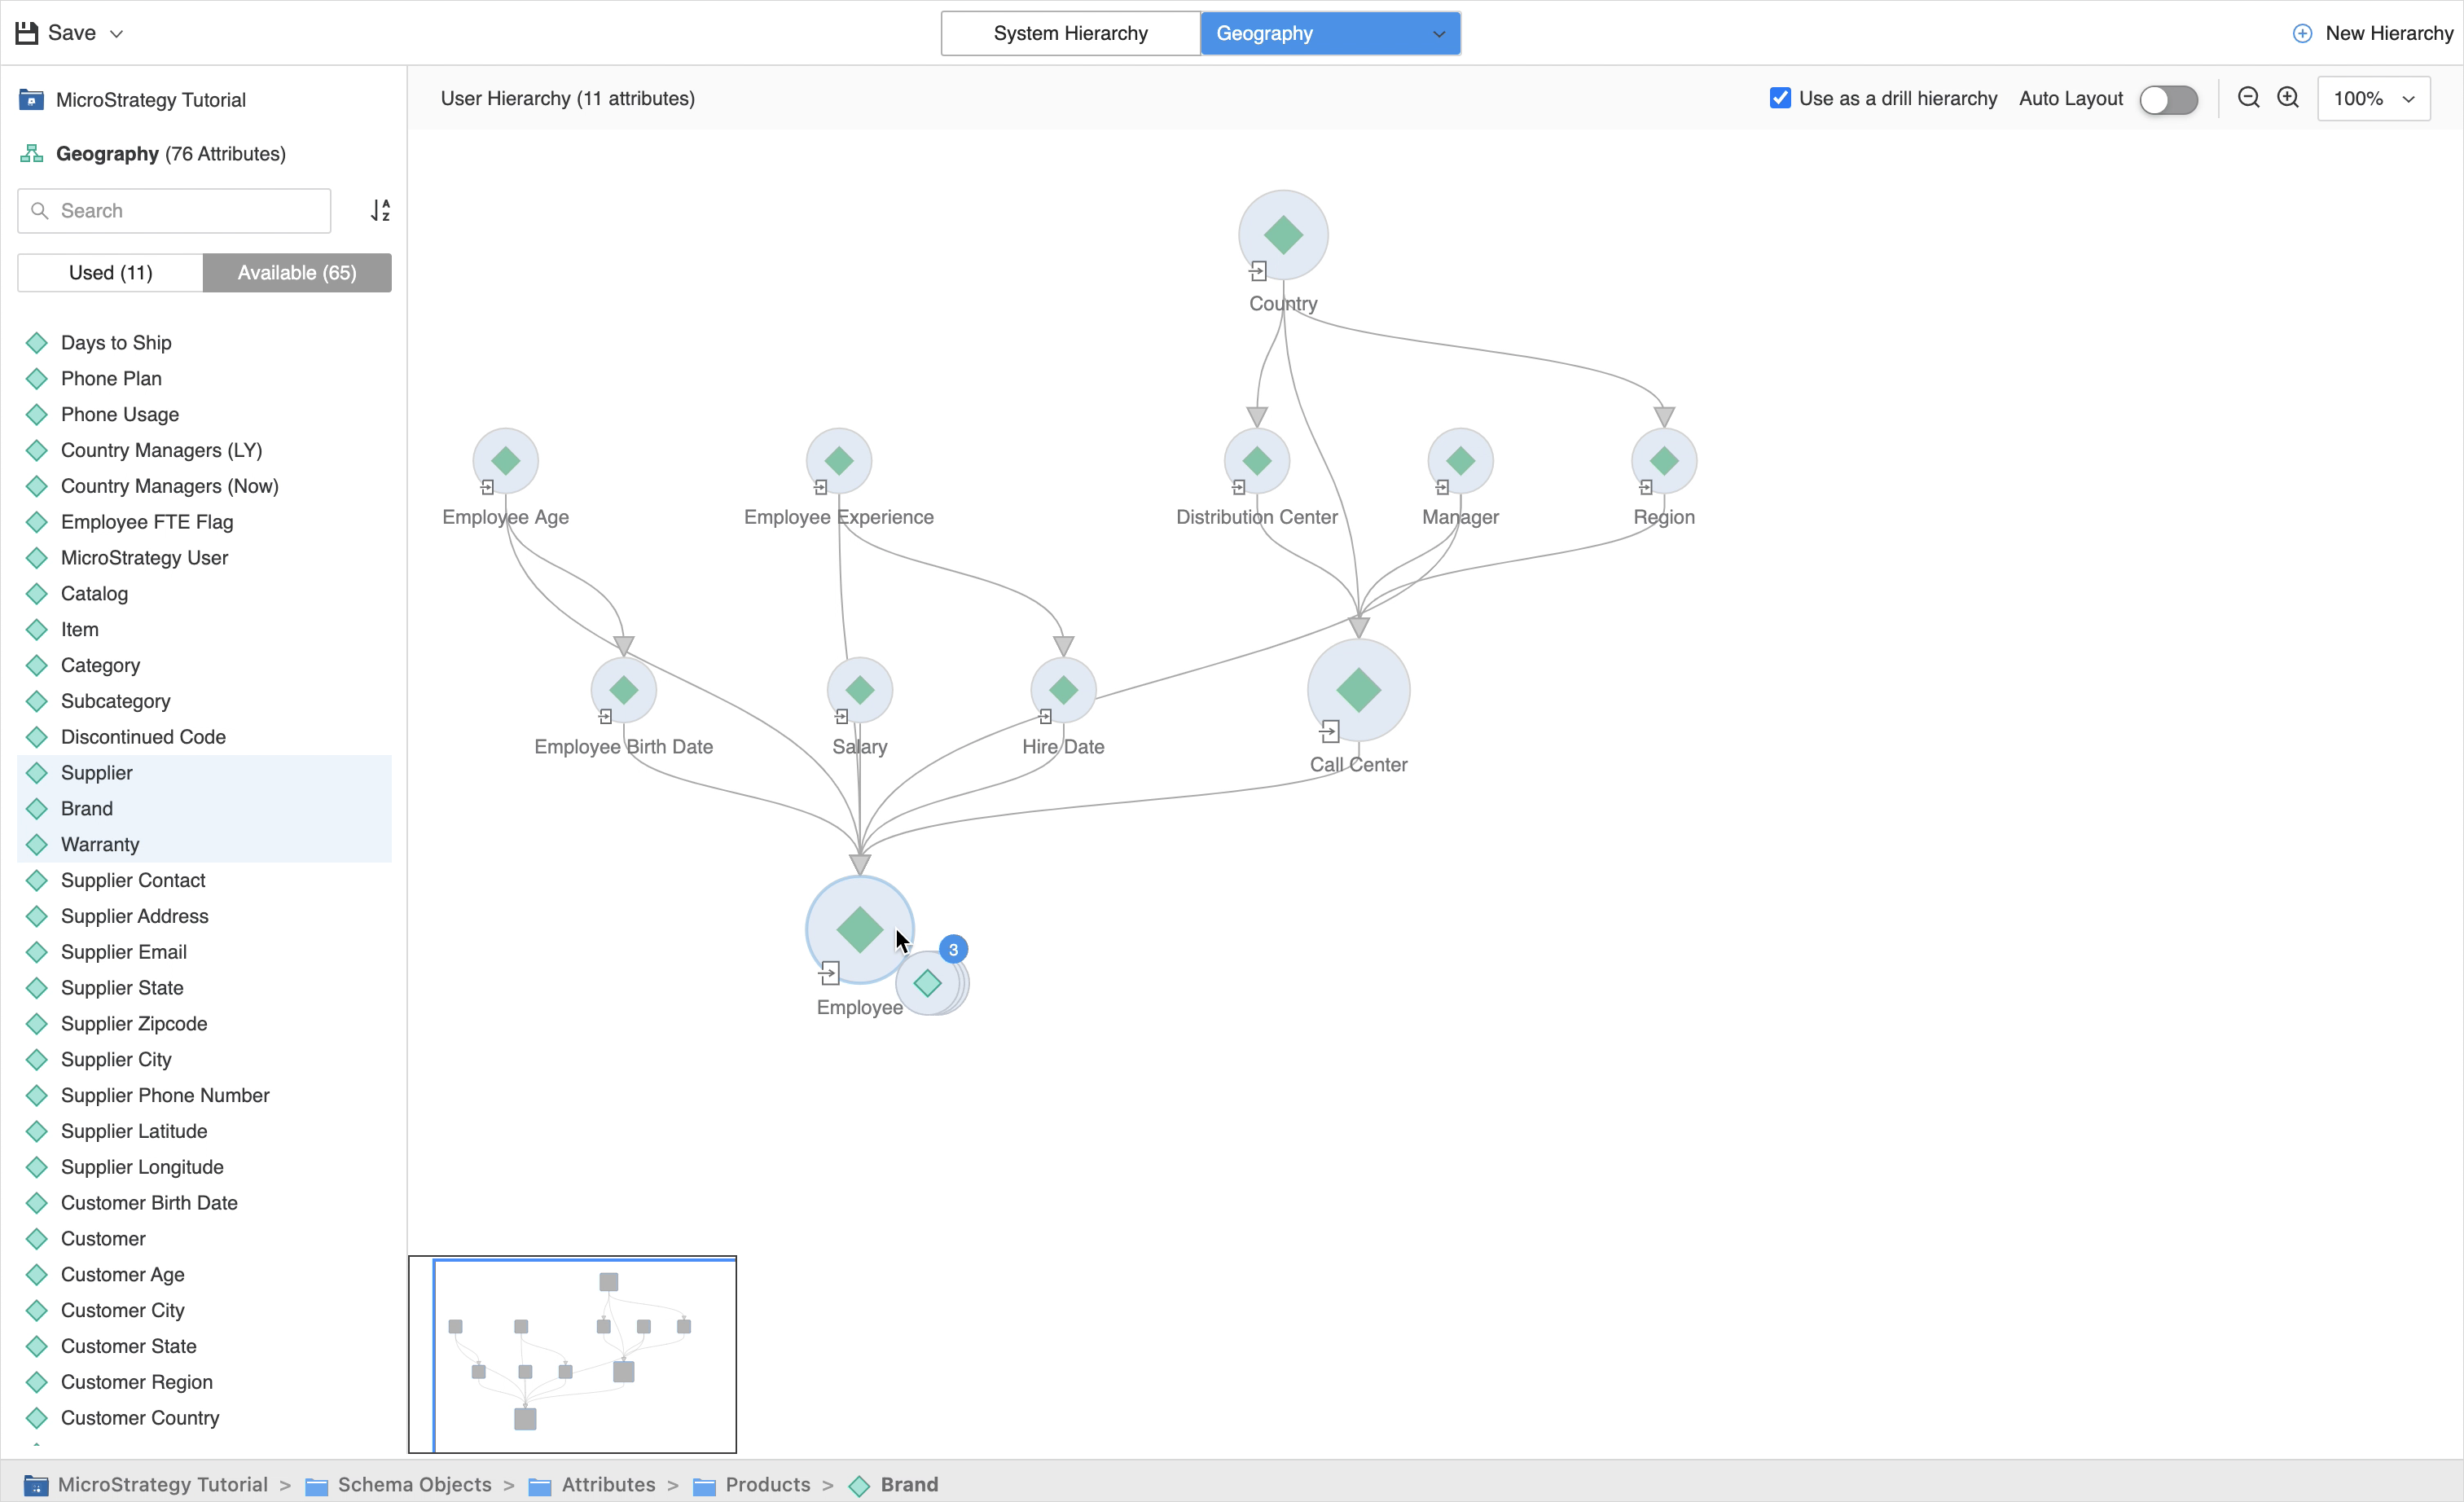
Create a User-Defined Hierarchy
-
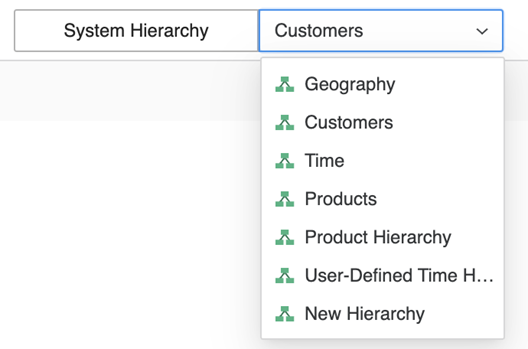
In the upper-right, click New Hierarchy. Your hierarchy cannot be saved until after you start adding attributes.
Rename a User-Defined Hierarchy
-
Hover over the user-defined hierarchy you want to rename.
-
Click the
 icon and enter the new name.
Edit an Existing User-Defined Hierarchy
-
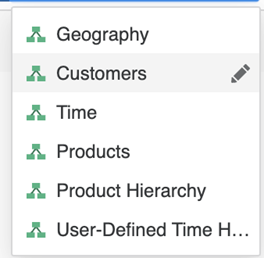
Click User Defined Hierarchy at the top of the Hierarchy Editor and choose the target hierarchy.
-
Once the target hierarchy is opened, you can start editing it.
Create Relationships in System Hierarchies
-
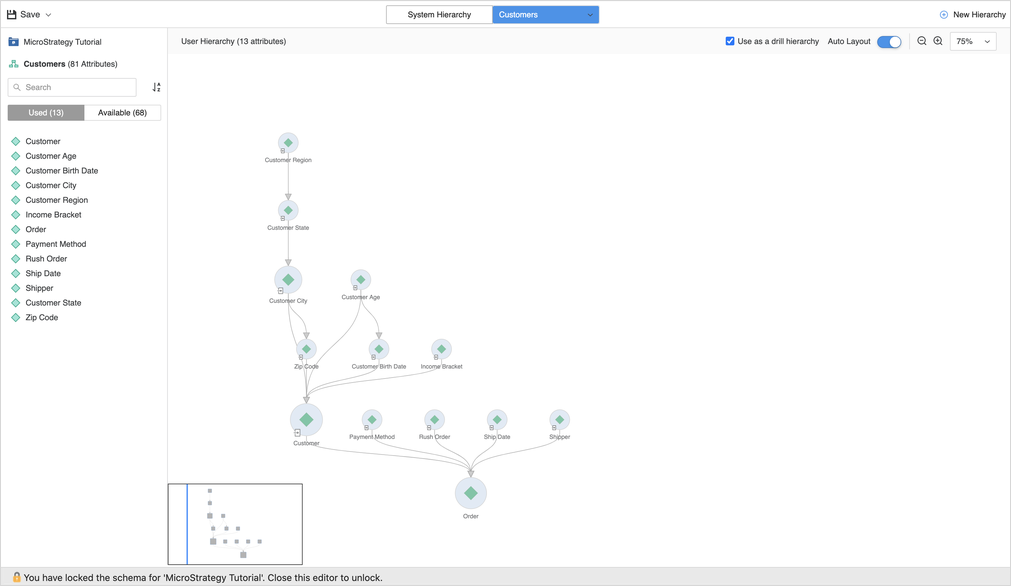
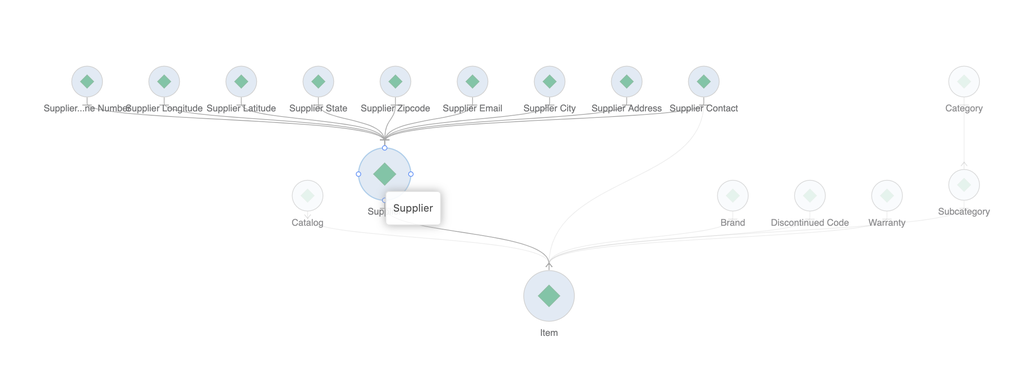
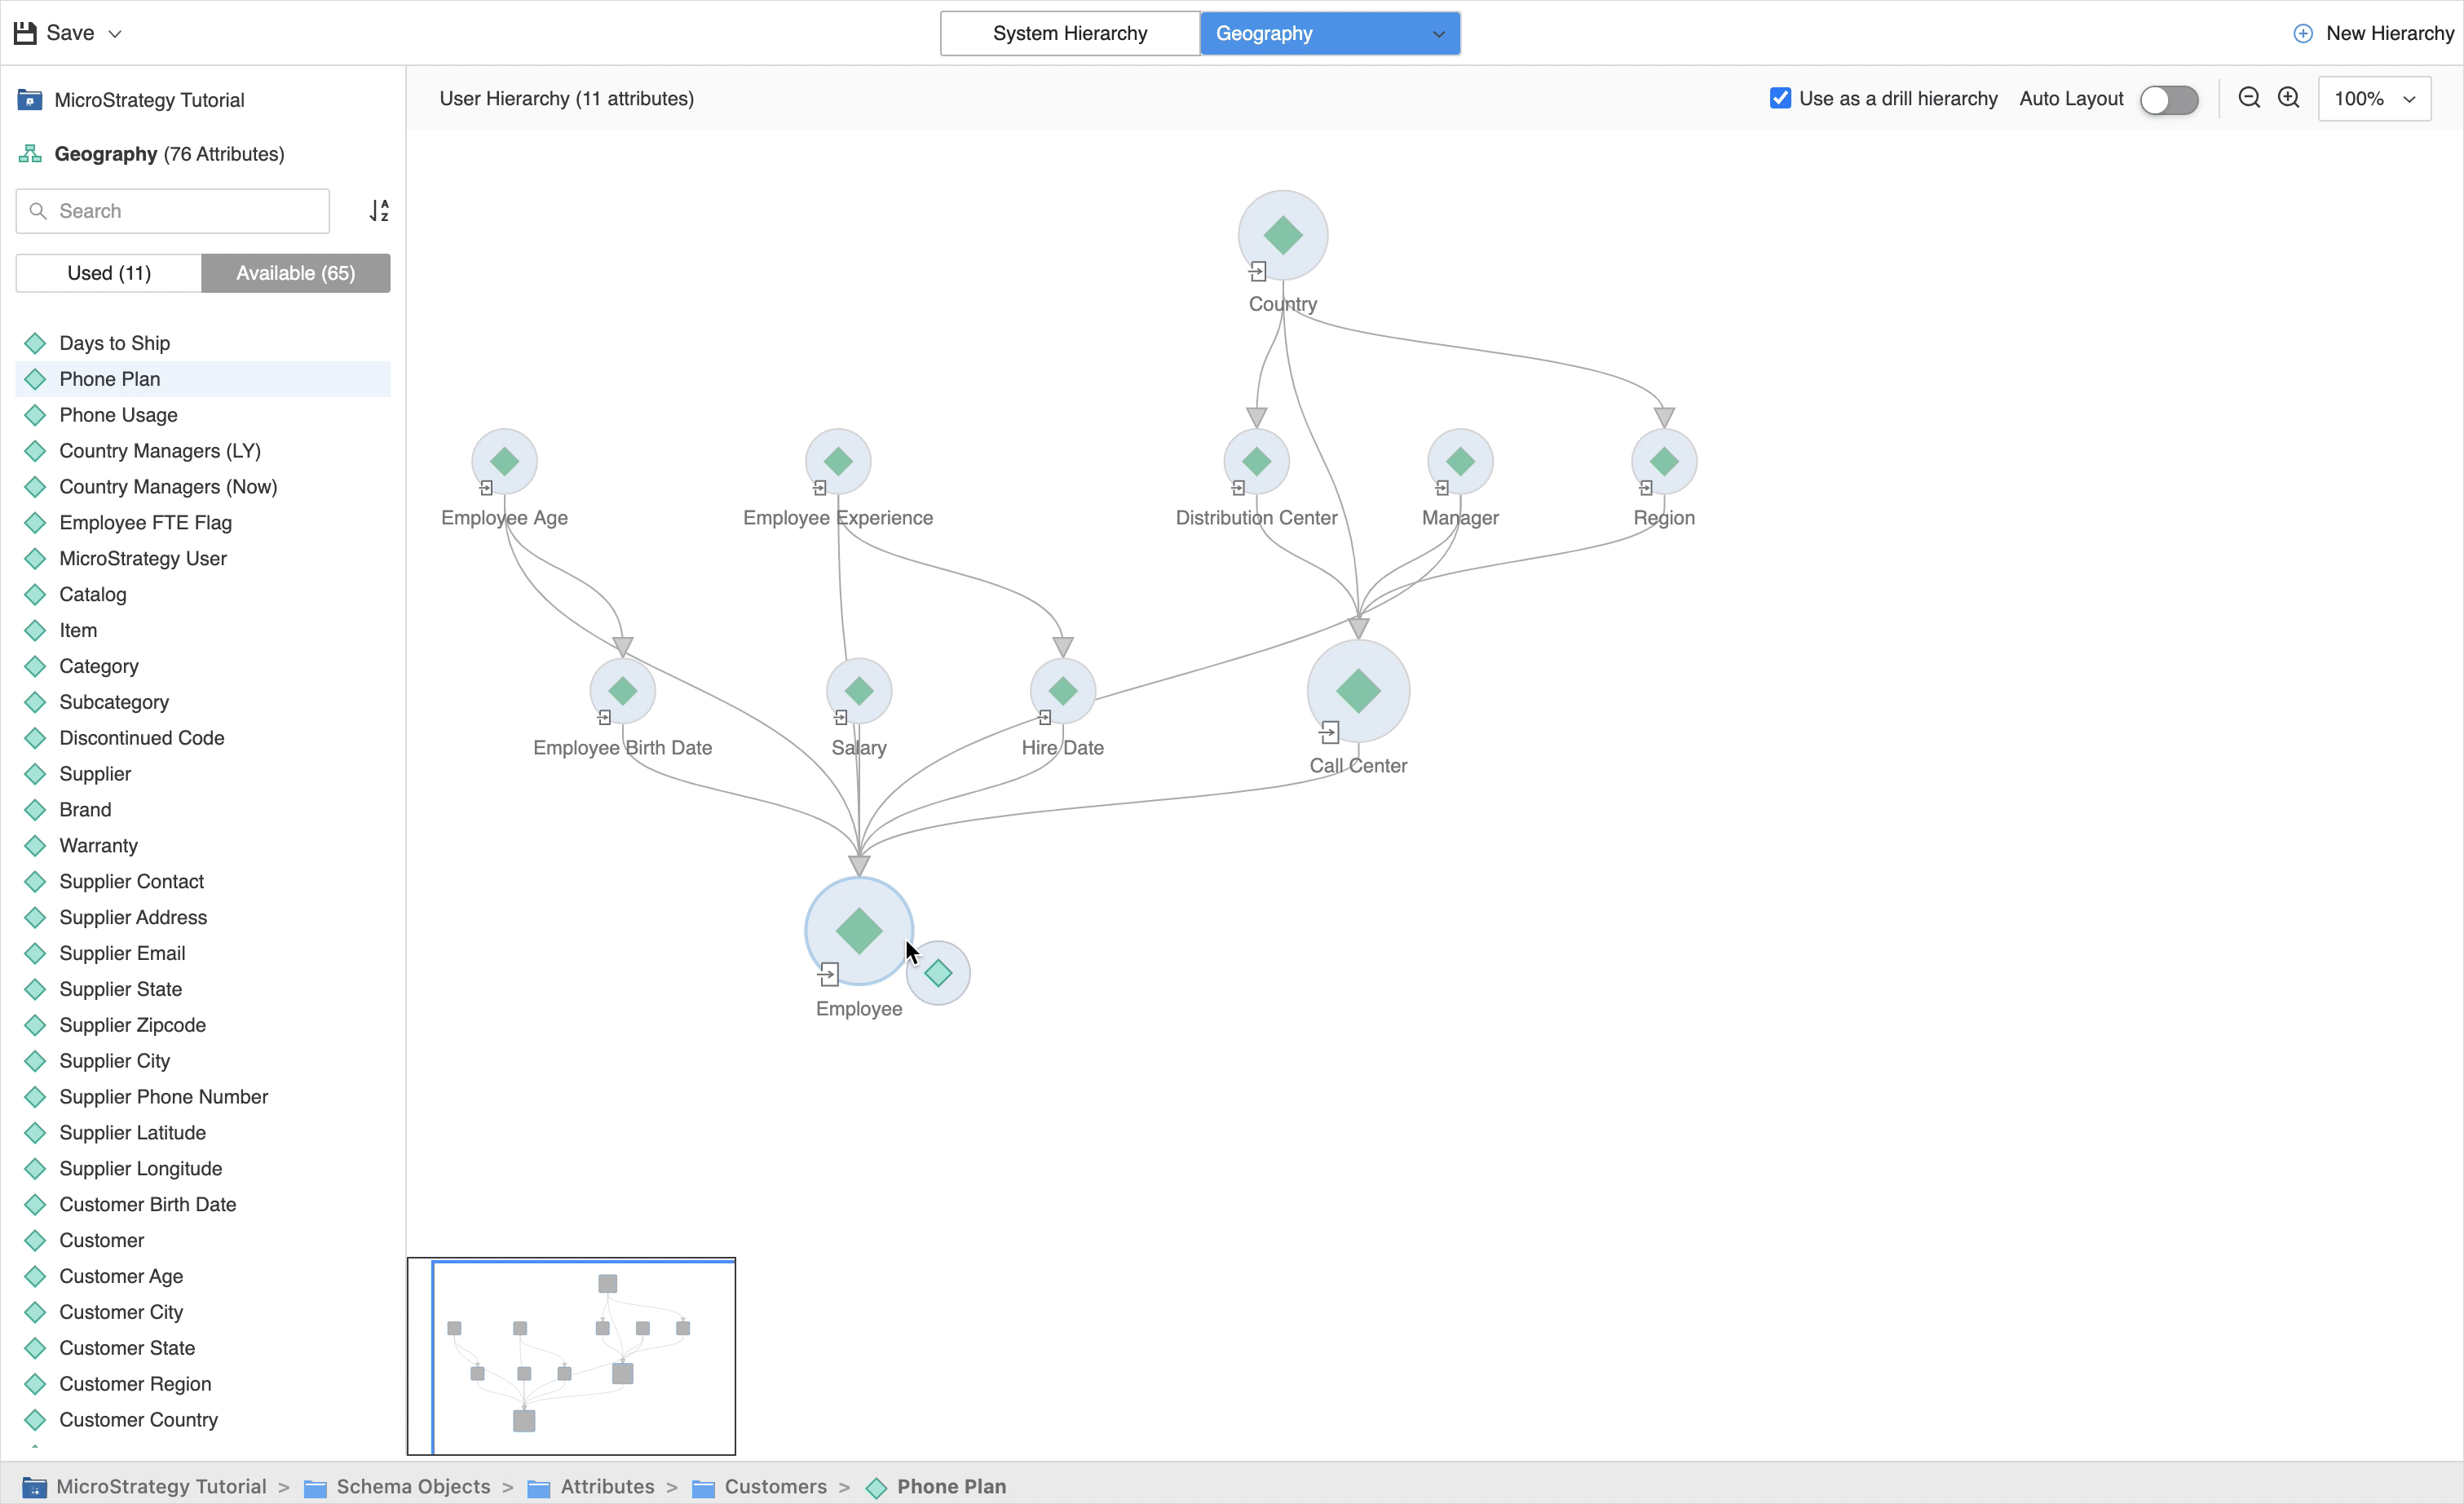
In a system hierarchy, hover over the attribute you want to create a relationship on. Its parent and child attributes are highlighted.
-
Click the attribute and drag the border of the attribute (parent) to another attribute (child). These attributes are then linked with a parent-child relationship. You cannot create a relationship on a joint-child attribute, since it is view-only in the Hierarchy Editor.
System Hierarchy:
User-Defined Hierarchy:
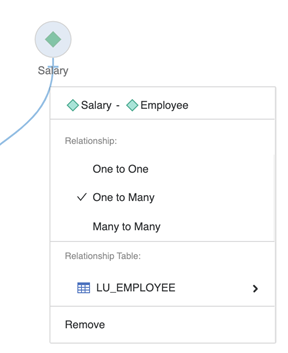
Modify Relationships
You can modify relationships in system and user-defined hierarchies.
Modify or Remove System Hierarchy Relationships
-
Right-click a relationship.
-
Select a relationship type, change the relationship table, or remove the relationship.
Remove User-Defined Hierarchy Relationships
-
Right-click a relationship.
-
Click Remove.
Multi-Select Attributes
-
Use Ctrl to multi-select attributes for batch actions.
-
Use Shift to trigger a selector box to include attributes you want to manipulate. The selected attributes can then be moved together.
Set an Attribute Entry Point in a User-Defined Hierarchy
An entry point is a shortcut to an attribute in the data explorer. Creating an entry point grants users quick access to an attribute without having to browse through multiple attributes to reach different levels in a hierarchy. This is especially useful when accessing frequently-used attributes. An attribute entry point can be set or removed in a user-defined hierarchy.
-
Right-click an attribute.
-
Choose Remove entry point or Set as entry point.
Add or Remove Attributes in a User-Defined Hierarchy
A system hierarchy automatically includes all attributes. You can only add or remove attributes in a user-defined hierarchy.
Add Attributes
-
Switch to the target user hierarchy you want to edit.
-
In the left pane, click Available to view all attributes that can be added to the user-defined hierarchy.
-
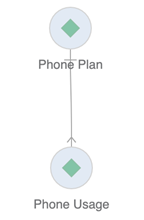
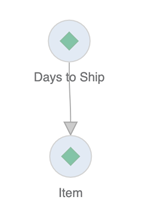
Drag the attribute from the left pane and drop it on the target attribute in the view. For example, if you want to link the available attribute Phone Plan to Employee, drag Phone Plan from the left pane and drop it on Employee in the view.
-
If you want to link multiple attributes to the same attribute in the view, multi-select the attributes in the left pane, then drag and drop them to the target attribute in the view.
Remove Attributes
-
In a user-defined hierarchy, right-click an attribute.
-
Click Remove.
Save and Update the Schema
-
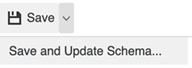
Click
 Save to save your changes.
 -
Click the Save dropdown to save your changes and update the project schema.
-
Starting in Strategy One (October 2025), optionally type a description in User Comments and click OK.