Strategy ONE
Register an App on Microsoft Entra ID
Starting in MicroStrategy ONE (June 2024), to use the Strategy Teams App, you must configure the Azure AD Application Registration for Teams. The following steps assume you already have the right to create the Application Registration.
Create a New Application Registration
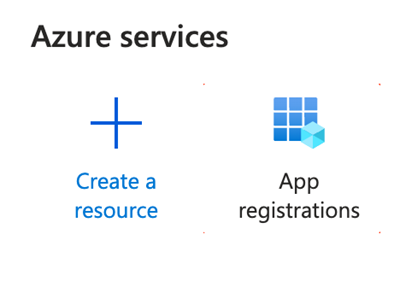
- Open the Microsoft Azure Portal.
- Click App registrations.
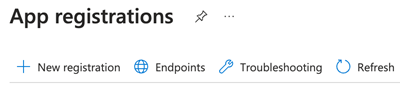
- Click New registration.
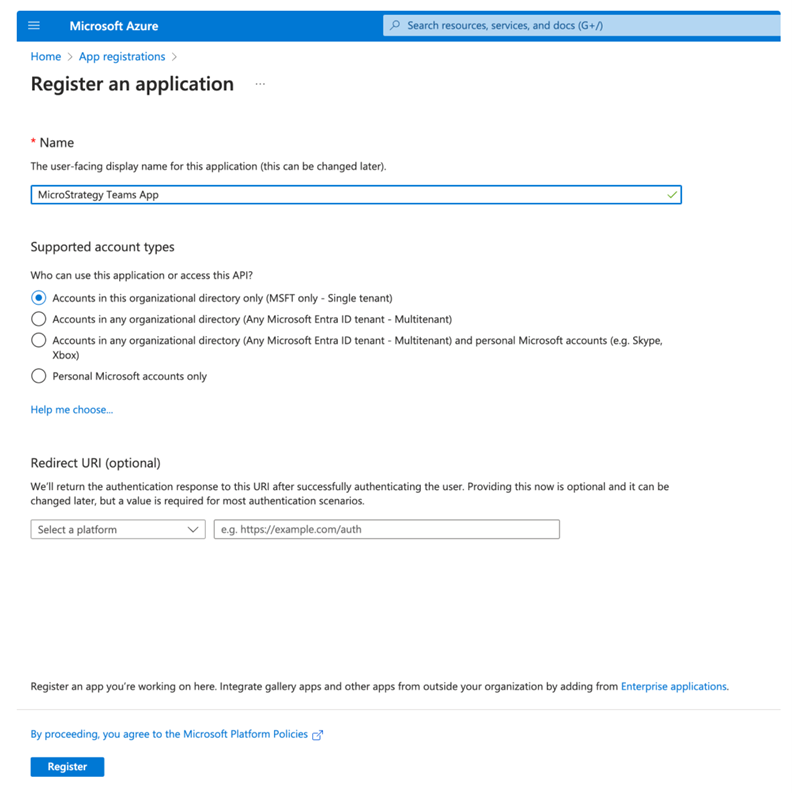
- Enter a Name and click Register.
Create a Client Secret
- In the left navigation menu, click Certificates & secrets.
- Click New client secret.
- Click the Copy icon next to the value field to copy the client secret for later use.
This value does not appear again once you leave the client secret page.

Modify the Manifest
- In the left navigation menu, click Manifest.
- Update the accessTokenAcceptedVersion value to 2.
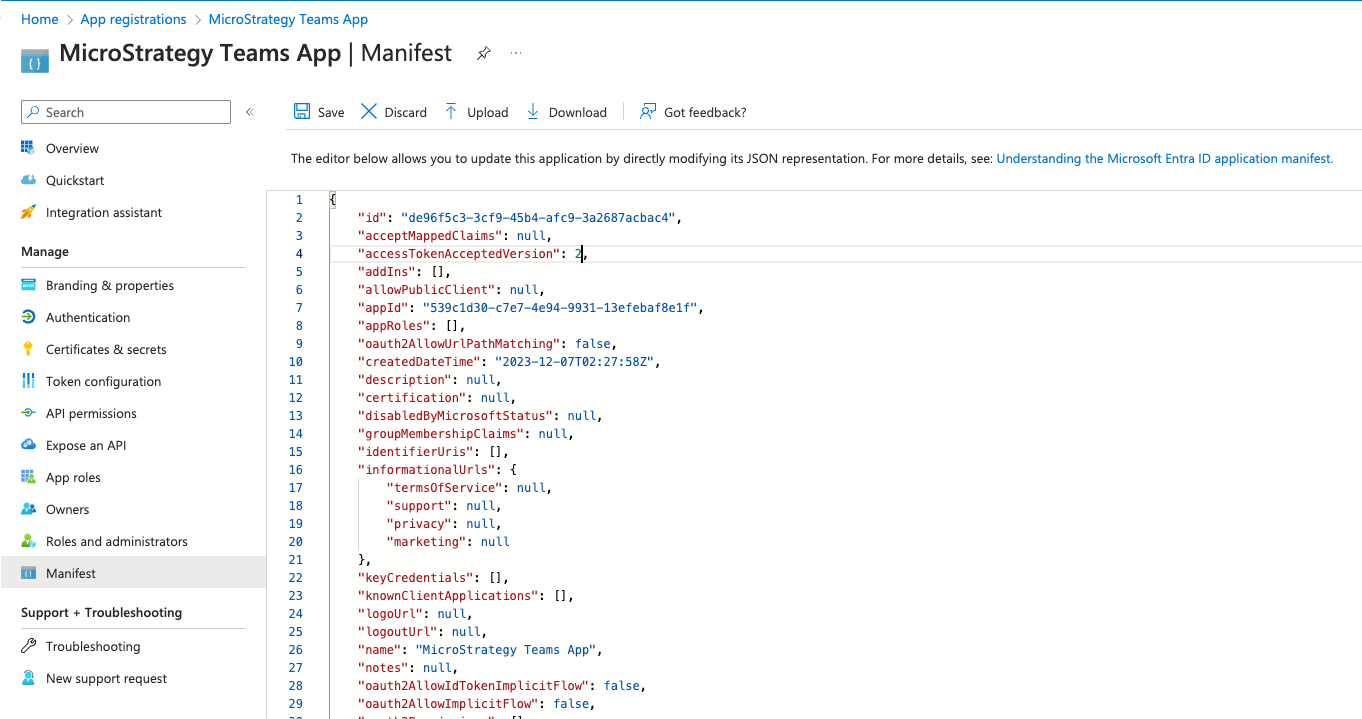
- Click Save.
Expose an API
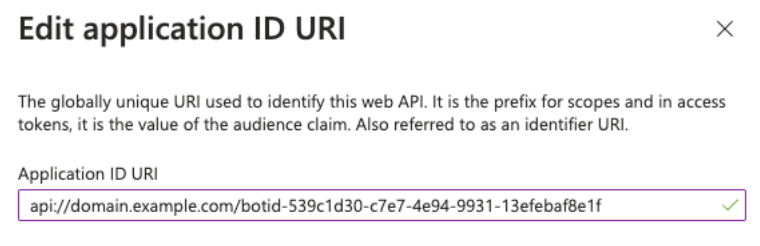
Add the Application ID URI
- In the left navigation menu, click Expose an API.
- Click Add under Add an Application ID URI.
- Click Save.
The format of the URI is api://<host name>/botid-<current application registration id>. The "current application registration ID" is the Application(client) ID in Overview.
Define Scope for the API
- Click Add a scope.
- In Scope name enter access_as_user.
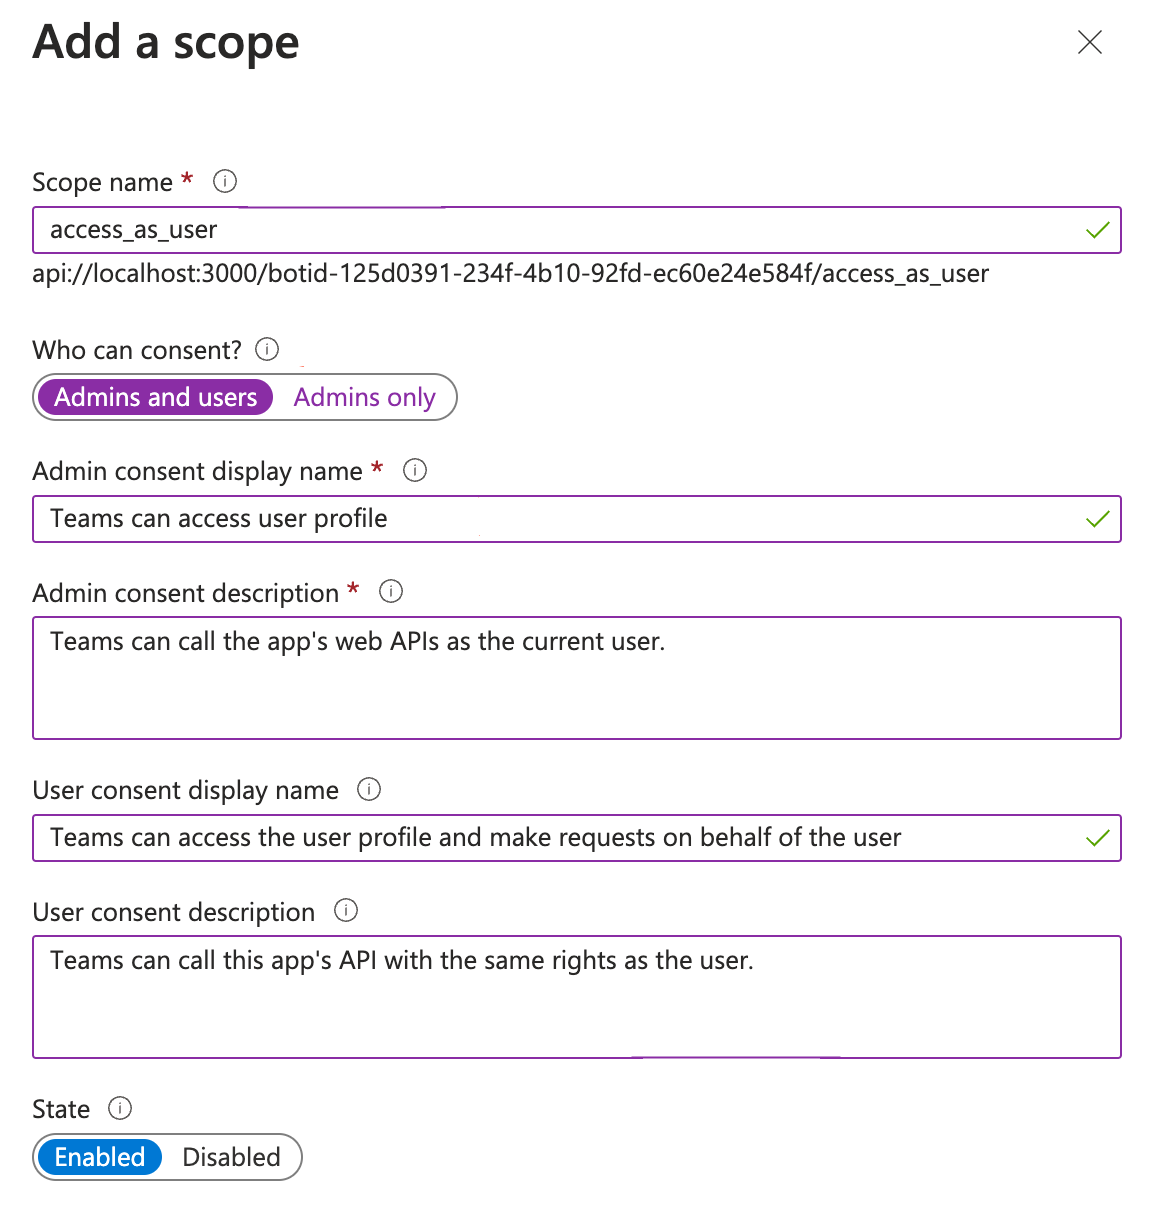
- Select Admins and users in Who can consent?.
- Enter values in the other required fields.
- Click Add scope.
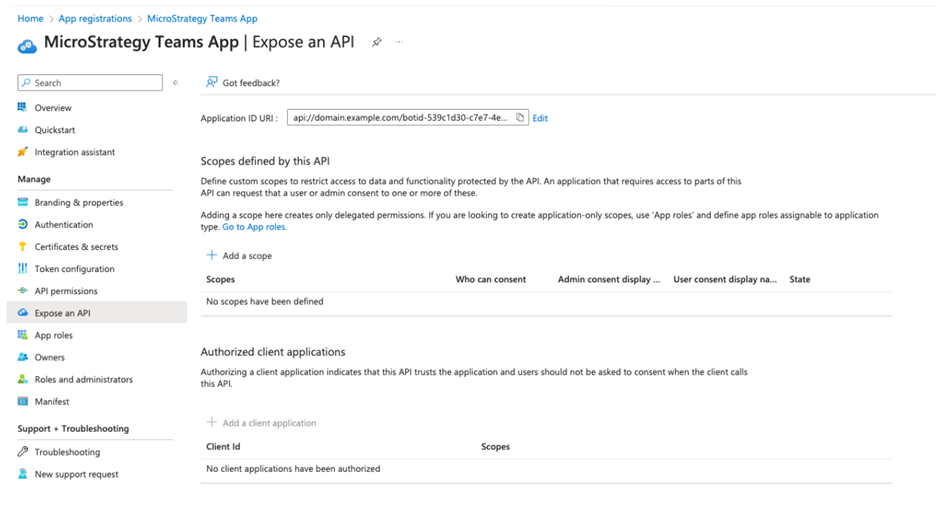
Add Authorized Client Applications
-
Click Add a client application and enter both Client IDs. The two Client IDs are fixed. They must be 1fec8e78-bce4-4aaf-ab1b-5451cc387264 and 5e3ce6c0-2b1f-4285-8d4b-75ee78787346.
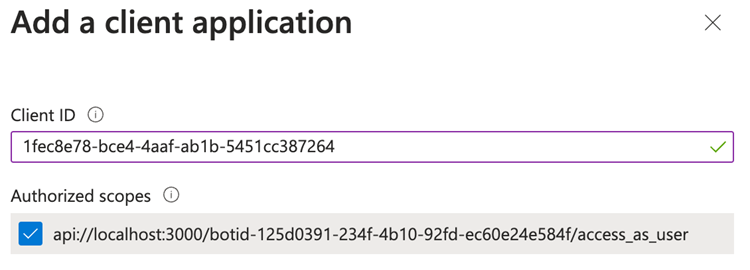
- Click Add application. The final result is:

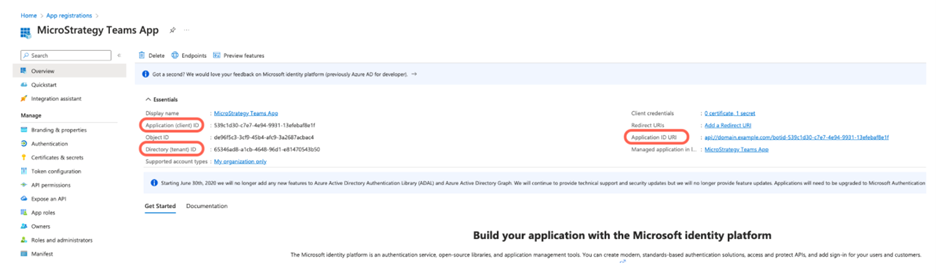
Check the Configuration
- In the left navigation menu, click Overview.
- Check that the following fields are correct:
- Application (client) ID
- Directory (tenant) ID
- Application ID URI

- Copy the Application (client) ID and Directory (tenant) ID values to for later use in the Teams add-in configuration page.
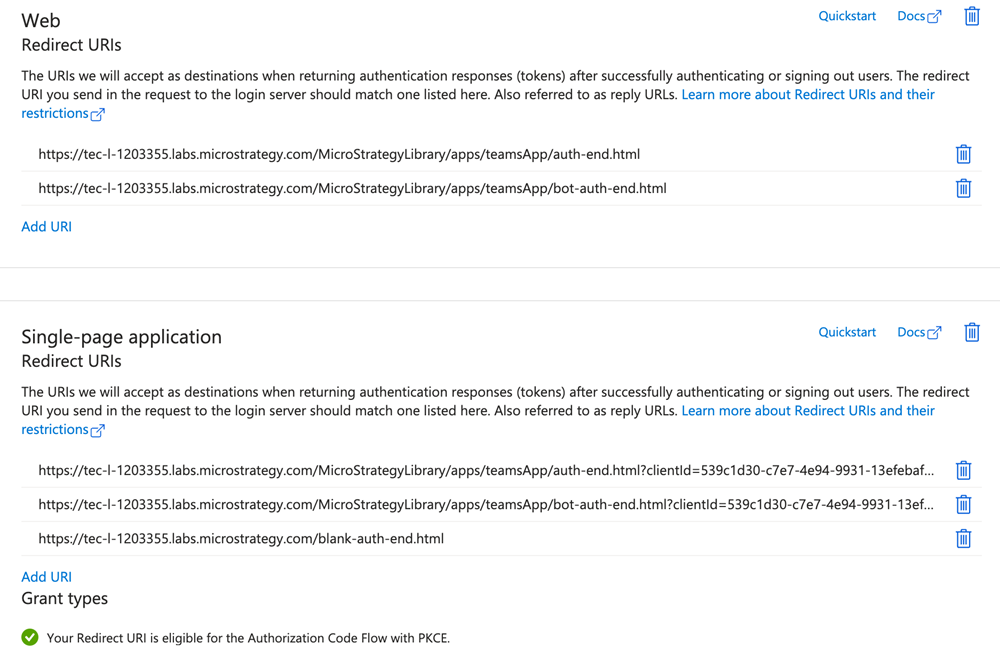
Add Redirect UI
You need the Redirect UI so that the pin in Teams can correctly redirect you back to Strategy and to use Strategy Bots in Teams.
- In the left navigation menu, click Certificates & secrets.
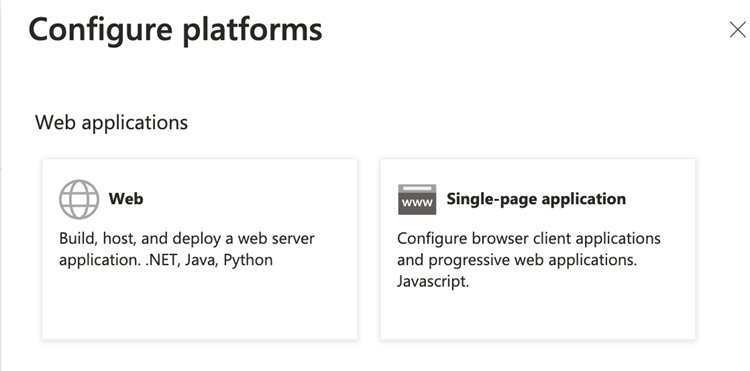
- Click Add a platform.
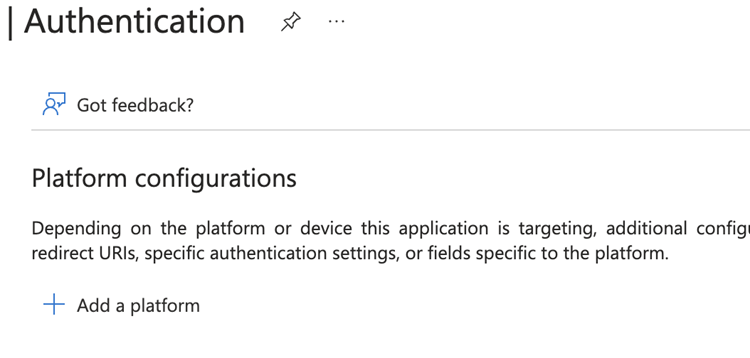
- Choose Web or Single-page application.
- Enter a Redirect URI.
- Click Configure.
- Repeat steps 1-4 until you create one Web platform and two Single-page application platforms.
For the Teams configuration, if you are using MicroStrategy ONE (September 2024) or later, you need to create two Web platforms and three Single-page application platforms. If you are using a version prior to MicroStrategy ONE (September 2024), you need to create one Web platform and two Single-page application platforms.
Replace “tec-l-1203355.labs.microstrategy.com” with your library URL's origin.
In Single-page application, the Client ID is the Application(client) ID in Overview. blank-auth-end.html is only a placeholder.
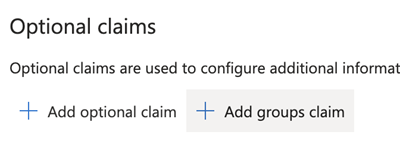
Add a Group Claim
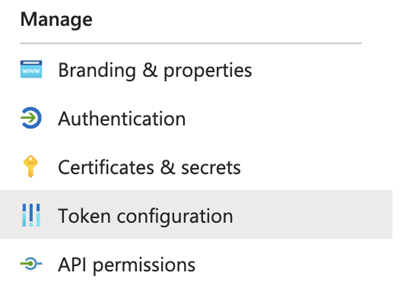
- In the left navigation menu, click Token Configuration.
- Click Add groups claim.
- Select the check box next to All groups (includes 3 group types: security groups, directory roles, and distribution lists).
- Click Add.
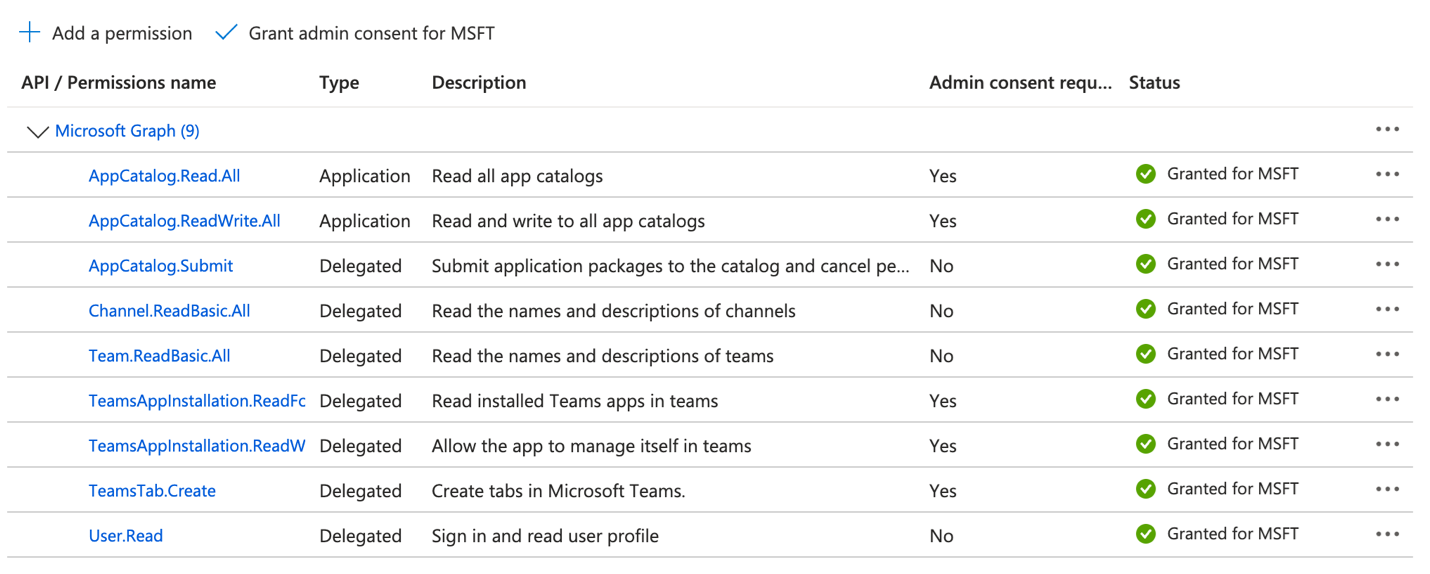
API Permissions
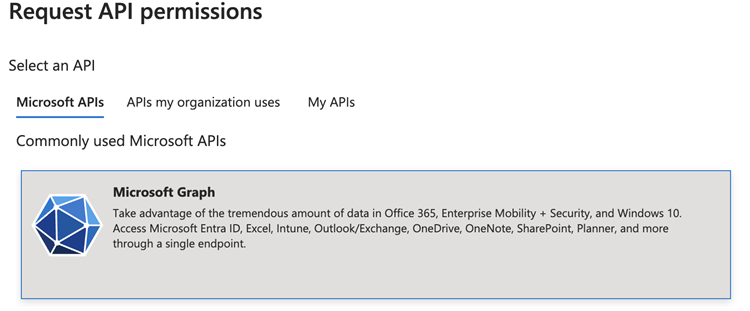
- Click Add a permission.

- Choose Microsoft Graph.
- Search and select check box next to the following permissions:
AppCatalog.Submit
Channel.ReadBasic.All
Team.ReadBasic.All
TeamsAppInstallation.ReadForTeam
TeamsAppInstallation.ReadWriteSelfForTeam
TeamsTab.Create
User.Read
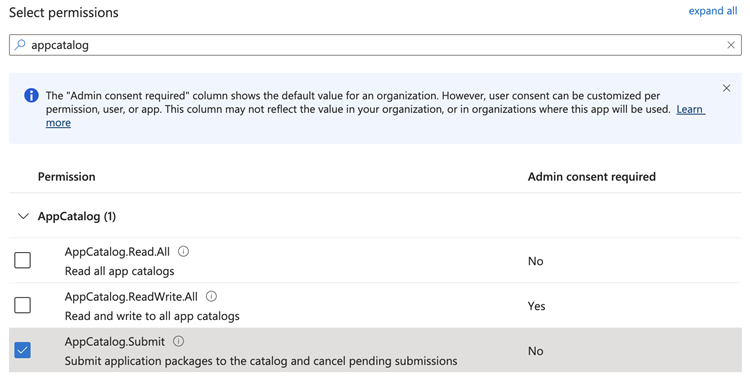
- Click Save.
- Click Grant admin consent for MSFT and ensure the Status of all permissions is set to Granted for MSFT.