Strategy One
Create Email Subscriptions
Starting in Strategy One (March 2026), dashboards can be delivered as Excel or CSV files. For dashboards displayed as CSV, you can select the delimiter. You can also define how reports are formatted in Excel files, such as whether to expand page-by and customizing the header and footer.
Starting inStrategy One (February 2026), you can define a subscription level setting to send an email notification to the owner and recipient if an email subscription delivery fails.
Starting in Strategy One (October 2025), you can choose to run the subscription according to each recipient’s own time zone instead of the schedule's time zone. Alternatively, you can set a custom time zone at the schedule level, as described in Create and Edit Schedules.
Starting in Strategy One (August 2025), you can create email subscriptions with contents from multiple projects.
Starting in Strategy One (July 2025), you can set multiple schedules for one subscription and create schedules in the subscription editor.
Starting in Strategy One (June 2025), you can enhance the email body by adding visualizations, images or logos, rich text, and dynamic text that pulls data from attributes and metrics. Additionally, end-users have the option to unsubscribe from future email deliveries.
Starting in Strategy One (March 2025), you can add user groups to the Recipients pane.
Starting in MicroStrategy ONE (December 2024), you can add dynamic text (using data from attributes and metrics) to email subjects and body text. You can also edit the file names of content added to your subscription including dynamic text, similar to email subjects and body text.
You can only use dynamic text when you create subscriptions for reports.
Strategy Workstation allows you to create email subscriptions through Distribution Services. You can select one or more dashboards or reports in a variety of formats, define a schedule and message, and specify settings for the subscription object.
Prerequisite
To add images or logos to an email body, you must have the Create configuration objects privilege.
Create Email Subscriptions
-
Open the Workstation window with the Navigation pane in smart mode.
-
In the Navigation pane, inside the Administration group, click
 , next to Subscriptions.
 -
Choose an environment and project, then click Select.
-
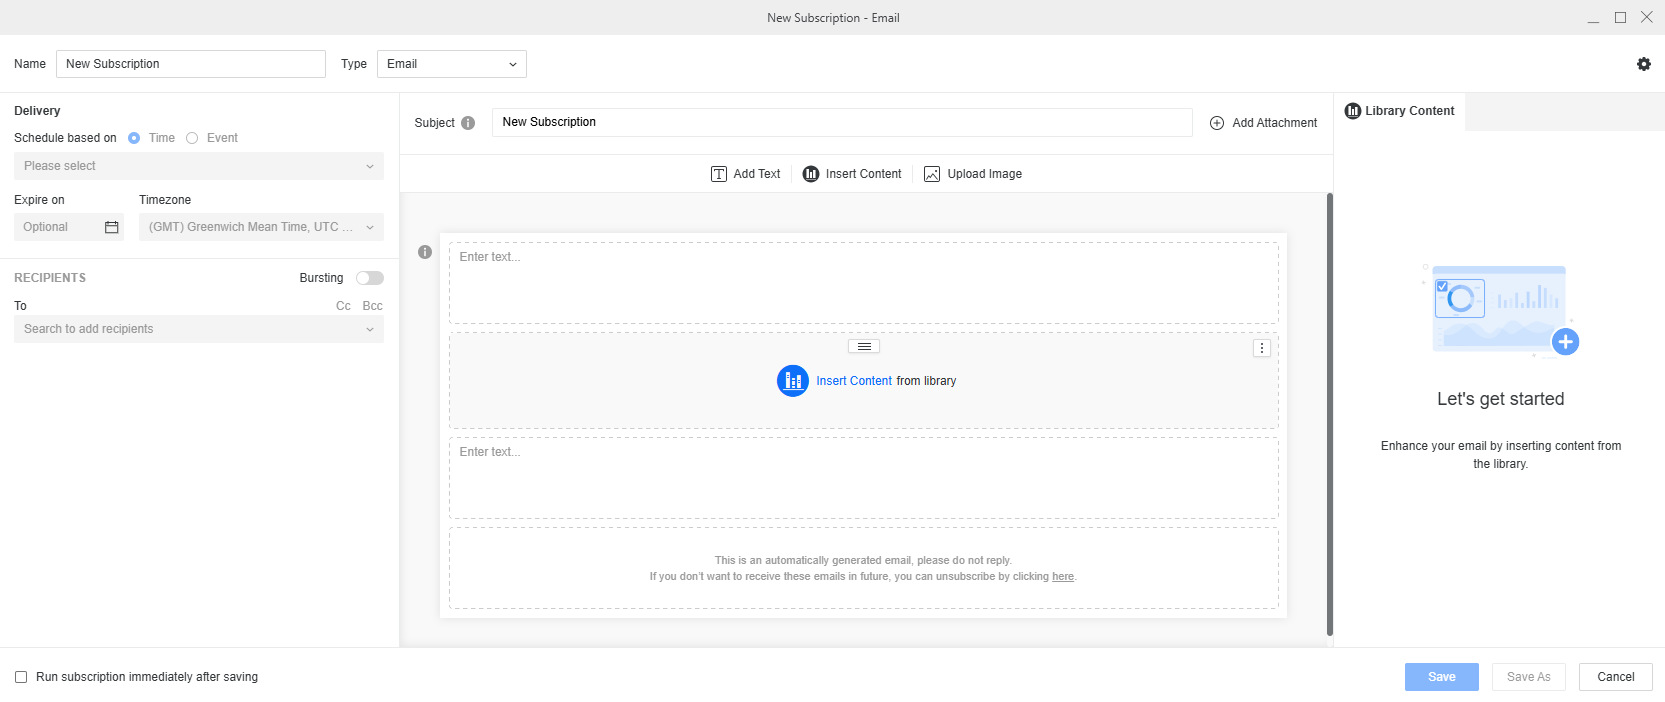
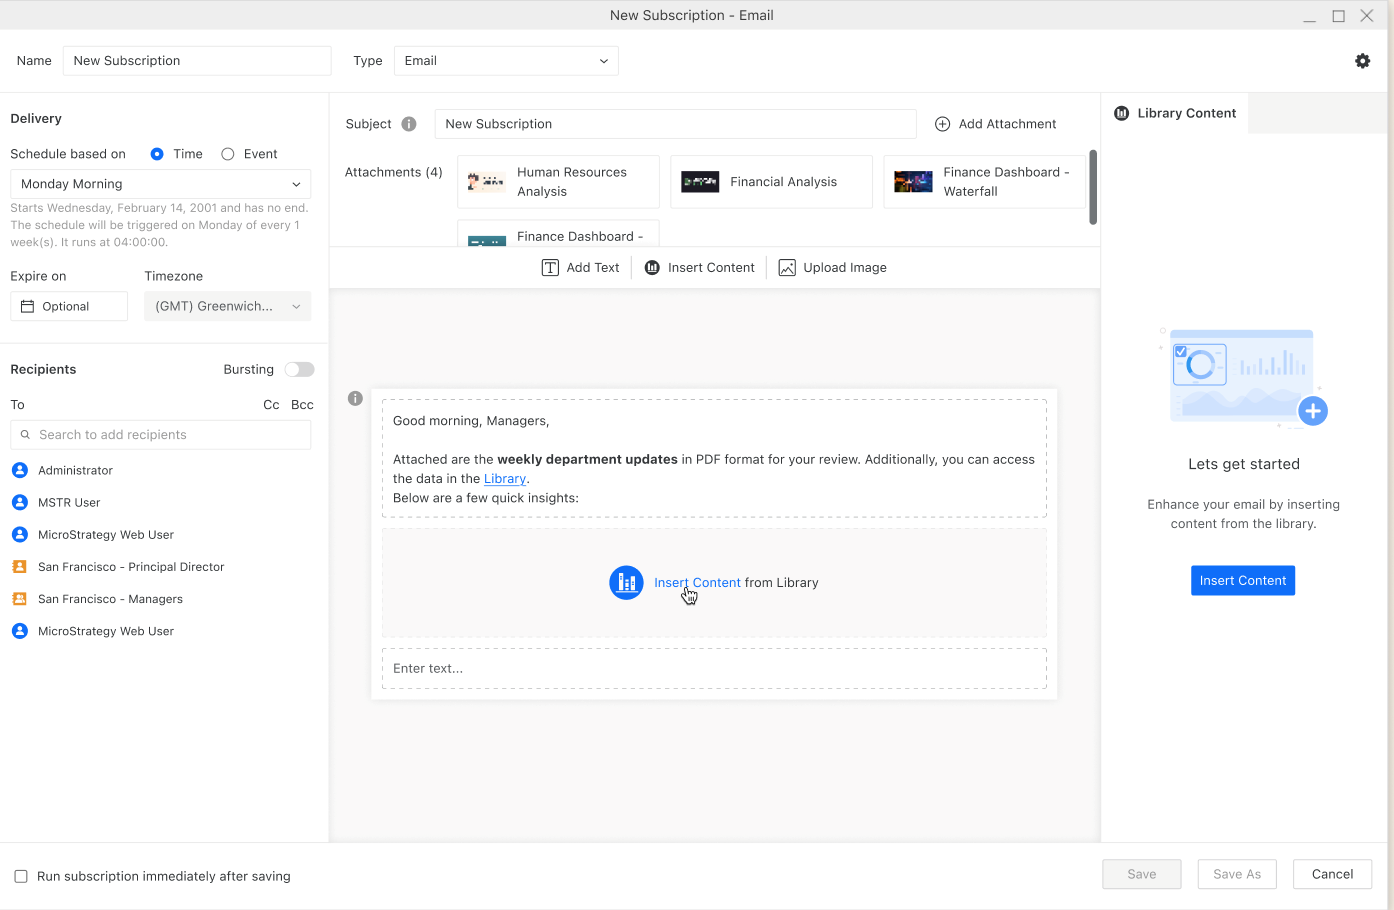
In Name, enter a descriptive name for the subscription.
-
From the Type drop-down list, choose Email.
-
In Subject, enter a brief description to help recipients quickly identify the content being delivered. Starting in Strategy One (June 2025), you can customize the subject by adding dynamic text such as date, recipient, project, attributes, or metrics.
-
To add content to the subscription, click Add Attachment. Select from dashboards, reports, documents, and starting in Strategy One (May 2025), templates. Click Add.
-
For versions prior to Strategy One (August 2025), the content must all come from the same project; starting in Strategy One (August 2025), the content can come from different projects.
-
To choose content from different projects, select a project from the drop-down list and select the objects to attach. Select another project from the drop-down list and select that project's objects to attach. When you have selected all the objects you need from all the projects, click Add.
-
- To view a content object's name, owner, ID, and location (which includes the project name), in the Attachments pane, hover your cursor over the object.
- In the Attachments pane, click More
 next to each added content to update:
- File Name: Starting in MicroStrategy ONE (December 2024), you can edit the file name of your content. For report subscriptions, you can include macros, attributes, and metrics that dynamically change based on your parameters. To choose from a list of available macros, attributes, and metrics, type {& or {.
Format: Change the delivery format. Supported formats for dashboard attachments are PDF and .mstr files and, beginning in Strategy One (March 2026), Excel and CSV files. Supported formats for reports are CSV, Excel, HTML, PDF, and plain text files.
To send the content inside the of the email, choose HTML.
If you select Plain Text, select the delimiter character from the Delimiter drop-down list.
If you select PDF for a dashboard, you can define PDF settings such as the range, page size, and showing page numbers. Click Settings
 to display the PDF Settings window. After you define the settings,
click Save to return to the subscription.
to display the PDF Settings window. After you define the settings,
click Save to return to the subscription.If you select Excel for a dashboard, define the Range by specifying which pages and chapters to include, select whether each page or each visualization is exported to a worksheet by defining the Contents, and determine whether to Show Filters.
If you select Excel for a report, beginning in Strategy One (March 2026), define the Range by specifying whether to expand all page-by fields and export the page-by information, selecting whether to Export the Report Title and Export Filter Details, and customizing the Header and Footer text.
If you select CSV for a dashboard, define the Range by specifying which pages and chapters to include and select the delimiter character from the Delimiter drop-down list.
- To send the same content in different delivery formats, add the content multiple times and choose different delivery formats for each.
-
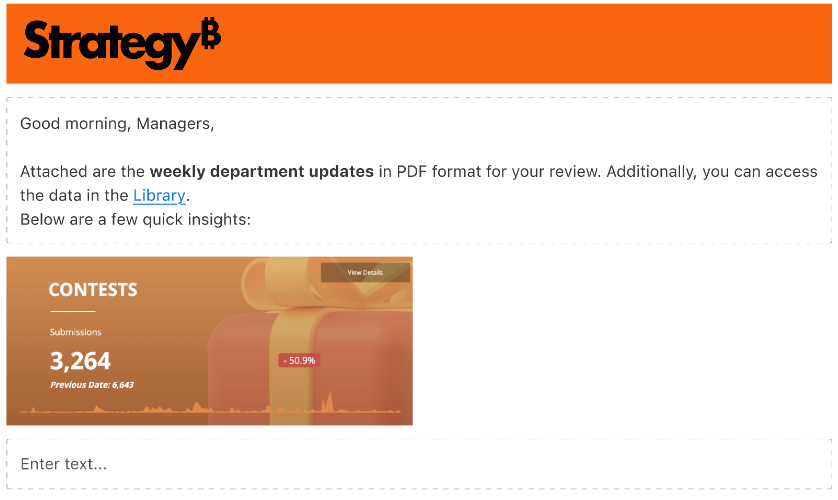
Customize the email body by adding text, content, or images.
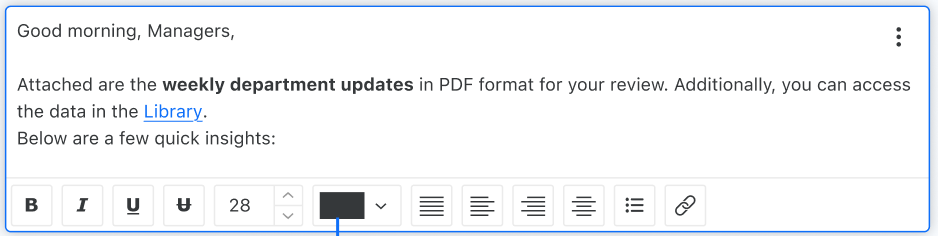
Add Text:Insert rich text with dynamic content such as attributes or metrics, and external hyperlinks, such as a Library link.
Insert Content: Insert content from your Library.
- For dashboards, you can embed individual visualizations or an entire page as a .PNG image.
- For documents and reports, the full content is embedded as an HTML section.
Upload Image:Add an image, such as a company logo.
-
Starting in Strategy One (July 2025), in the Delivery pane, expand the Schedule drop-down list and choose existing schedules or click Add New Schedule. For information on creating schedules, see Create and Edit Schedules.
Prior to Strategy One (July 2025), in the Delivery pane, choose from time-based schedule objects or event-based triggers.
-
Starting in Strategy One (October 2025), a subscription can trigger according to the user's time zone instead of the server's. To do this, select the Use Recipients' Time Zones check box.
-
Depending on your environment, you can also choose an expiration date for the schedule(s) in Stop After or Expire on and Timezone.
- In the Recipients pane, select the recipients of the subscription. Starting in Strategy One (March 2025), you can add user groups to the Recipients pane.
-
Starting in Strategy One (February 2026), you can send an email notification to the owner and recipient if delivery for an email subscription fails. Expand the Send Notification for failed email delivery drop-down list and choose an option to send the notification to the subscription owner, recipients, both owner and recipients, or no notification.
To send the notification, ensure Enable email notification for failed email delivery is enabled. For more information on enabling this option, see project-level settings.
-
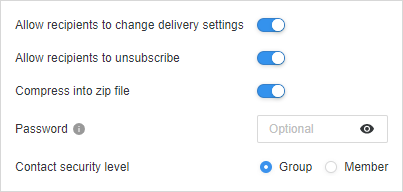
To adjust subscription-level settings, click Settings
on the right side of the toolbar. These settings include:-
Allow recipients to change delivery settings or unsubscribe
-
Choose whether to compress non-HTML files into a zip file and, optionally, define the zip file's password
-
Set the contact security level to group or member
Click here to learn more about the contact security level.The contact security level is the security level used for your contacts. Contacts can have their own member security or you can choose to have each contact inherit from their respective contact group. Contacts and contact groups are assigned to a given user and inherit the privileges of the user to which they are assigned. These privileges determine what a given recipient is able to see when they receive the subscription.
-
- You can choose to Run the subscription immediately after saving.
- Click Save.