Strategy One
Import Data from Amazon S3
Starting in Strategy One (August 2025), you can import XML data format from Amazon S3.
This new data import experience feature was introduced in Library in MicroStrategy ONE Update 12.
Follow the steps below to import data from Amazon S3.
-
Create a Non-OAuth Data Source (IAM) Using the Data Sources Workflow
-
Create an OAuth Data Source (User Account) Using the Enterprise Security Workflow
Create a Non-OAuth Data Source (IAM) Using the Data Sources Workflow
This workflow is for IAM database role creation for Amazon S3.
- Log in to Strategy Library Web.
- Go to the Data Import home page and click
 next to Data Catalog.
 -
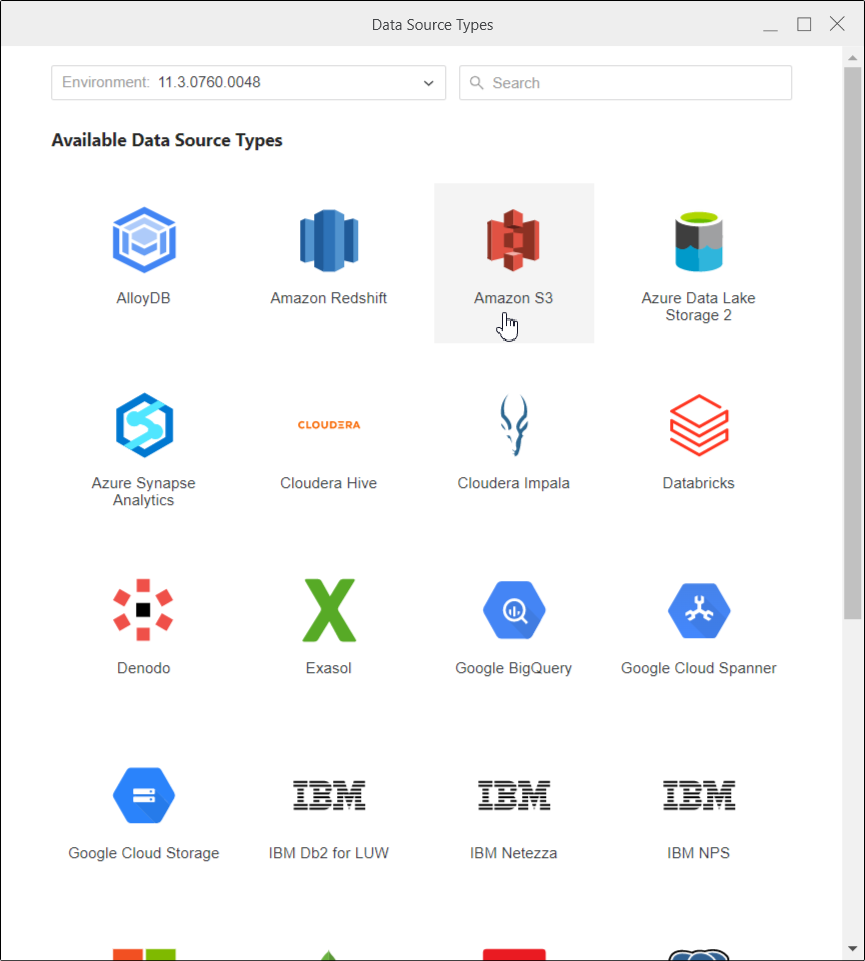
Click Amazon S3.
-
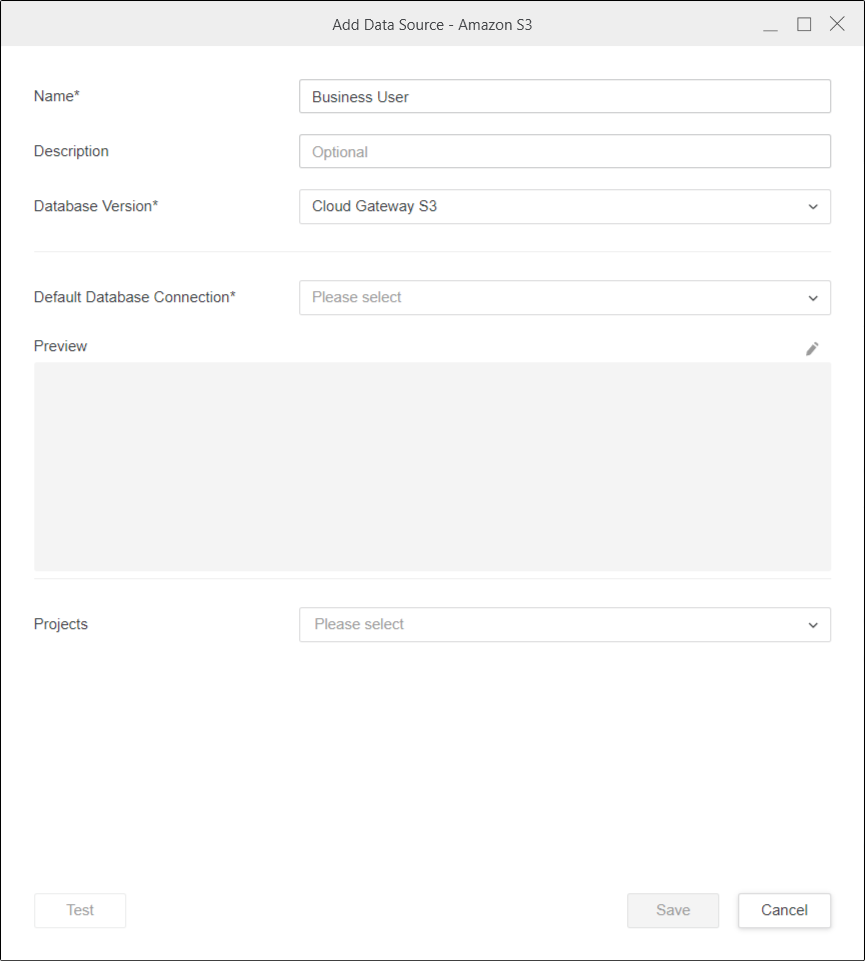
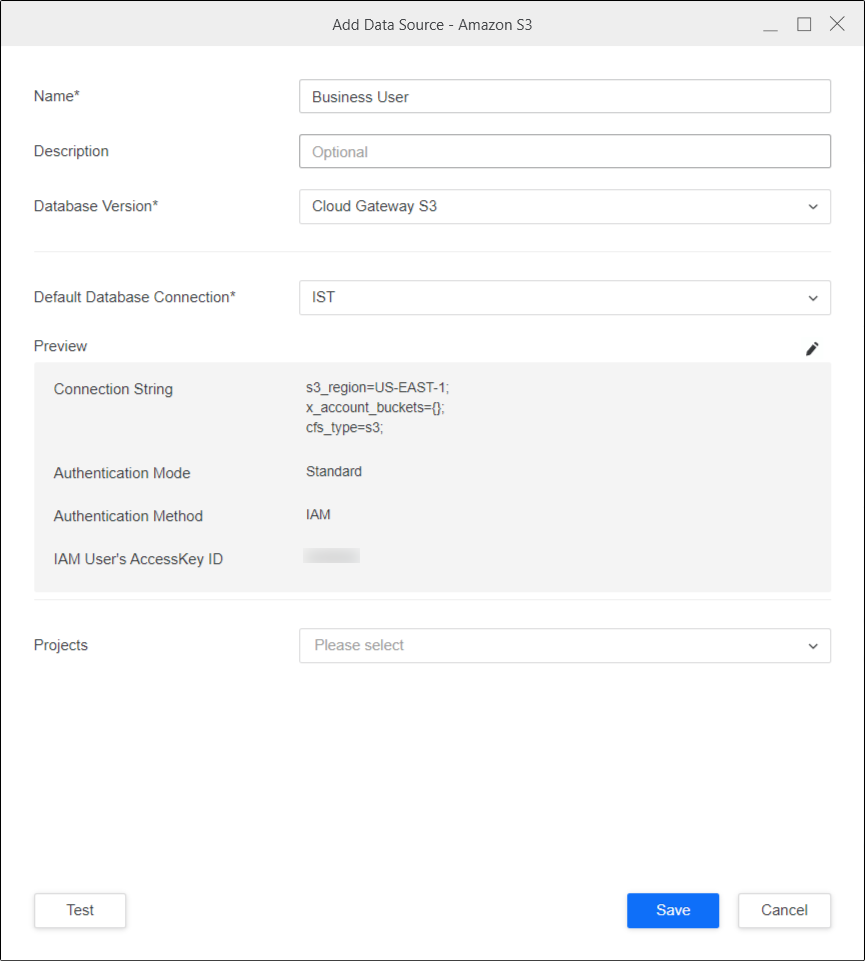
Enter the Name of the database role being created and a Description, if necessary. In Database Version, Cloud GatewayS3 is selected by default.
-
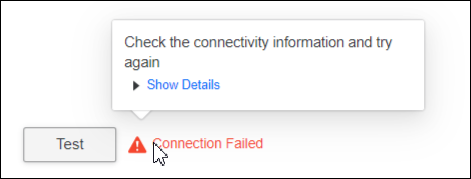
In Default Database Connection, add a new database connection and Test it. If the test fails, hover over the Connection Failed text to get more information regarding the error.
-
Click Save.
-
If necessary, select the pencil icon to modify the connectivity information.
-
Select the Projects you want to associate this database role to.
-
Test your connection.
-
Click Save.
Create an OAuth Data Source (User Account) Using the Enterprise Security Workflow
This workflow is for OAuth database role creation for Amazon S3.
- Open the Workstation window.
-
In the Navigation pane, click
 , next to Enterprise Security.
 -
Select an Identity provider of Cognito with Identity Pool and User Pool.
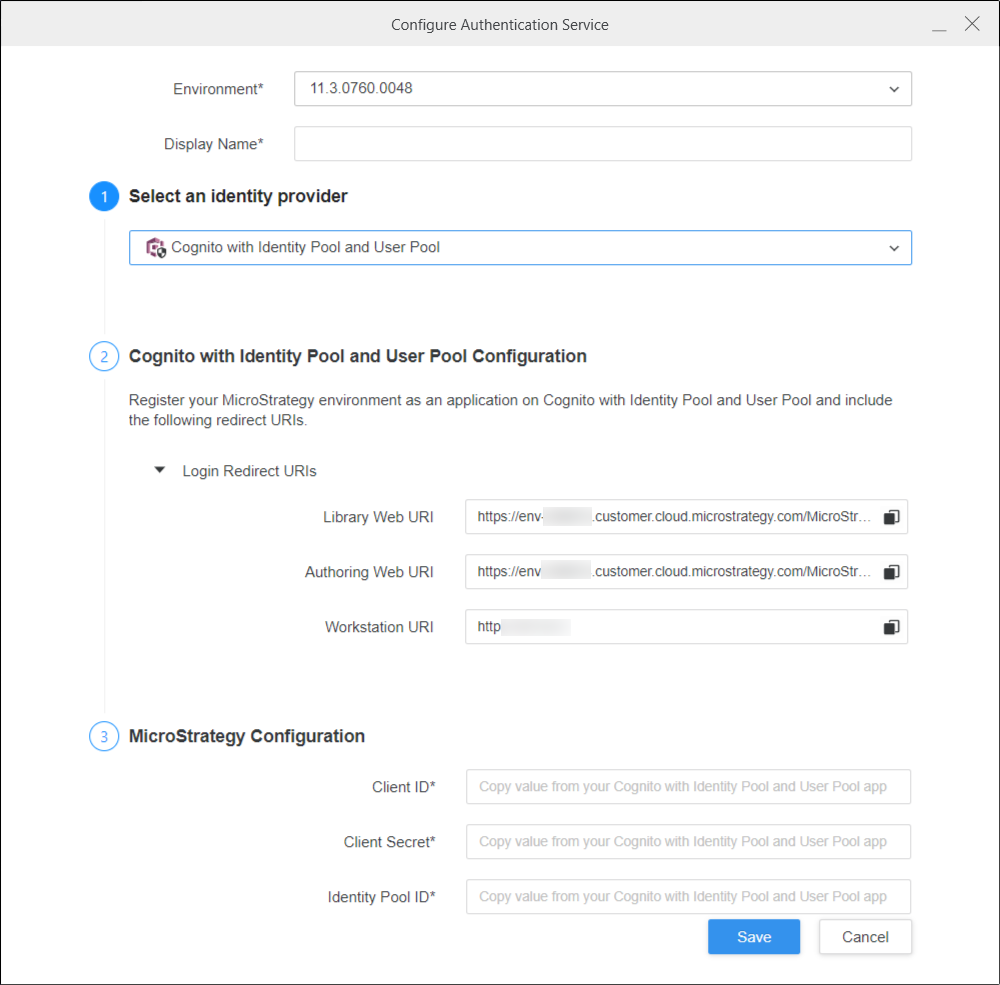
-
The Library Web, Authoring Web, and Workstation URIs are automatically populated. Whitelist these URIs to use the OAuth database role in Library, Web, and Workstation.
-
Complete the remaining fields.
-
Click Save.
-
In the Navigation pane, click
, next to Data Sources. -
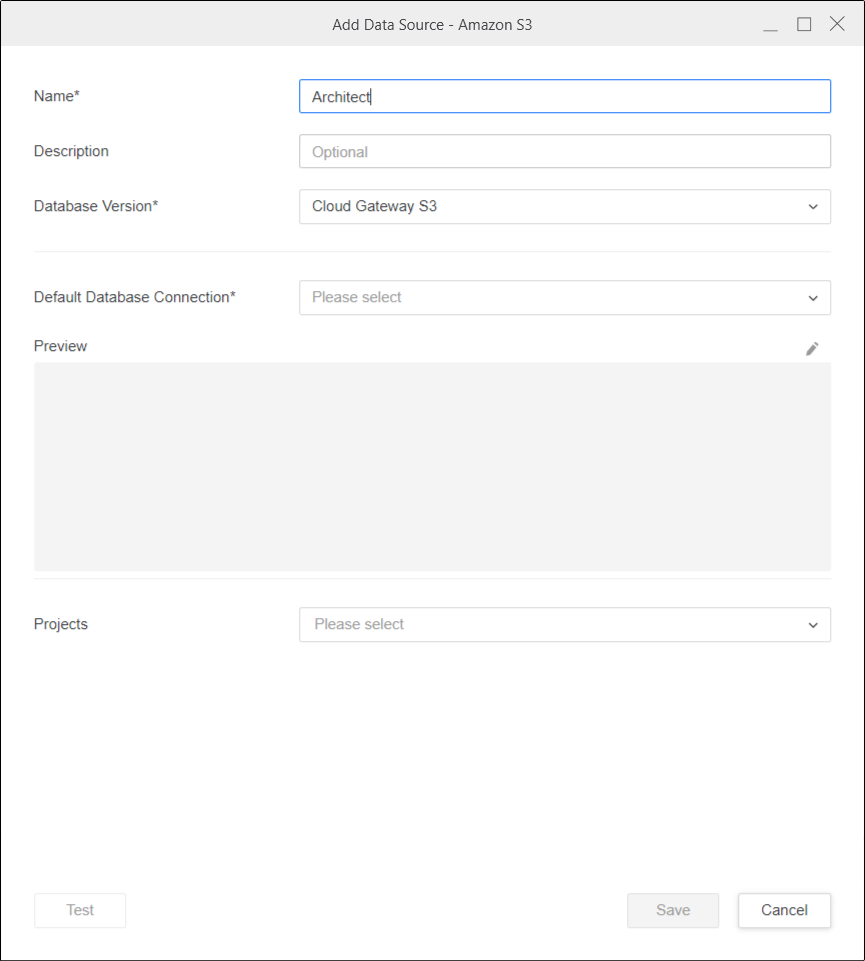
Click Amazon S3.
-
Enter the Name of the database role being created and a Description, if necessary. In Database Version, Cloud Gateway S3 is selected by default.
-
In Default Database Connection, add a new database connection, making the following changes:
-
Change Connection Method to OAuth.
-
Select the Authentication Service created for Cognito under Enterprise Security.
-
Enter the AWS Region.
-
-
Click Save.
-
If necessary, select the pencil icon to modify the connectivity information.
-
Select the Projects you want to associate this database role to.
The Test button cannot be used for OAuth workflows.
-
Click Save.
Import Data
Once you've successfully created the required database roles, you can start importing data.
- Log in to Strategy Library Web.
- Go to the Data Import home page and click next to Data Catalog.
-
Select the Amazon S3 database role. The database roles created using the data sources and enterprise security workflows are visible here.
-
Select the database role. All available buckets appear in the adjoining panel. If the database role being selected is for OAuth, a pop-up appears for entering the username/email and password.
-
In the drop-down, select the bucket and browse the folders or files.
-
Double-click files or drag them into the right pane.
-
In the Preview pane, you can view the sample data and adjust the column type.
-
Publish the cube to Strategy with your selected data.