Strategy One
Integrate Strategy with Okta OIDC Single Sign-On for Dremio
Starting in MicroStrategy ONE (December 2024), you can use the Dremio JDBC driver to implement OIDC Single Sign-On with Okta.
Prerequisites
To use a JSON Web Token (JWT) issued by an OpenID Connect (OIDC)-conformant authorization server to establish JDBC connections to Dremio, a Dremio JDBC driver is required but is not shipped with Strategy. To utilize this functionality, download the latest version of the Dremio JDBC driver and add it under the %MicroStrategyInstallationPath%\install\JDBC folder.
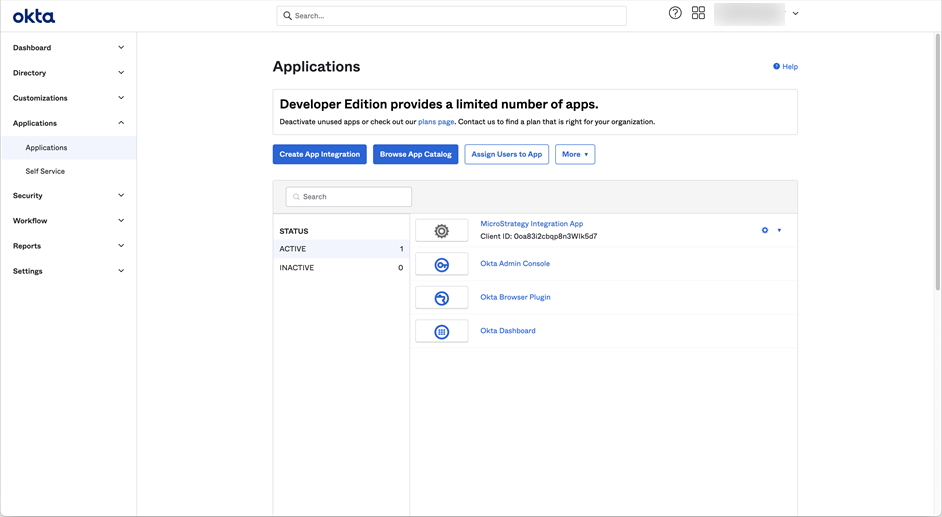
Configure Your Application in Okta
Create an Okta Application
- Log in to Okta.
- In the Navigation pane, under Applications, click Applications.
- Click Create App Integration.
- Choose the OIDC - OpenID Connect sign-in method and the Native Application application type.
- Click Next.
- Enter a name for the application integration, and choose the Refresh Token and Token Exchange grant types.
- Add your sign-in redirect URIs for your environment. For example,
https://xxxxxx.customer.cloud.microstrategy.com/MicroStrategyLibrary/auth/oidc/login. - Choose the Allow everyone in your organization to access controlled access.
- Click Save.
Create an API
- In the Navigation pane, under Security, click API.
- Click Add Authorization Server.
- Enter a name and audience and click Save.
-
Go to Security > API and note the Audience value. You will need this value when configuring the OpenID well-known URI for the authorization server.
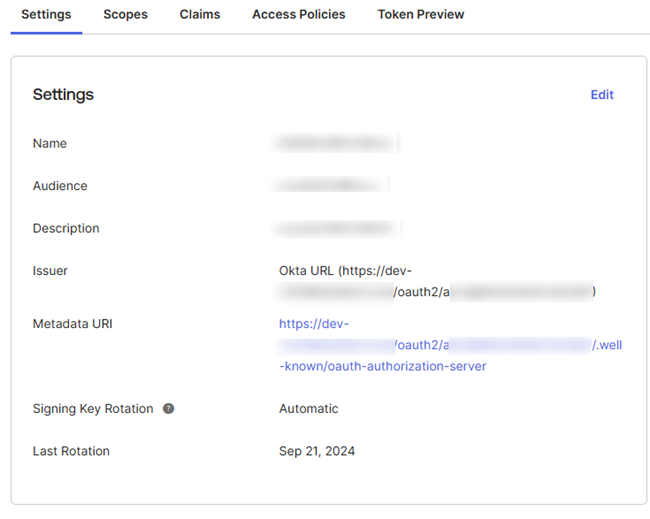
The well-known URI should follow the following format:
https://<organization>.okta..com/oauth2/<unique_id>/.well-known/oauth-authorization-server. -
Open the URL in a browser and note the following parameter values:
-
Issuer
-
Authorization endpoint
-
JWKS URI
-
Token endpoint
-
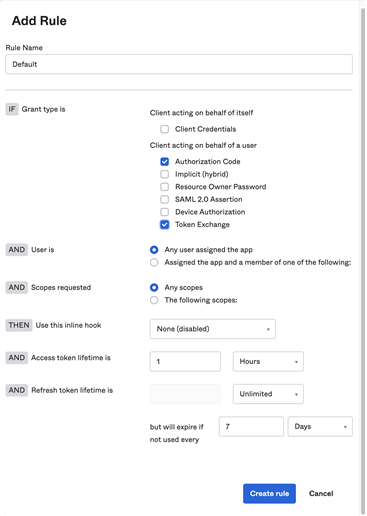
Create an Access Policy and Rule
- Navigate to the Access Policies tab of your newly created API.
- Click Add Policy.
- Enter a name and description. Optionally customize Assign to to the Dremio client that you created in the previous step.
- Click Create Policy.
- Click Add rule.
- Enter your preferred rule options and click Create rule.
Integrate Dremio with Okta
For more information on enabling OAuth in Dremio, see External Token Providers.
-
Log in to the Dremio cloud console and go to Organization Settings.
-
In the left pane, choose External Token Providers.
-
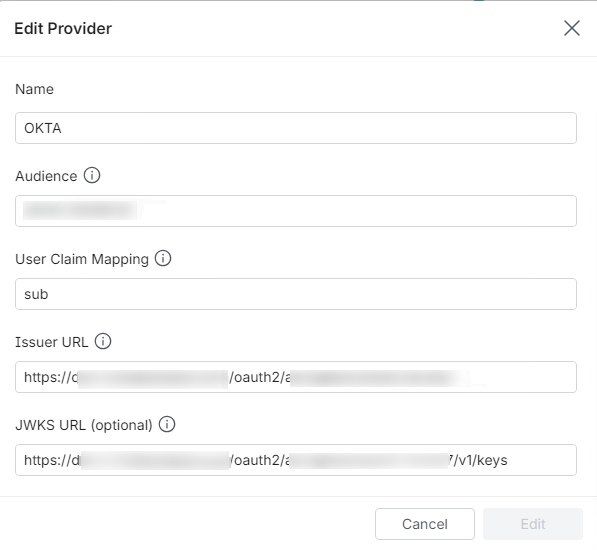
Click Add Provider and type the following IdP details:
-
Name: A unique name for the External Provider.
-
Audience: The claim that identifies the recipient of the JSON Web Token. Copy the value from the Metadata URI in previous steps.
-
User Claim Mapping: The claim that corresponds to the username in Dremio. You can use
sub. -
Issuer URL: The claim that identifies the principals issued to the JSON Web Token. Copy the value from the Metadata URI in the previous steps.
-
JWKS URL: Optional. The URL where the signing key set for the JSON Web Token is located. Copy the value from the Metadata URI in the previous steps.
See the following example token generated by Okta:
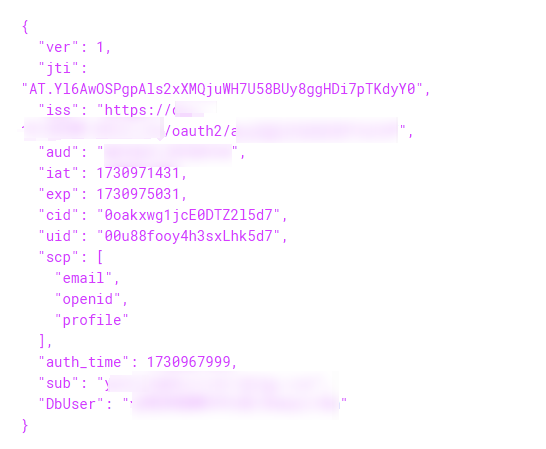
-
-
Create a Dremio user to map in Okta.
Strategy Configuration
Create a Data Source Using OIDC Single Sign-On Authentication Mode
-
Open the Workstation window.
-
Connect to an environment.
-
Create an IAM object using Manage OAuth Enterprise Security with Identity and Access Management (IAM) Objects:
-
In Select an identity provider, choose Okta.
-
Copy and paste your Strategy application configuration fields, including Client ID and Client Secret.
-
In Scope, enter
openid email profile offline_access.
-
- In the Navigation pane, click
 , next to Data Sources.
 - Choose Dremio.
-
Expand the Default Database Connection drop-down list and click Add New Database Connection.
- Type a Name.
-
Expand the Driver drop-down list and choose the
com.dremio.jdbc.Driverdriver that you manually installed in Prerequisites.
- Type a HostName.
- Expand the Authentication Mode drop-down list in the Basic tab, choose OIDC Single Sign-On.
- Expand the Authentication Service drop-down list and choose the IAM objects you created above or to create a new IAM object, click Add New Authentication Service.
- Click Save.
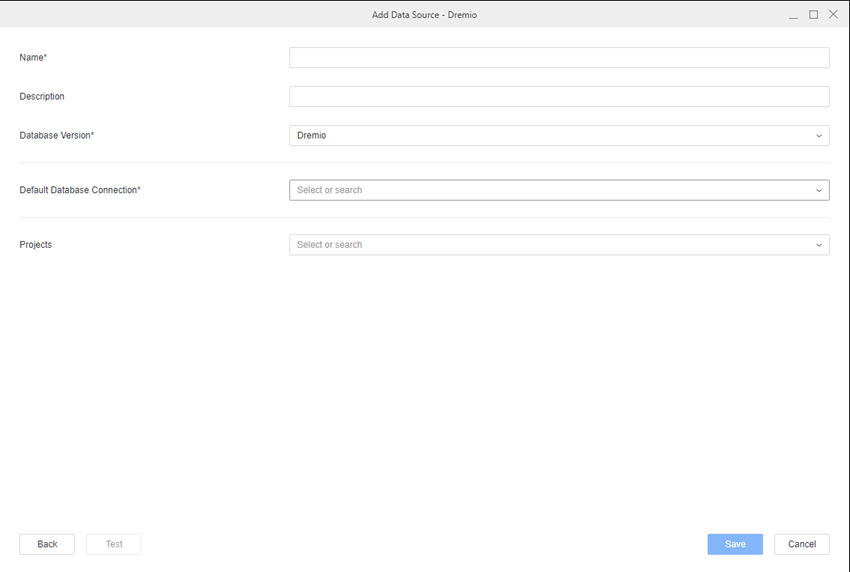
- In the Add Data Source dialog, type a Name and Database Version, and optionally choose Projects for further data manipulation.
- Click Save.
Create and Map Users to Okta
-
Open the Workstation window.
-
Connect to an environment.
-
In the Navigation pane, click Users and Groups.
-
Click
next to All Users. 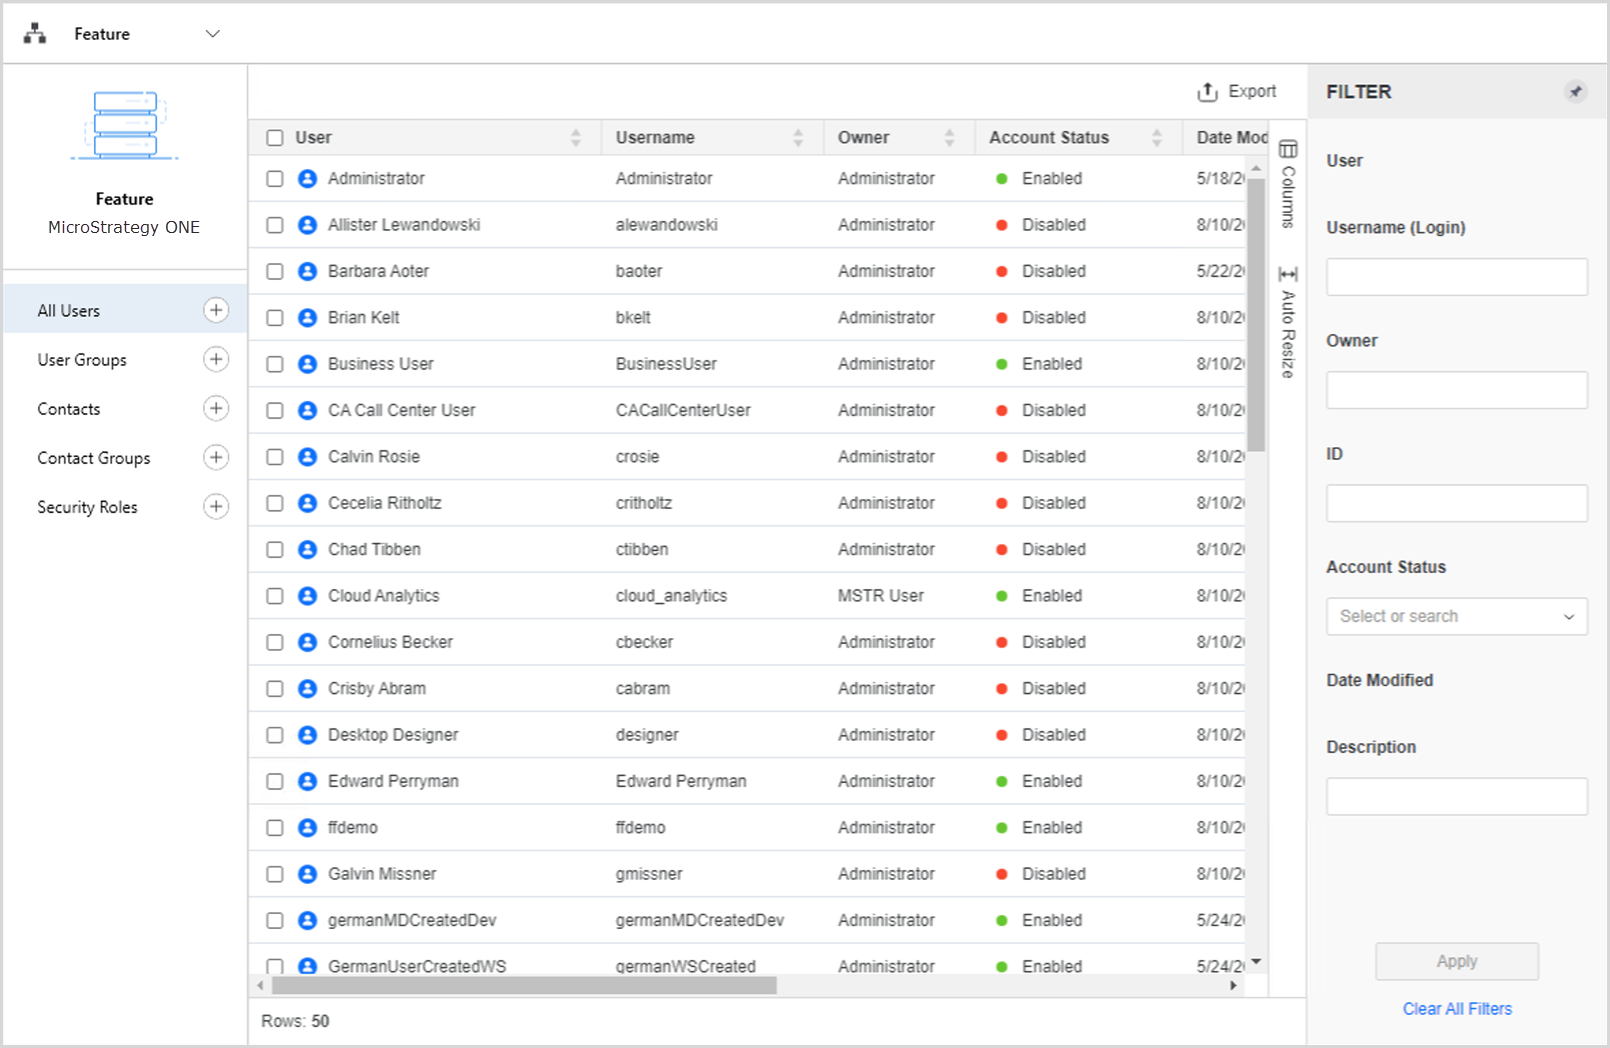
- Type a Full Name, Email Address, Username, and other optional fields.
- In the left pane, click Privileges and select the checkbox next to the following privileges:
- Access data from Databases, Google BigQuery, Big Data, OLAP, BI tools
- Create and edit database instances and connections
- Create and edit database logins
- Create configuration objects
- Create dataset in Workstation
- Configure project data source
- Monitor Database Connections
- Use Workstation
- In the left pane, click Authentication.
-
In Trusted Authentication Request User ID, type the Okta user's email address.

- Click Save.
Configure OIDC
For more information, see Enable OIDC Authentication for Strategy Library.
-
Open Workstation and connect to your environment using standard authentication and administrator credentials.
-
Right-click your connected environment and choose Configure OIDC under Configure Enterprise Security.
-
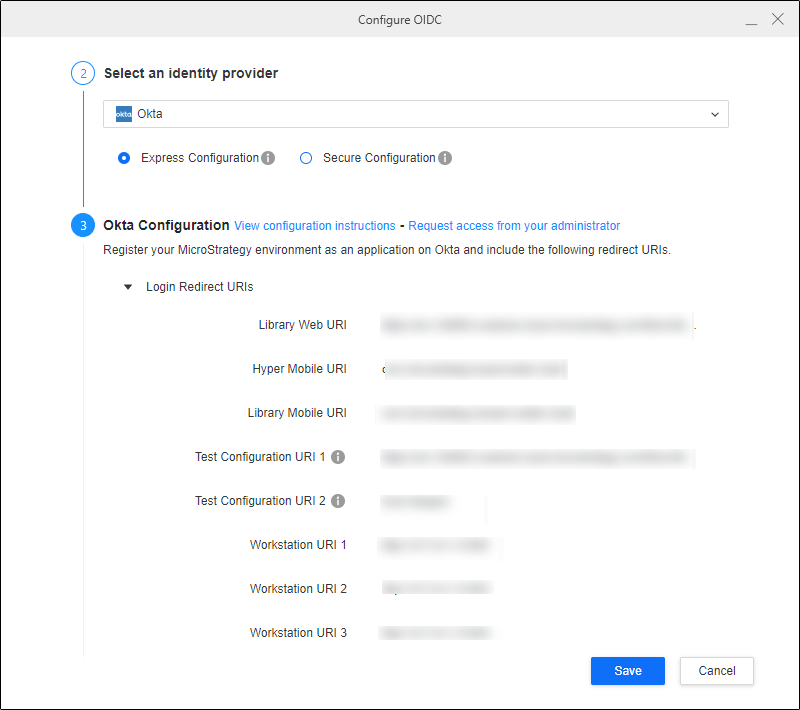
In Step 2: Select an identity provider, choose Okta from the drop-down list.
-
In Step 3: Okta Configuration, copy the Strategy Library URI and Workstation URI into the mobile and desktop application's sign-in redirect URIs in the Okta application you created in Create an Okta Application.
-
Copy the Client ID into the mobile and desktop application's sign-in redirect URIs in the Okta application you created in Create an Okta Application
-
In Issuer, use the value from Okta. To find the value, use
https://<okta_url>.okta.com/oauth2/<serverid>/.well-known/oauth-authorization-server. -
Restart the web server.
Single Sign-On with OIDC
-
Open the Workstation window.
-
Connect to an environment.
-
Right-click the environment and choose Environment under Edit.
-
Select Default OIDC and click Continue.
-
A browser displays. Log in using your Okta credentials.
-
Use a Strategy Administrator account to assign privileges to the new user.
You do not need to perform this step if you mapped a Strategy user to an Okta account and granted privileges.
-
In the Navigation pane, click
next to Datasets. -
Choose a Project and select Data Import Cube.
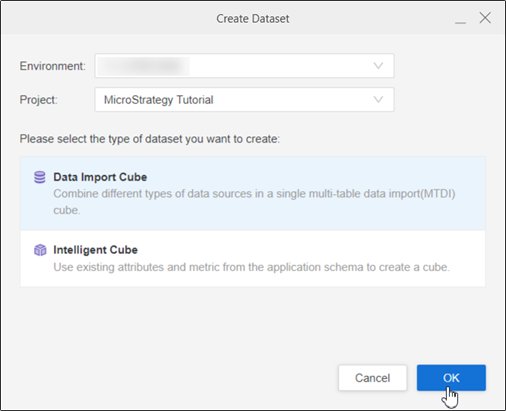
-
Click OK.
-
Choose the data source you created.
The namespaces and tables display.