Strategy One
Enable OIDC Authentication for Strategy Library
This topic details how to enable OIDC authentication for Strategy Library.
Configure OIDC Authentication
- Open Workstation and connect to the Library environment using standard authentication with an admin privilege user.
- Right-click on the connected environment and select Configure OIDC under Configure Enterprise Security.
-
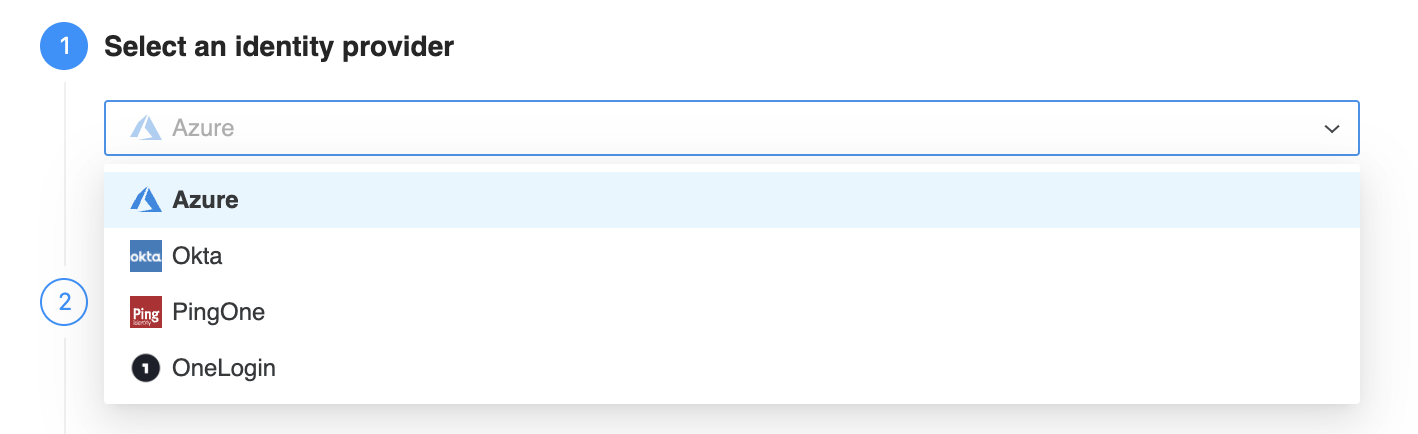
In Step 2: Select an identity provider, select an identity provider from the drop down.
-
In Step 3: Identity Provider Configuration, click View configuration instruction to view a step-by-step configuration guide. Use the instructions to complete Step 3: Identity Provider Configuration and Step 4: Strategy Configuration in Workstation.
If you need assistance from your administrator that is in charge of enterprise Identity and Access Management (IAM), click Request access from your administrator.
-
In Step 5: User Mapping, configure User Claim Mapping to identify the IAM user identity and information.
Primary User Identifier Enter the OIDC claim used to identify users. By default, the OIDC claim is email.
Login Name Enter the OIDC claim for the login name. By default, the OIDC claim is email.
Full name Enter the OIDC claim used for display users’ full names in Strategy. By default, the OIDC claim attribute is name.
Email Enter the OIDC claim used as the user's email in Strategy. By default, the OIDC claim attribute is email.
Select Import User at Login to allow all users in your AD to use their credentials to log in to Strategy.
-
In Step 6: Test Configuration, click Test Configuration to test with the credentials that you provided above.
Step 6: Test Configuration is only available for Okta, PingOne, and PingFederate identity providers.
-
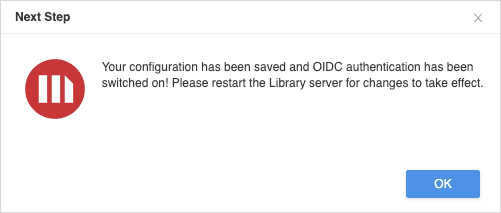
Click Save. In 2021 Update 2 or later, you see the message shown below. Workstation automatically creates a trusted relationship and enables OIDC authentication, along with standard authentication.
If you are using an older build, you may need to manually create the trusted relationship and enable OIDC authentication mode on the Library admin page.
http://<FQDN>:<port>/MicroStrategyLibrary/admin
Library Admin Page Authentication
In 2021 Update 2 or newer, the Library admin pages support basic and OIDC authentication when only OIDC authentication is enabled. The admin pages authentication is governed by the auth.admin.authMethod parameter in the WEB-INF/classes/config/configOverride.properties file. If the parameter is not mentioned in the file, you can add it as shown below.
There are two possible values for the auth.admin.authMethod parameter:
-
auth.admin.authMethod = 1(Default)The default value of the
auth.admin.authMethodparameter is1. This means the Library admin pages are protected by basic authentication.
-
auth.admin.authMethod = 2The Library admin pages are protected by the OIDC admin groups mentioned in the OIDC configuration form. These admin groups are linked to the groups on the Identity Provider (IDP) side. Members that belong to the IDP admin groups can only access the admin pages. Users that do not belong to the admin group receive a 403 Forbidden error.
The administrator can change the parameter value as per the requirements. A Web application server restart is required for the changes to take effect.
The Library admin pages cannot be protected by the OIDC admin groups when multiple authentication modes are enabled.
Enable OIDC Logging
-
Access the machine in which Strategy Library is installed/deployed and browse to
<Library Folder Path>/WEB-INF/classes. -
Locate and edit
logback.xml. -
Locate
<logger name="org.springframework" level="ERROR">and<logger name="com.microstrategy" level="ERROR". Remove any comment tags from both and change the value oflevelto"DEBUG".Copy<logger name="org.springframework" additivity="false" level="DEBUG">
<appender-ref ref="SIFT" />
</logger>
<logger name="com.microstrategy" additivity="false" level="ERROR">
<appender-ref ref="SIFT" />
</logger> -
Locate
<filter class="ch.qos.logback.classic.filter.ThresholdFilter">and change the level to be"DEBUG".Copy<filter class="ch.qos.logback.classic.filter.ThresholdFilter">
<level>DEBUG</level> -
Save and close
logback.xml. -
Restart the application server.
Additional logging is added to
MicroStrategyLibrary-{appName}.log. By default, this is namedMicroStrategyLibrary-MicroStrategyLibrary.log. You can expect the log file to appear in a folder specified under theLOG_HOMEproperty oflogback.xml. For example,<property name="LOG_HOME" value="C:/Program Files (x86)/Common Files/MicroStrategy/Log" />. - Once the behavior you are investigating has been reproduced, edit
logback.xmlonce again and changelevel="DEBUG"back tolevel="ERROR".