Strategy ONE
Creating a Project Baseline
When you upgrade to Strategy ONE, you must ensure that reports, report services documents, and dashboards return the same results in both the current environment and the upgraded environment. For customers performing a parallel upgrade, the easiest way to do this is to use the “Project versus Project” test which will execute selected content objects against two environments, one your existing production, and the other your test upgrade environment. Customers performing an in-place upgrade will need to create a project baseline of your current production environment, and then after the upgrade is done, use that baseline to run the “Baseline versus Project” option. The steps below provide an example.
Create a project baseline
- In your current Strategy environment, access the Windows desktop with Strategy clients installed.
- Open Start Menu > Strategy Products > Integrity Manager.
- From the File menu, select Create Test.
-
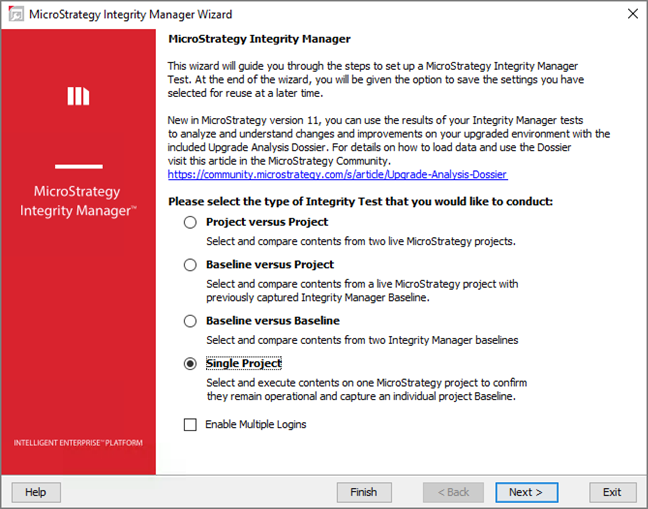
Select Single Project and click Next.

-
On the Enter Base Project Information page, enter the following details about your current environment:
- In the Server Name field, enter the name or IP address of your Intelligence Server.
- In the Server Port field, enter the port number your Intelligence Server uses. The default port number is 34952.
- From the Authentication Mode field, select the authentication mode your Intelligence Server uses.
- In the Login ID and Password fields, enter the credentials to log in to Strategy Intelligence Server.
- From the Project drop-down list, select the project to test.
- Click Next.
-
On the Select Objects from the Base Project to be included in Test page, select objects you want to test.
- Click Next.
- On the Select Prompt Settings screen, click Next.
- On the Select Execution Settings screen, click Next.
-
On the Select Processing Options screen, check the following options for each type of objects:
Reports:
- SQL/MDX
- Data
- Graph
Documents:
- Execution
- Data
Dashboards:
- Execution
- Data

- Click Next.
-
In the Summary screen, click Run.

- In the Save window, click Yes.
- Save the test and make note of the location. You will need the results to run the test on your new environment.
- When the test executions are complete, exit Integrity Manager.
