Strategy One
Use the Strategy Connector
To use the Strategy connector, your administrator must perform the steps detailed in the Configure the Strategy Connector topic of the Strategy Web Administration Help
The Strategy connector allows users to fetch data from reports or cubes that reside on other Strategy projects or environments.
- Open a new or existing dashboard.
- Choose Add Data
 > New Data.
 -
Click the Strategy connector.
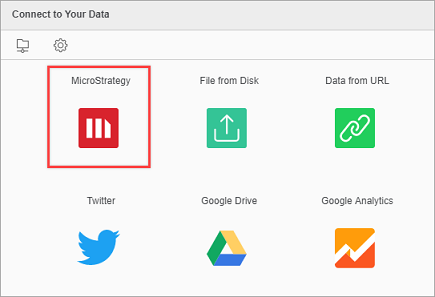
Here you can also check the connector URL. To do it, hover over the icon and click Edit Connector.
-
Enter your API Server and select your authentication mode and enter your credentials.
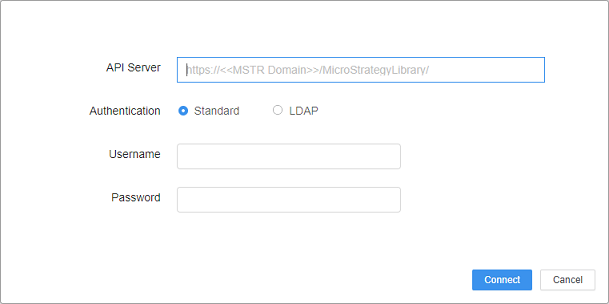
- Click Connect.
- Select a dataset.
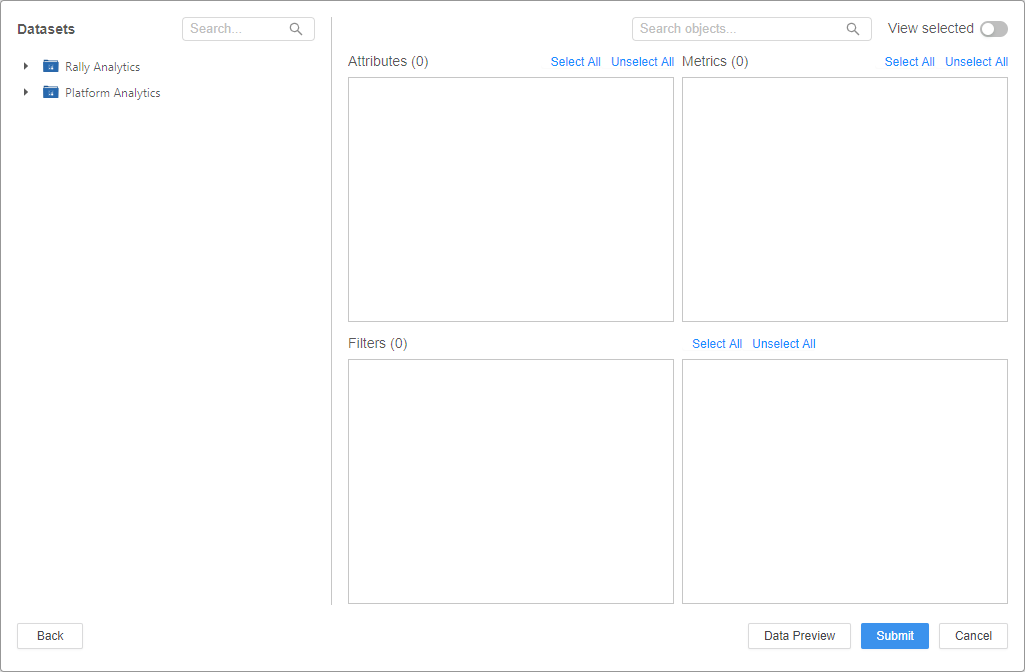
-
Select the attributes, metrics, and filters to include.
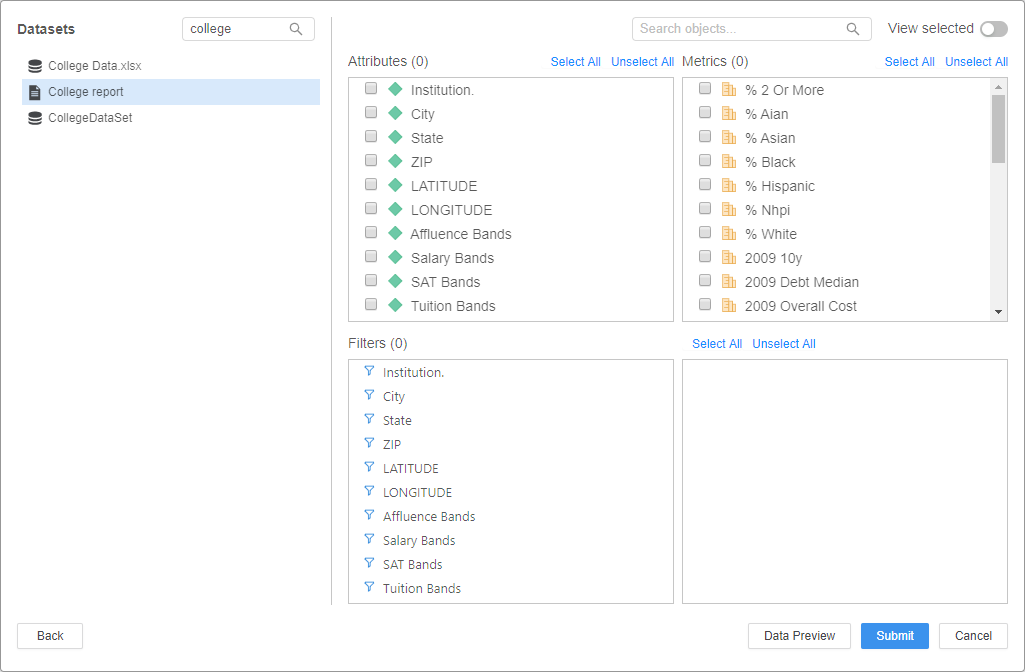
To preview your data, click Data Preview.
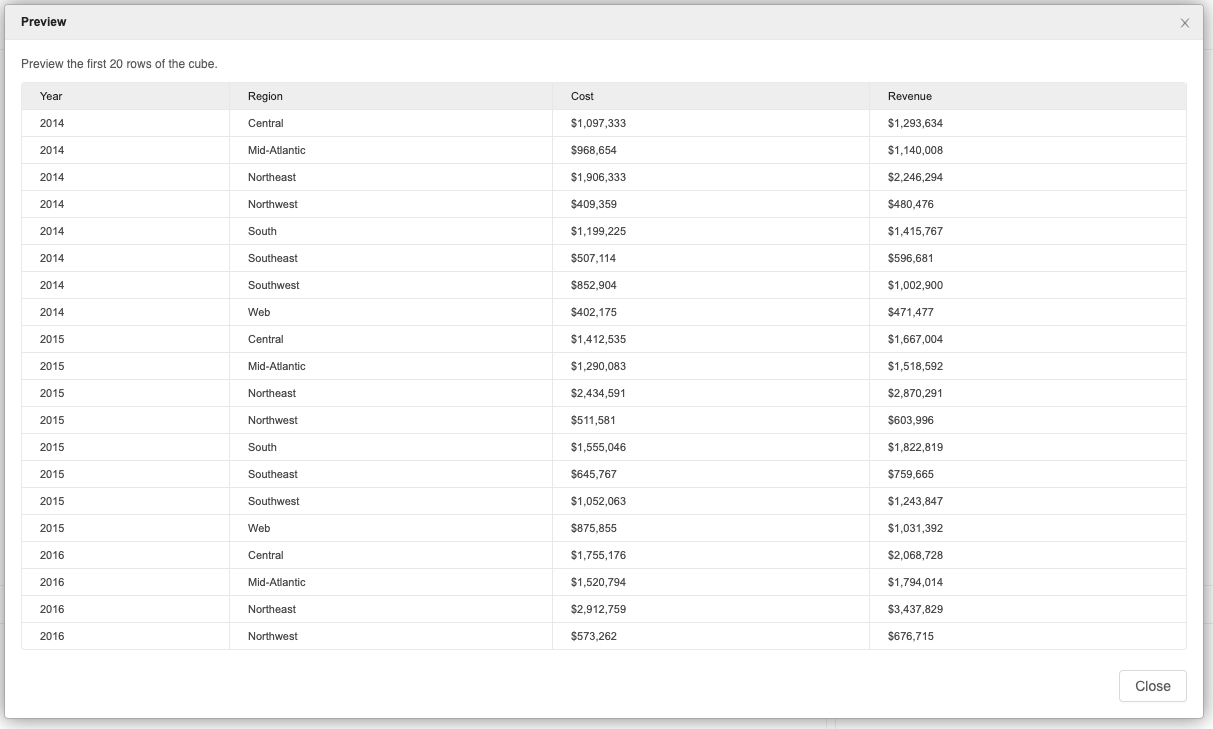
- Click Submit.
- Click Finish.
Related Knowledge Base Articles
- To troubleshoot a blank connector window, see KB483639: Strategy Community Connector Displays a Blank Window After Upgrading to MicroStrategy 2019 Update 3.
- To troubleshoot a White Label error, see: KB483549: A White Label Error Page Appears in Strategy Web When Attempting to Use the Strategy Connector.
- To troubleshoot an error that appears while logging in to the connector, see KB483744: An error appears when logging in to the Strategy connector.
- To troubleshoot an error that appears when browsing and selecting a large cube, see KB483796: An error appears when browsing and selecting a large cube from the Strategy connector.
- To troubleshoot a "Republishing dataset failed" error, see KB483795: Republishing a cube created by the Strategy connector fails after upgrading to MicroStrategy 2019 Update 2 and above.
Limitations
The Strategy connector creates a cube from a snapshot of data from the original data source, such as a cube or report. It references the original data source it was created from. When you move the connector cube across environments or projects using the package manager, the underlying data source remains unchanged. The main purpose of the connector is to create refreshable snapshots of data. It is not intended to be used as a migration tool.
Supported Authentication Types
The Strategy connector supports standard and LDAP authentication.
Import Support
Reports
| Report Type | Supported by Strategy Connector? |
|---|---|
|
Freeform SQL |
No |
|
Graph |
Yes |
|
Grid |
Yes |
|
Grid Graph |
Yes |
|
Intelligent Cube |
Yes |
|
MDX Cube |
Yes |
|
SQL |
No |
Datasets
| Type | Supported by Strategy Connector? |
|---|---|
|
Dashboard Compound Grid |
No |
|
Dashboard Custom Visualizations |
No |
|
Dashboard Free-form Layout |
No |
|
Dashboard Out-of-the-box Visualizations |
No |
|
Intelligent Cube Live Connect |
Yes |
|
Intelligent Cube MTDI |
Yes |
|
Intelligent Cube OLAP |
Yes |
Documents
Documents are not supported by the Strategy connector.
Other
| Type | Supported by Strategy Connector? |
|---|---|
|
All attribute forms format types |
Yes Note: When you import geo attributes (longitude and latitude), they will not be properly set after import but can be set in the Prepare Data window |
| All metric types | Partial |
|
Consolidations |
Yes |
|
Custom groups |
No |
|
Derived elements |
Yes |
| Edit previously imported data | Yes |
| Page-by reports (All pages) | No |
|
Page-by reports (First page) |
Yes |
|
Prepare data before import (attributes, metrics, attribute elements) |
No You can only select which attributes and metrics to import, sorting is supported |
|
Preview data before import |
Yes |
|
Prompted reports with and without default answers |
No |
|
Reports with system and nested prompts |
No |
|
Reports with view filters/reports, derived metrics |
No |
|
Select attribute forms to import |
No |
| Select how attribute form names should be imported (For example, form name only) | No |
| Select totals and subtotals to not import | No |
|
Totals and subtoals |
No |
