Strategy One
Configure OAuth Parameters Using Okta for Denodo
Configure Your Application in Okta
Create an Okta Application
- Log in to Okta.
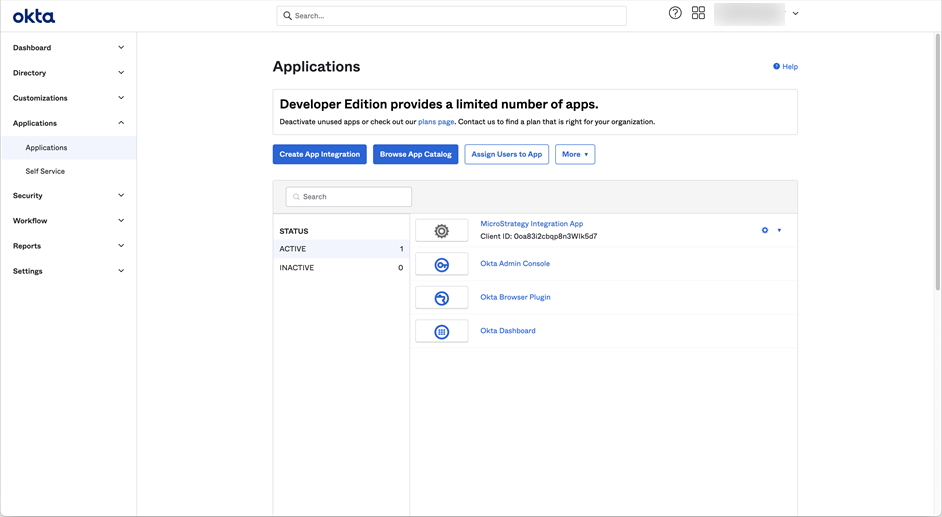
- In the Navigation pane, under Applications, click Applications.
- Click Create App Integration.
- Choose the OIDC - OpenID Connect sign-in method and the Native Application application type.
- Click Next.
- Enter a name for the application integration, and choose the Refresh Token and Token Exchange grant types.
- Add your sign-in redirect URIs for your environment, for example,
https://env-308750.customer.cloud.microstrategy.com/MicroStrategyLibrary/auth/oidc/login. - Choose the Allow everyone in your organization to access controlled access.
- Click Save.

Create an API
- In the Navigation pane, under Security, click API.
- Click Add Authorization Server.
- Enter a name and audience and click Save.
- Navigate to the Scopes tab of your newly created API.
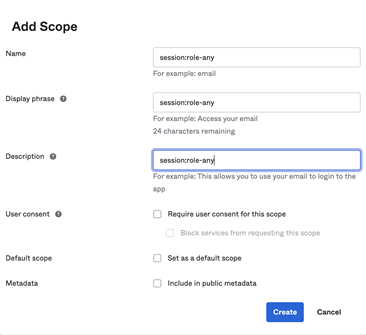
-
The scope name should be the same as the role name in the database. Denodo scopes are the same name as roles. Once Denodo has the scopes of the token, it obtains roles with the same names and executes the request with the privileges granted to these roles.

- Click Create.
Create an Access Policy and Rule
- Navigate to the Access Policies tab of your newly created API.
- Click Add Policy.
- Enter a name and description. Optionally, customize Assign to.
- Click Create Policy.
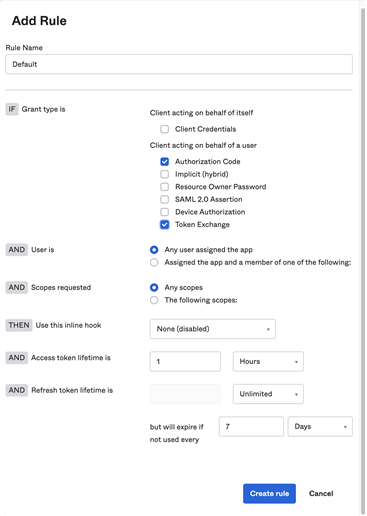
- Click Add rule.
- Enter your preferred rule options and click Create rule.
- Click Actions and Edit.
- In Assign to, assign the rule to the application you created.
- Click Update Policy.

Integrate Denodo with Okta
For more information on enabling OAuth in Denodo, follow the instructions in the JWT section of Enabling OAuth Authentication.
-
Open the Denodo Administration Tool and log in with an Administrator account.
-
In the menu, click Administration and Server configuration.
-
Click Server authentication and OAuth.
-
Define the following values:
-
Select a validation mode: Select Use JWT.
-
Select the signing algorithm: Choose RS256.
-
Issuer: Use the value from your OpenID configuration. To find this value, use
https://<okta_url>.okta.com/oauth2/<serverid>/.well-known/oauth-authorization-server. -
JWKS URL: Use the value from your OpenID configuration. To find this value, use
https://<okta_url>.okta.com/oauth2/<serverid>/.well-known/oauth-authorization-server. -
Audience: Enter your Okta Authorization Server Audience value.
To find this value in Okta, in the Navigation pane, under Security, click API, and copy the Authorization Server Audience value.
-
Scope field name: Type
scp.
-
-
Click OK.
-
To create roles in Virtual DataPort and grant them the appropriate privileges, see Creating Roles.
The role name is used in Add Scope in Okta.
Create Enterprise Security Objects
To create IAM objects, see Manage OAuth Enterprise Security with Identity and Access Management (IAM) Objects.
Client ID and Client Secret values can be found in Create an Okta Application.
OAuth URL and Token URL values can be found using the format, https://<okta_url>.okta.com/oauth2/<serverid>/.well-known/oauth-authorization-server.
Use the following format in Scope, openid email profile offline_access <scope created>, where <scope created> is the scope name from Create an API.
