Strategy One
Create an ODBC Connection for Denodo
- Workstation
- Library
Create a Data Source
-
Open the Workstation window.
-
Connect to an environment.
-
In the Navigation pane, click
 next to Data Sources.
 -
Search for and choose Denodo from the data source list.
-
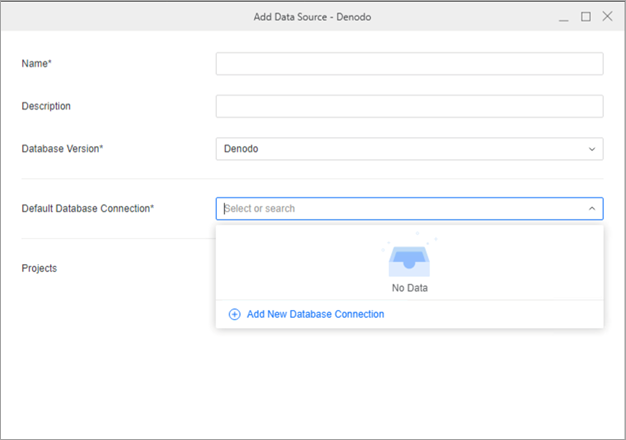
In the Default Database Connection drop-down list, click Add New Database Connection.
-
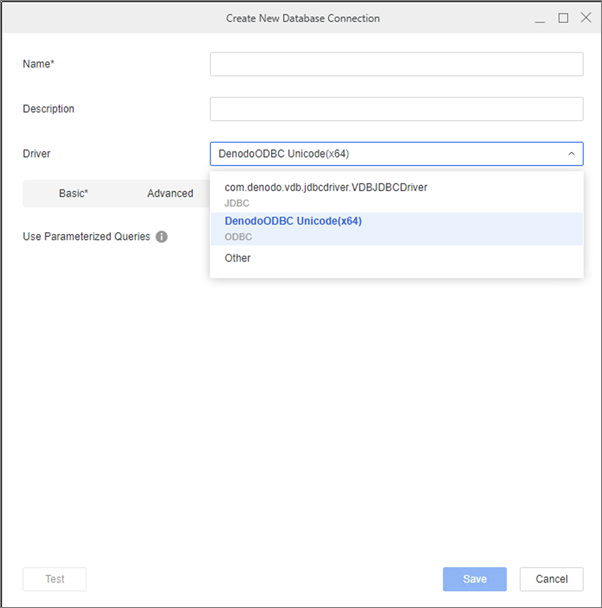
Type a Name for the new database connection.
-
In the Driver drop-down list, choose the Denodo ODBC driver.
-
Click the Basic tab.
-
Type a Server Name, Port Number, and Database.
-
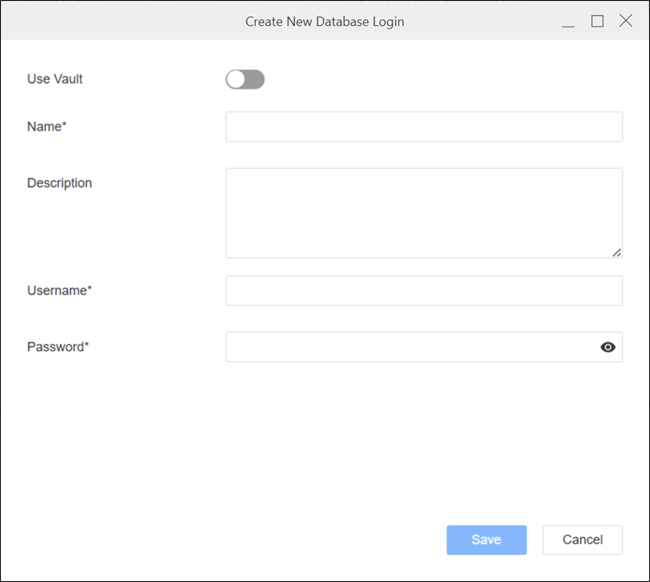
In the Default Database Login drop-down list, click Add New Database Login.
-
Type a Name, Username, and Password for the new database login.
-
Click Save.
-
Click Save.
-
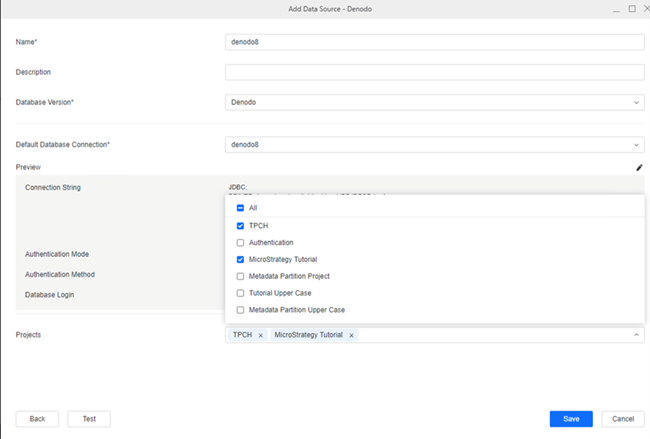
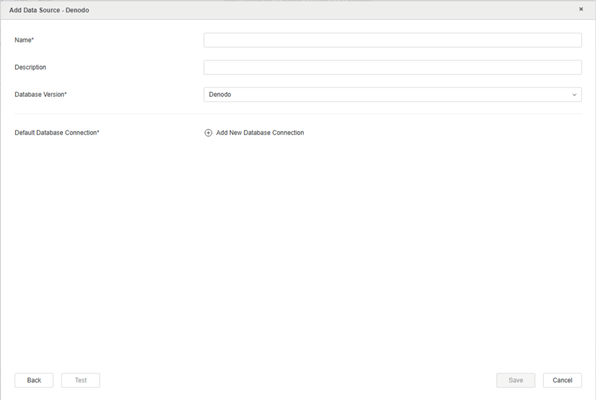
In the Add Data Source dialog, enter a Name and Database Version for the new data source.Optionally, choose Projects for further data manipulation.
-
Click Save.
Import Data Using Your Denodo Data Source
-
Open the Workstation window.
-
Connect to an environment.
-
In the Navigation pane, click
 next to Datasets.
 -
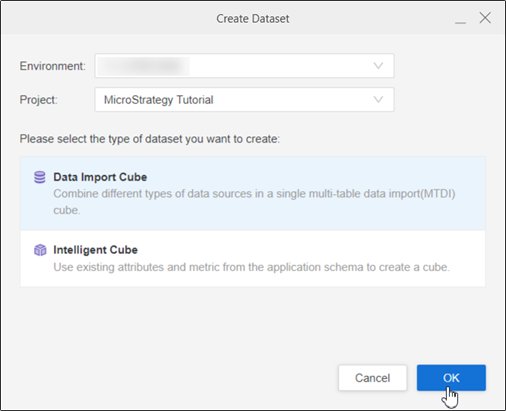
Choose a Project and select Data Import Cube.
-
Click OK.
-
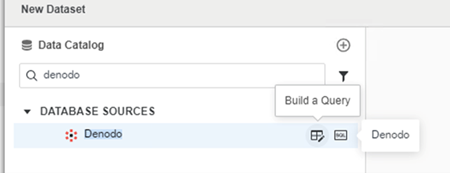
In Data Catalog, click the Denodo data source you created, choose a namespace, and click Connect.
-
Double-click a table to add it to the right pane.
You can also hover over the Denodo Database Source and click Build a Query or Add free-form SQL.
-
Click Prepare Data to modify your data or click Save.
-
In Library, choose Create New > Dashboard.
-
Choose a project from the Create Dashboard in drop-down list.
-
Click Blank Dashboard.
-
In the Datasets panel, click New Data.
-
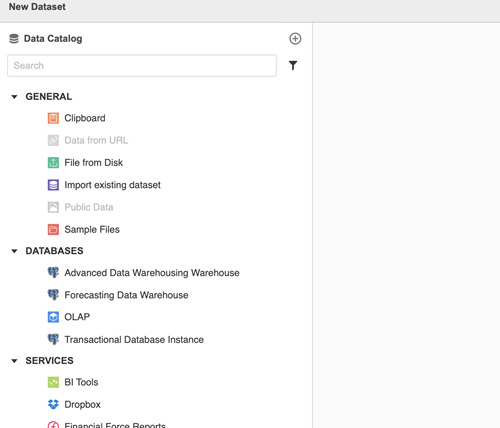
Click
 next to Data Catalog.
-
Search for and choose Denodo from the data source list.
-
In Default Database Connection, click Add New Database Connection.
-
In the Driver drop-down list, choose the Denodo ODBC driver.

-
Click the Basic tab.
-
Type a Server Name, Port Number, and Database.
-
In Authentication Mode, choose Standard.
-
Click Add New Database Login and type your Username and Password.
-
Click Save.
-
Type a Name for the new database connection.
-
Click Save.
-
In Data Catalog, click the Denodo data source you created, choose a namespace, and click Connect.
-
Double-click a table to add it to the right pane.
You can also hover over the Denodo Database Source and click Build a Query or Add free-form SQL.

-
Click Preview Data to modify your data or click Save.
-
Create your dashboard using your imported data.
