Strategy ONE
Customize Display
Beginning in Strategy One (March 2025), bots have been enhanced to improve responses and the bot creation process. For more information on the enhancements, see Strategy One (March 2025) Enhancements.
-
You can continue to create bots, as well as edit and use bots created in previous versions. For an introduction, see Auto Bots: Customized Stand-Alone Bots (prior to March 2025).
-
To enable the new bots, contact Strategy support. For an introduction to the new bots, see Auto Bots: Customized Stand-Alone Bots. For steps to create a new bot, see Create a Bot.
Use the General panel to customize the bot's display and behavior to align with specific industry requirements or personal preferences. You can change the bot's name, logo, and greeting; provide topic and question suggestions; and enable saving answers, information about the bot's dataset objects, and interpretation.
Customize the Bot's Display
- Open an existing bot and click the Edit
 icon in the upper right.
 - Click the General panel
 .
.

- Define the following fields, as needed:
-
Bot Name: Type a name, which can be different than the name you use to define the object in Library.
You can manually set i18n strings in this field. The Bot Name should not exceed 50 characters.
-
Active: Click the toggle to enable or disable the bot.
When you disable a bot, it is unaffected in authoring mode. Once you click Save, the bot is disabled as indicated by the inactive status message.

-
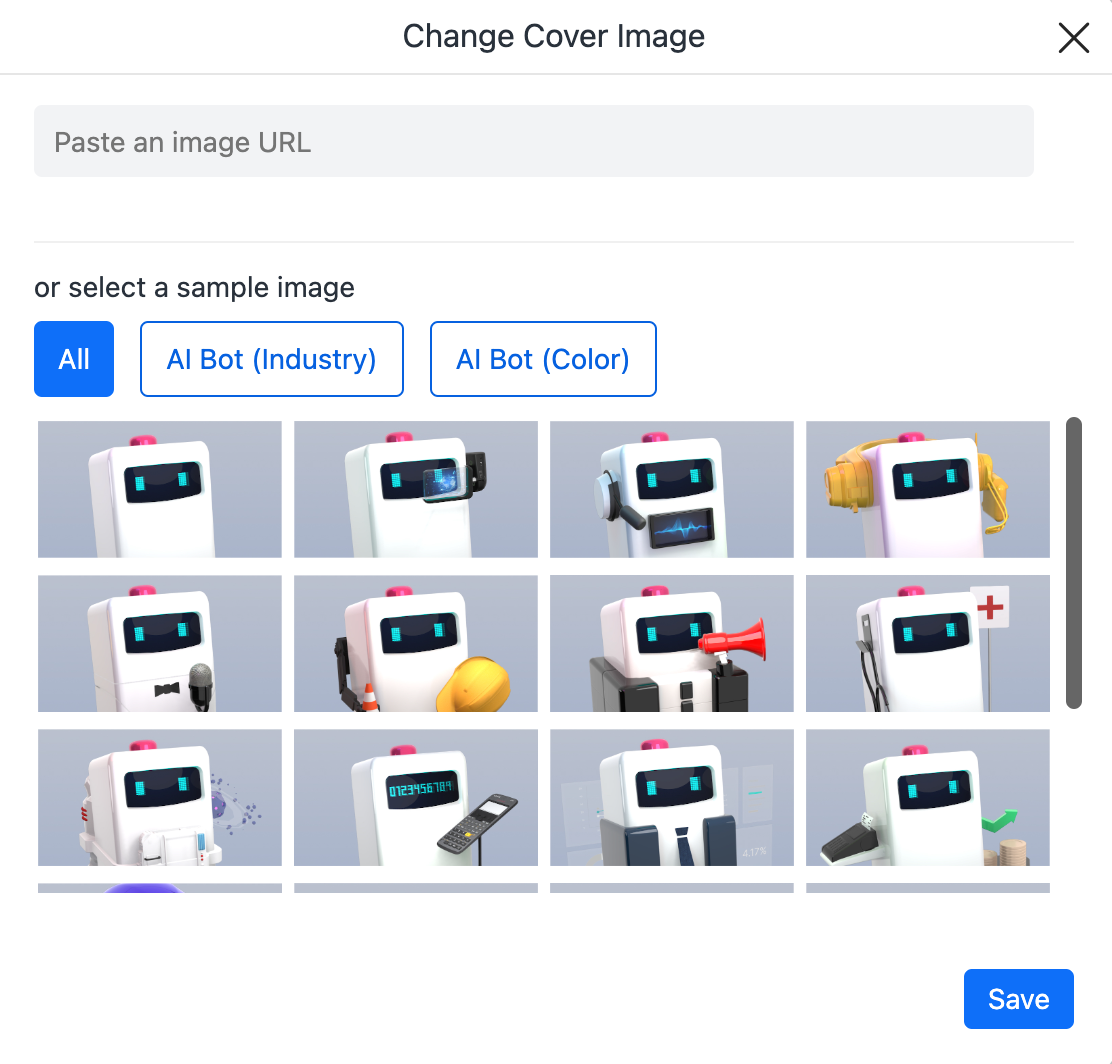
Bot Cover Image: Click Edit
 to change the cover image that displays in Library. You can select one of the sample images or paste a URL and click Save.
- Display logo next to bot's name: Starting in MicroStrategy ONE (June 2024), the cover image displays as a logo next to the bot's name in the bot panel. Deselect the check box to display only the name.
-
Bot Greeting: Type the greeting text. A greeting can help users by setting expectations regarding the bot's capabilities and purpose while adding a personality.
You can manually set i18n strings in this box. The Bot Greeting should not exceed 500 characters.
- Enable Topic Suggestions: Starting in MicroStrategy ONE (March 2024), click the toggle to enable or disable topic suggestions. The bot automatically generates three topic suggestions. You can:
- Edit the title or description of a suggestion
- Delete
 a suggestion
 - Regenerate
 a suggestion
 - Add a suggestion if less than three suggestions are listed, by either clicking Add Custom Topic and typing a Title and Description, or by clicking Auto Generate Topics which creates suggestions
You can delete up to two suggestions. At least one suggestion must be available.
- Allow Saving Answers to "My Snapshots": Click the toggle to enable or disable saving answers to the My Snapshots. When enabled, users can save the bot responses they want to refer back to later in the My Snapshots panel. For example, users can save important metrics on a monthly basis, enabling easy comparisons over time.
- Enable "Ask About": Starting in MicroStrategy ONE (March 2024), click the toggle to enable or disable the Ask About panel which displays information about the attributes and metrics in the bot's dataset. Ask About helps users understand how the bot can assist them by displaying sample data and related question suggestions.
- Enable Interpretation: Starting in MicroStrategy ONE (March 2024), you can click the toggle to enable or disable interpretation of your bot answers. For more information, see Leverage AI Interpretation.
- Define the behavior of the question input area:
- Hint: Type text to display in the input field.
- Enable Question Suggestions: Click the toggle to enable or disable question suggestions.
- Automatically Generated Suggestions: In the drop-down, select the number of question suggestions to display. The default is three and the maximum is five.
- Add Custom Suggestion: Click Add Custom Suggestion to type a custom suggestion. You can Delete
 any custom suggestion that you create.
You can manually set i18n strings in this box. The hint should not exceed 50 characters.

- Max Questions/User/Month: Type the maximum number of questions a user can ask the bot each month. A month is defined as a 30-day rolling period. The count starts when a user opens the bot and expires 30 days later.
-
Links: Sometimes the information a user needs might be extensive or detailed. To avoid long text in the chat, you can add a relevant link. You can add up to three links, which display at the top right of the bot panel. You can Delete
 any link that you create. To add a link:
 - Click Add Link and type a link name.
- In the drop-down list next to the link's name, select the icon to display.
- In Paste a URL, type or paste the link's URL.
- In the Display Format drop-down, choose a display format.

- Click Save.
For additional help, see Troubleshoot General SettingsGeneral Troubleshooting
