Strategy ONE
Preconfigure Library Mobile for Android
In a typical MicroStrategy Library Mobile deployment, a System Administrator e-mails a mobile configuration URL to users. For MicroStrategy Library Mobile for Android, this configuration URL includes server information. When users click the configuration URL, the MicroStrategy Library Mobile app on their Android device is configured with the appropriate connection settings for their MicroStrategy environment.
You can preconfigure the MicroStrategy Library Mobile app with server information so that users can start using the app immediately. All connection settings are preconfigured by the System Administrator prior to making MicroStrategy Library Mobile available to users. You can preconfigure information for more than one server.
Starting in MicroStrategy 2021 Update 6, you can preconfigure the MicroStrategy Library Mobile app to load a specific application once it starts. This is done by specifying an application ID in the "startAppId" parameter. You can get this ID from a specific application in Workstation.
Preconfigure the Server in the JSON File
-
Set up the environment so that you can use the MicroStrategy Library Mobile sample Android project as the base for your customizations.
-
Follow the steps below to update the project configuration files for the MicroStrategy Library Mobile sample Android project, which are each called
default_config.json. You can pre-configure more than one server.-
Open the MicroStrategy Library Mobile sample Android project in Android Studio.
-
Navigate to the
app>src>main>resfolder. Theresfolder contains arawsubfolder. This subfolder contains the project configuration file,default_config.json. -
Make the following changes in
default_config.json, using the appropriate values for your environment.Parameter Description Example value requestType Library server request type HTTPS: 1
HTTPS: 0alias(Optional)Library server alias startAppId(Optional)Application ID Your
default_config.jsonfile should look similar to the one below.Copy{"connectivity":{
"webServers":[
{
"requestType":1,
"host":"env-264481.customer.cloud.microstrategy.com",
"port":443,
"path":"MicroStrategyLibrary",
"alias":"my server 1"
}
]
}
} -
If you want to embed different default configurations in smart phones and tablets, create a
raw-largefolder under theresfolder. While the previously mentionedrawfolder contains the project configuration file for smart phones; theraw-largefolder contains the project configuration file for tablets. Replace thedefault_config.jsonin therawandraw-largefolder. -
If you want to preconfigure multiple servers, add the additional server manually, using the existing .json file. See the .json file below for an example.
To apply multiple servers in
default_config.json, add server information to thewebServerssection, using commas for segmentation.Copy{"connectivity":{
"webServers":[
{
"requestType":0,
"host":"myLibraryServer.cloud.microstrategy.com",
"port":8080,
"path":"MicroStrategyLibrary"
},
{
"requestType":1,
"host":"myLibraryServer2.cloud.microstrategy.com",
"port":443,
"path":"MicroStrategyLibrary"
}
]
}
} -
Save your changes.
-
-
Build the project to confirm that the application compiles correctly.
- In Android Studio, build the project.
- Run the compiled application on a device or simulator to confirm that the APK you built can run successfully.
- Run the compiled application to your users. Refer to Distribute Android Applications.
Specify the Starting Custom Application in the JSON File
-
Open the preconfigured
default_config.json(under theapp>src>main>resfolder) with your webServer information, following the template below. -
Add a
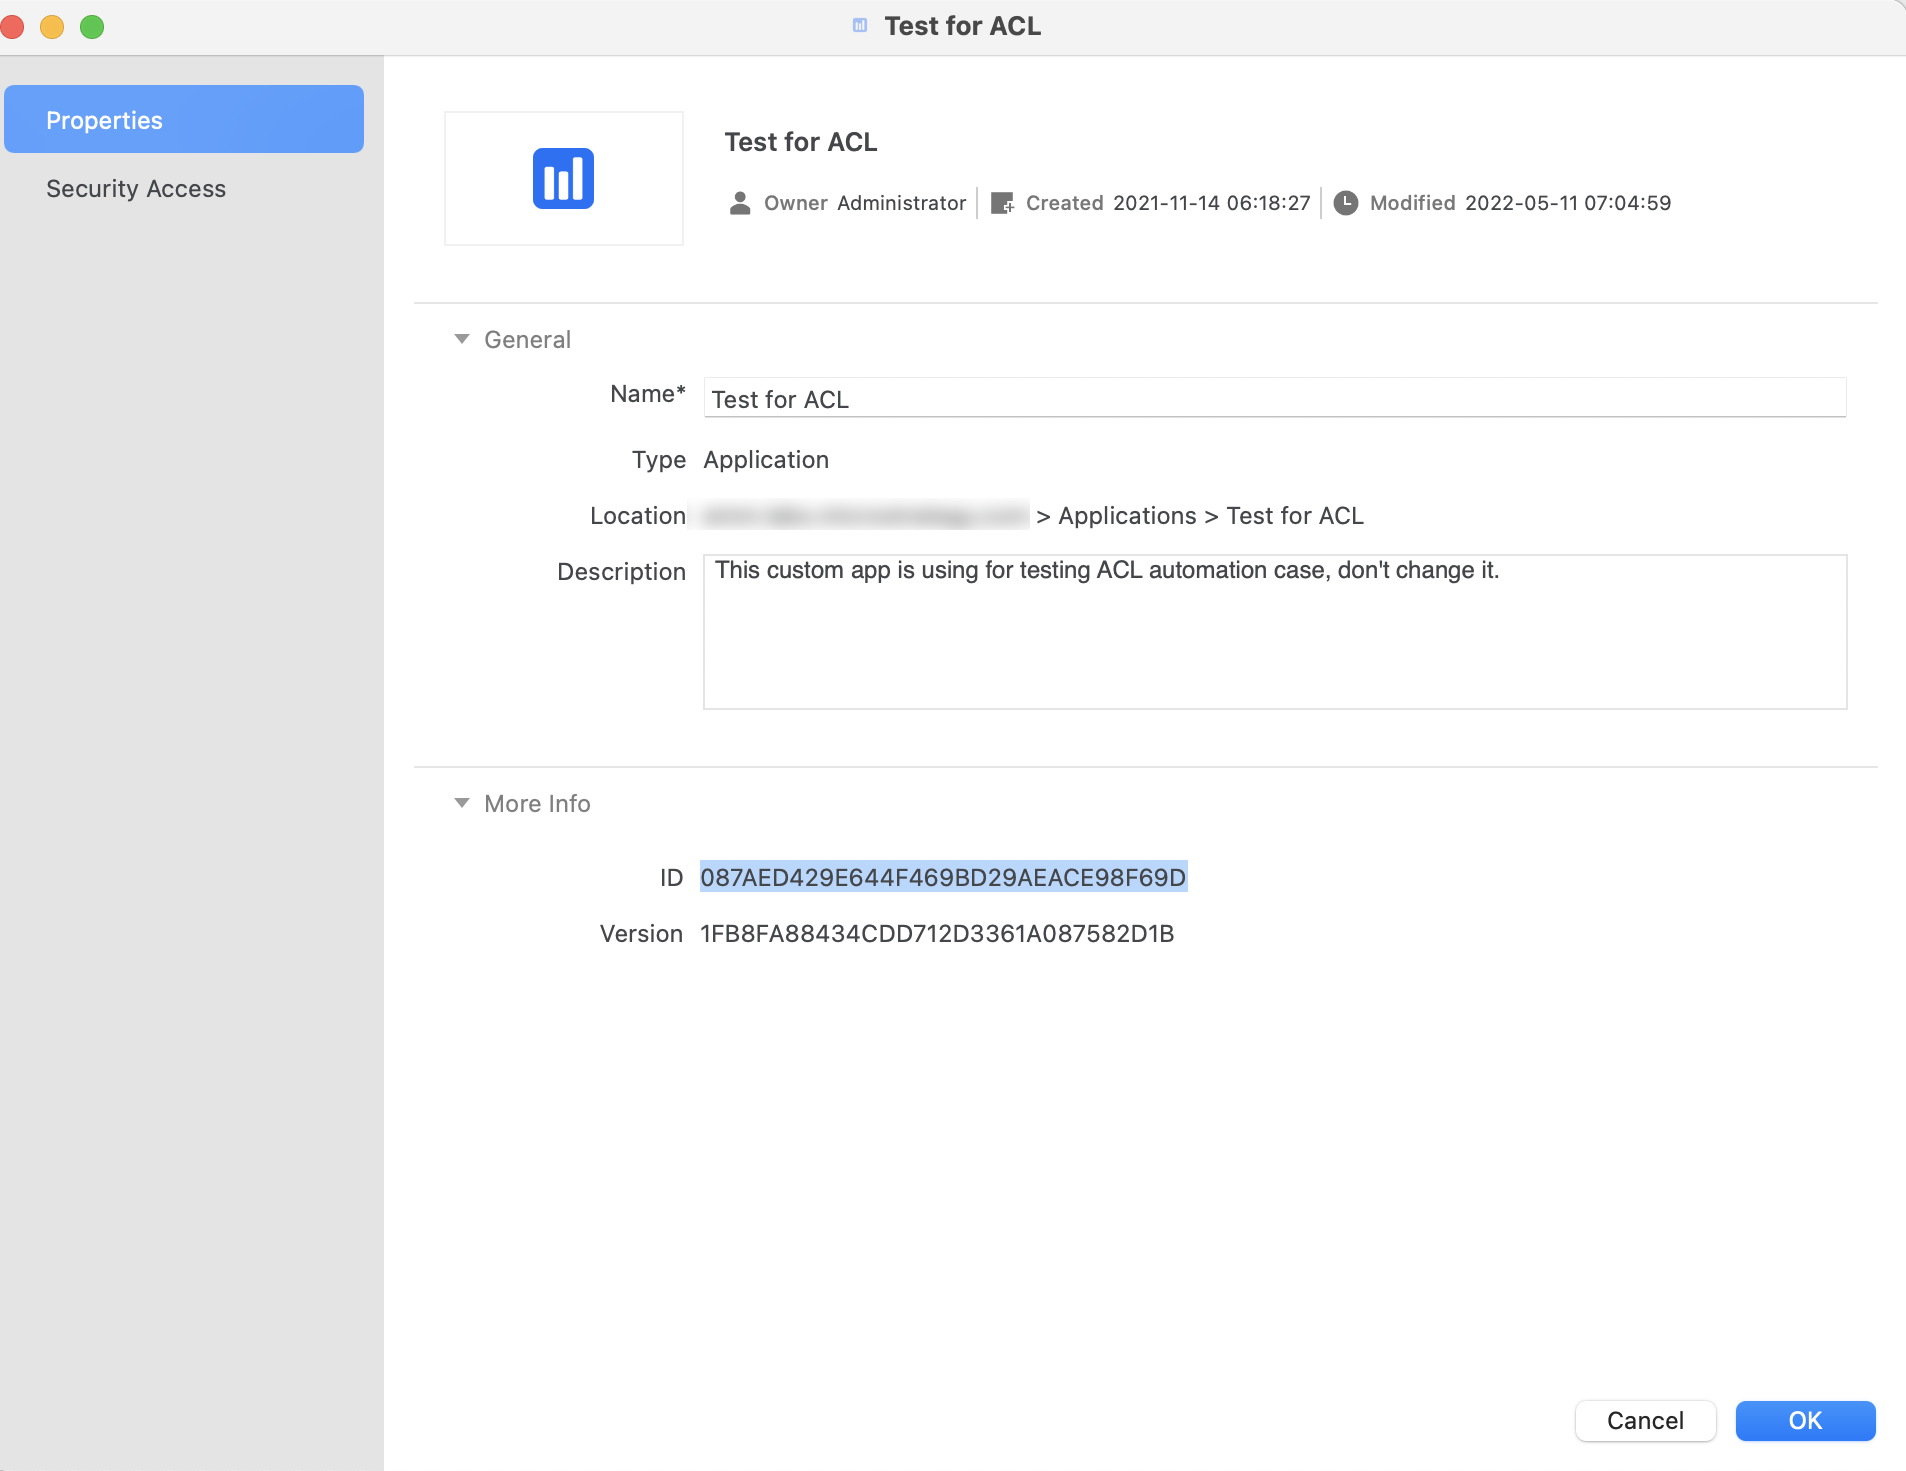
startAppIdparameter and the ID of the specified custom application under the corresponding webServer indefault_config.jsonas shown below. The ID is different for each custom application. You can get the custom app ID through Workstation. -
If there’s no
startAppIdparameter defined indefault_config.json, the default custom application appears when users log in for the first time.Copy{"connectivity":{
"webServers":[
{
"requestType":0,
"host":"myLibraryServer.cloud.microstrategy.com",
"port":8080,
"path":"MicroStrategyLibrary",
"startAppId": "087AED429E644F469BD29AEACE98F69D"
},
{
"requestType":1,
"host":"myLibraryServer2.cloud.microstrategy.com",
"port":443,
"path":"MicroStrategyLibrary",
"startAppId": "E611F5BC7FC84278B3604F86F9E59B01"
}
]
}
}
Get the Application ID from Workstation
-
Connect to an environment in Workstation.
-
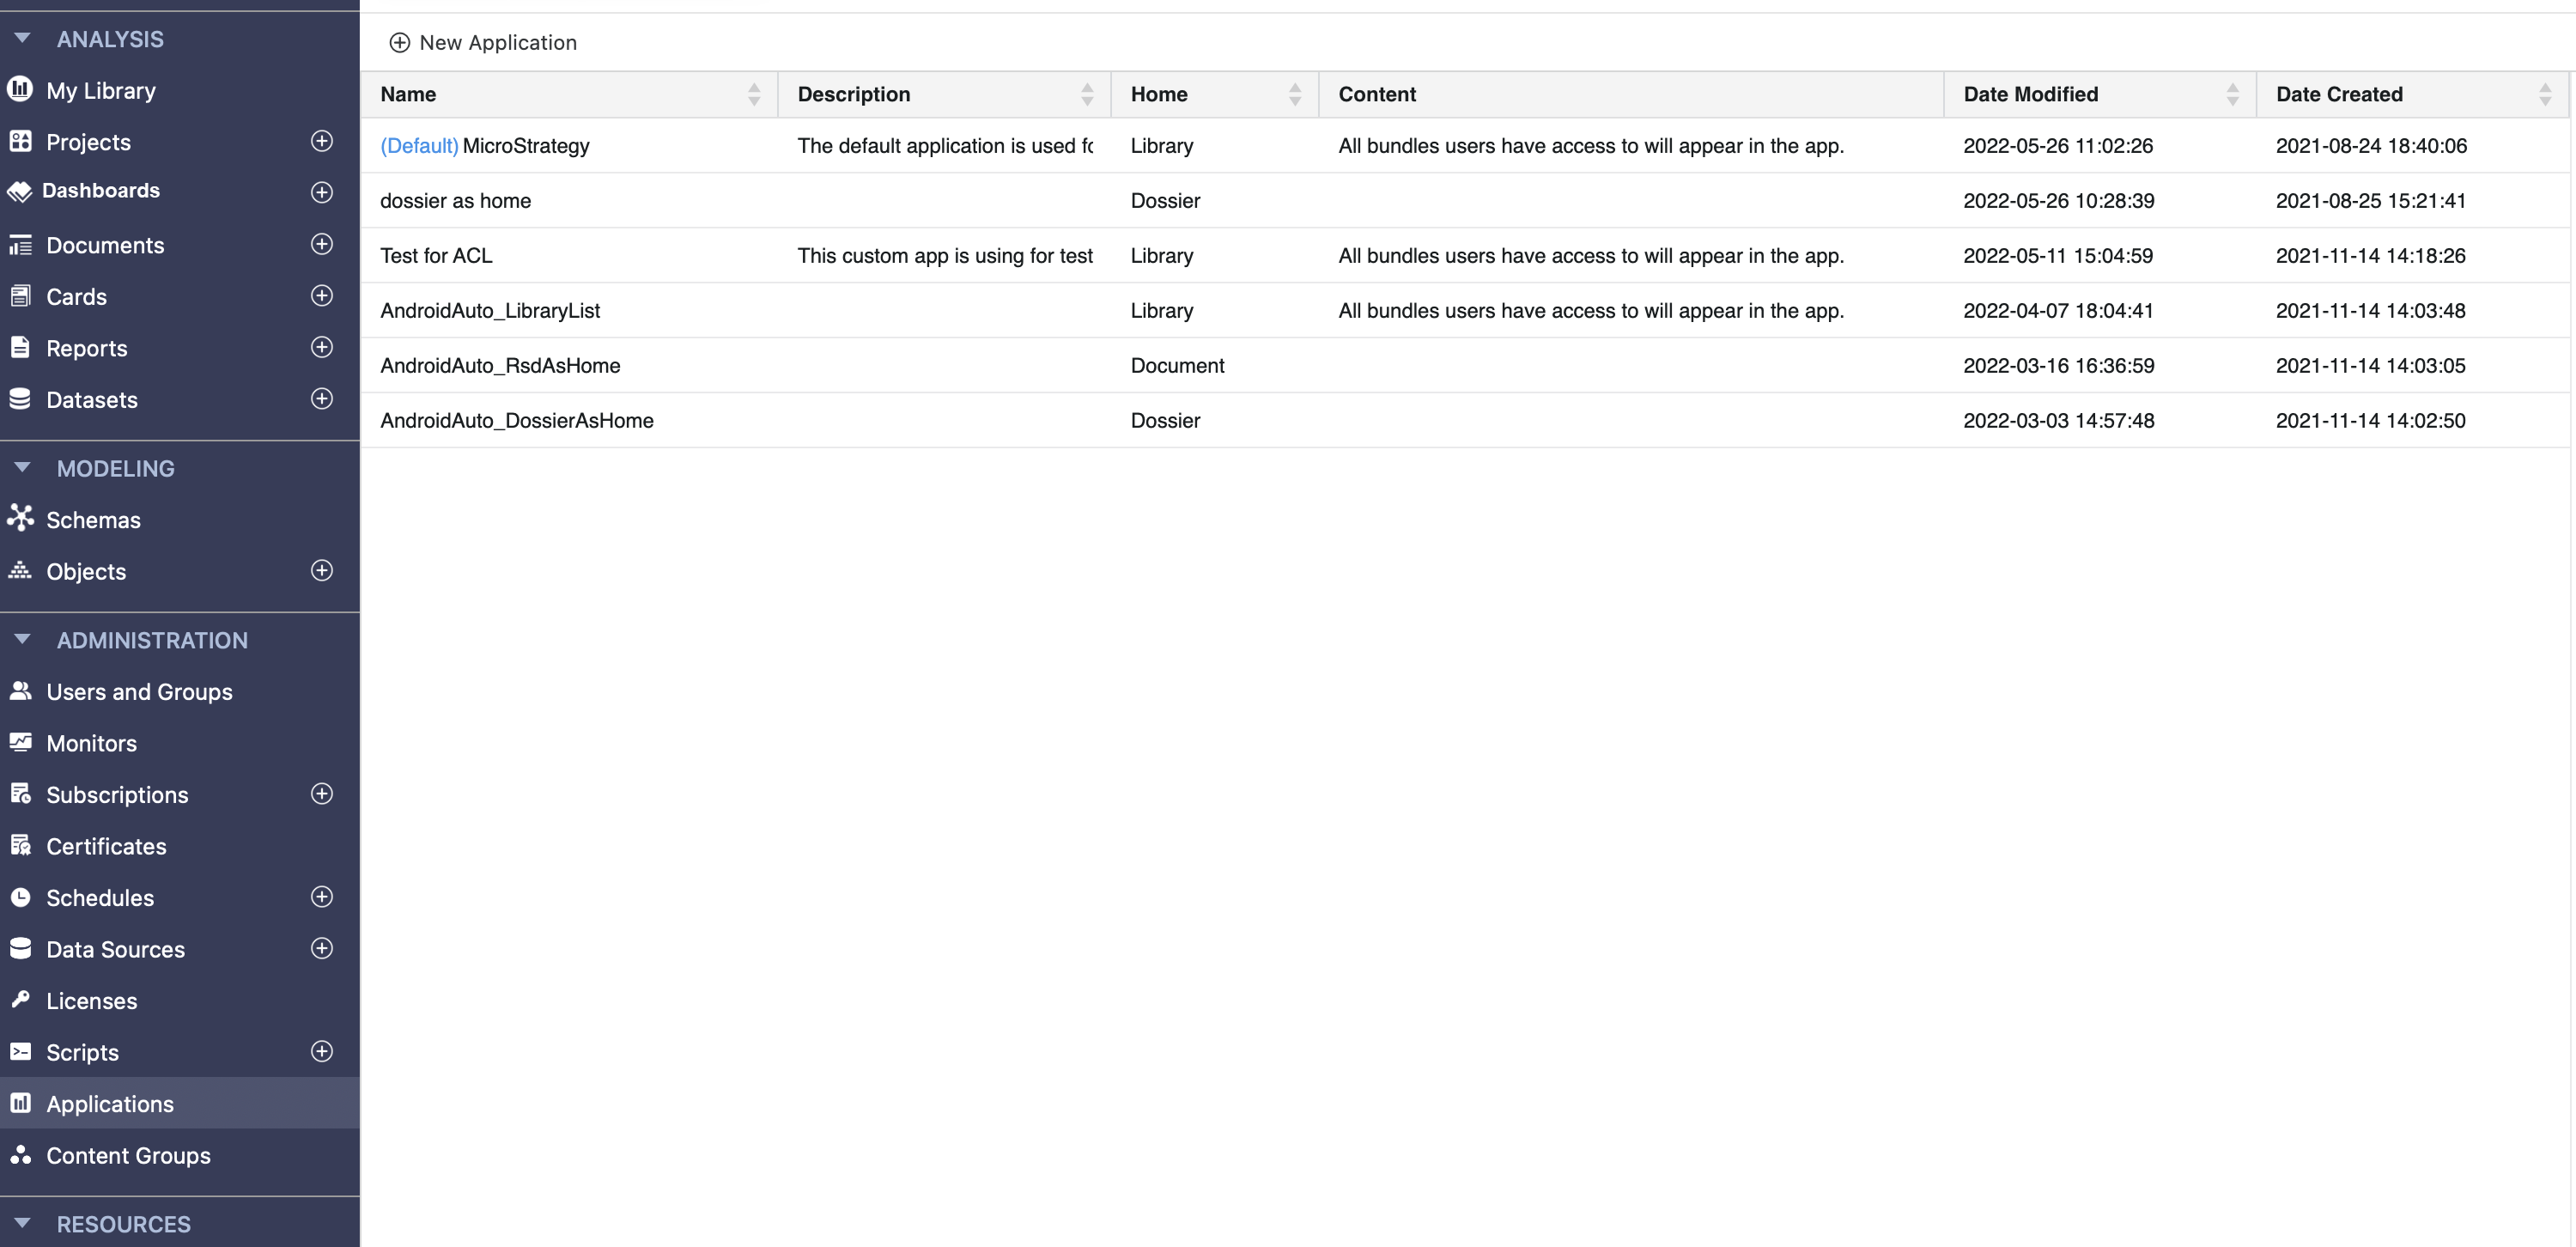
In the Navigation pane, click Applications to view all of the custom applications in the environment.
-
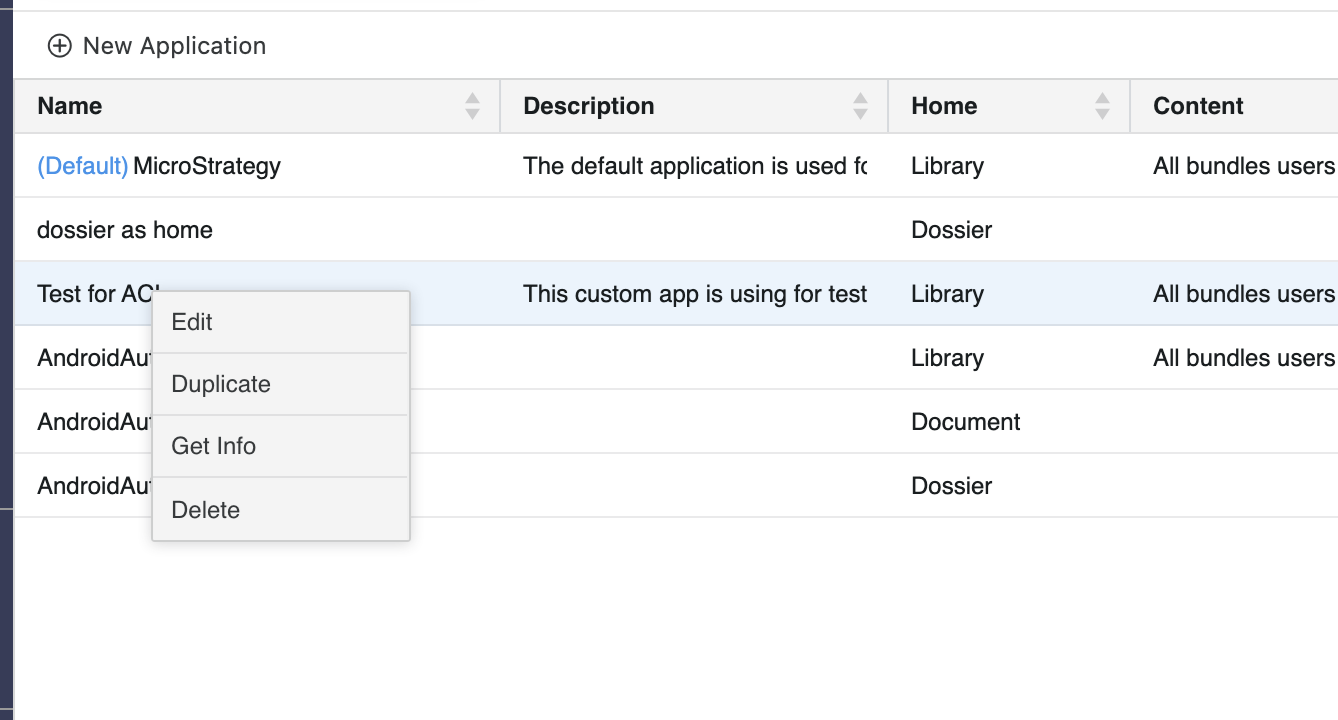
Right-click the custom application you want to set as the starting app in Library Mobile SDK and choose Get Info to view detailed information about the custom app.
-
Under More Info, you can locate the ID of the custom application.
Upgrade SDK Preferences
Admins can build a new SDK version with a different "version". End users normally have to do a new install to adopt this change. There is one value to override the old configuration with a new one when the MicroStrategy Library app is upgraded.
In a text editor, create bools.xml under app > src > main > res > values, using the code shown below. Set "override_existing_setting" to "true", to tell the application to use the new configuration.
<?xml version="1.0" encoding="utf-8"?>
<resources>
    <bool name="override_existing_settings">true</bool>
</resources>
Build the SDK
- In Android Studio, build the project to confirm the application runs correctly.
- Run the compiled application on a device or simulator to confirm that the APK you built can run successfully.
- Run the compiled application to your users. Refer to Distribute Android Applications.
-
Set up the environment so that you can use the MicroStrategy Library Mobile sample Android project as the base for your customizations.
-
Follow the steps below to update the project configuration files for the MicroStrategy Library Mobile sample Android project, which are each called default_config.json. You can pre-configure more than one server.
-
Open the MicroStrategy Library Mobile sample Android project in Android Studio.
-
Navigate to the
app>src>main>resfolder. Theresfolder contains arawsubfolder. This subfolder contains the project configuration file,default_config.json. -
Make the following changes in default_config.json, using the appropriate values for your environment.
Parameter Description Example value requestType Library server request type HTTPS: 1
HTTPS: 0alias(Optional)Library server alias Your default_config.json file should look similar to the one below.
Copy{"connectivity":{
"webServers":[
{
"requestType":1,
"host":"env-264481.customer.cloud.microstrategy.com",
"port":443,
"path":"MicroStrategyLibrary"
"alias":"my server 1"
}
]
}
} -
If you want to embed different default configurations in smart phones and tablets, create a
raw-largefolder under theresfolder. While the previously mentionedrawfolder contains the project configuration file for smart phones; theraw-largefolder contains the project configuration file for tablets. Create a newdefault_config.jsonin theraw-largefolder with your tablet-specific configurations. -
If you want to preconfigure multiple servers, add the additional server manually, using the existing .json file. See the .json file below for an example.
To apply multiple servers in
default_config.json, add server information to thewebServerssection, using commas for segmentation.Copy{"connectivity":{
"webServers":[
{
"requestType":0,
"host":"myLibraryServer.cloud.microstrategy.com",
"port":8080,
"path":"MicroStrategyLibrary"
},
{
"requestType":1,
"host":"myLibraryServer2.cloud.microstrategy.com",
"port":443,
"path":"MicroStrategyLibrary"
}
]
}
} -
Save your changes.
-
-
You can set a value for update config when the app is upgraded. This step is optional.
There is one value to override the old configuration with the new one when the MicroStrategy Library app is upgraded.
In a text editor, create
bools.xmlunderapp>src>main>res>values, using the code shown below. Set"override_existing_setting"to"true", to tell the application to use the new configuration.Copy<?xml version="1.0" encoding="utf-8"?>
<resources>
<bool name="override_existing_settings">true</bool>
</resources>
</resources> -
Build the project to confirm that the application compiles correctly.
- In Android Studio, build the project.
- Run the compiled application on a device or simulator to confirm that the APK you built can run successfully.
- Run the compiled application to your users. Refer to Distribute Android Applications.
See Configure Specific Content for the Home Screen in Library for more information.
-
Preconfigure an existing configuration.
- Open the Mobile Configuration section of the Library Admin page.
-
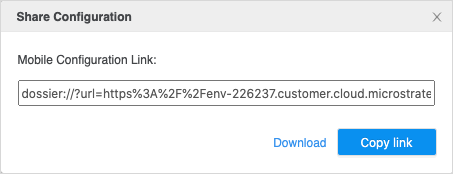
Choose the configuration you want to use and click the Share
 icon.
icon.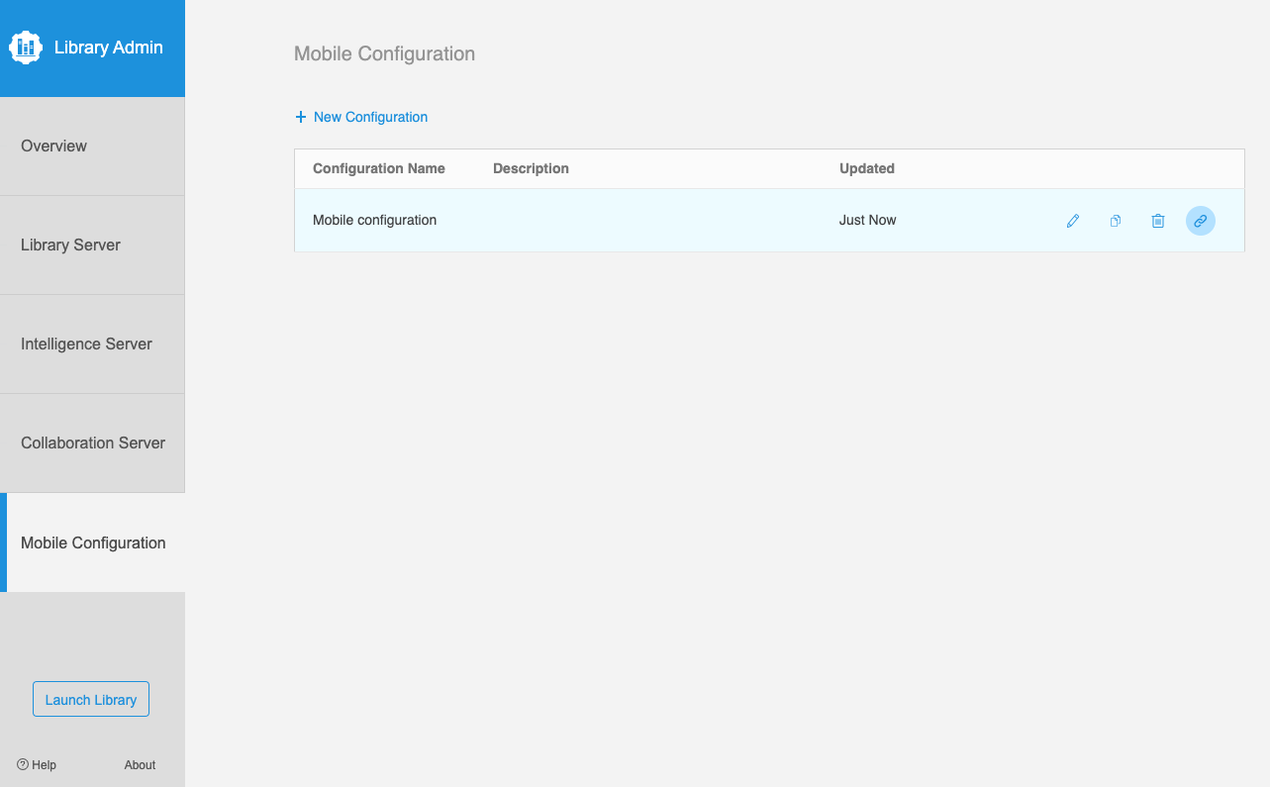
-
Click Download to download the JSON file.
- Rename the JSON file to Preferences.json.
- Set up the environment so that you can use the MicroStrategy Library Mobile sample Android project as the base for your configurations.
- Open the MicroStrategy Library Mobile sample Android project in Android Studio.
-
Navigate to the
app>src>main>resfolder. Theresfolder contains arawsubfolder. This subfolder contains the project configuration file,default_config.json. -
Replace default_config.json with the .json file you downloaded.
-
If you want to embed different default configurations in smart phones and tablets, create a
raw-largefolder under theresfolder. While the previously mentionedrawfolder contains the project configuration file for smart phones; theraw-largefolder contains the project configuration file for tablets. Create a newdefault_config.jsonin theraw-largefolder with your tablet-specific configurations.
-
Replace the default configuration URL used for configuration synching.
When you use the MicroStrategy Library shell project to build your own custom mobile application, you must change the default configuration URL that is stored in the shell project. This configuration URL is used by the Library server to determine whether a configuration has been updated. If you do not replace the default URL with your own URL, the automatic configuration synching will not work properly on the device. To create your own configuration URL for the Library server to use, simply do the following:
- Open the Mobile Configuration section of the Library Admin page.
- Choose the configuration you want to use and click the Share icon.
-
Click Copy link to get the link and remove dossier://?url= to get http/https links.
- Decode the http/https link by using URL Decoder.
-
Paste the URL into
default_config_url.txtand save it inres/raw. If you want to embed different default configurations in smart phones and tablets, create a newdefault_config_url.txtin theraw-largefolder and paste the URL for tablets.
-
You can set a value for update config when the app is upgraded. This step is optional.
There is one value to override the old configuration with the new one when the MicroStrategy Library app is upgraded.
In a text editor, create
bools.xmlunderapp>src>main>res>values, using the code shown below. Set"override_existing_setting"to"true", to tell the application to use the new configuration.Copy<?xml version="1.0" encoding="utf-8"?>
<resources>
<bool name="override_existing_settings">true</bool>
</resources> -
Build the project to confirm that the application compiles correctly.
- In Android Studio, build the project.
- Run the compiled application on a device or simulator to confirm that the APK you built can run successfully.
- Run the compiled application to your users. Refer to Distribute Android Applications.