Strategy One
Connect via DSN (Driver)
For both analytical requests and MicroStrategy metadata operations, MicroStrategy Secure Enterprise uses the MicroStrategy ODBC Driver for Db2 Wire Protocol. This driver is shipped with MicroStrategy releases.
Configuration consists of three parts: (1) Creating a new database instance, (2) Creating a database connection that points to the DSN, and (3) configuring and storing credentials for the login.
Create a DSN
-
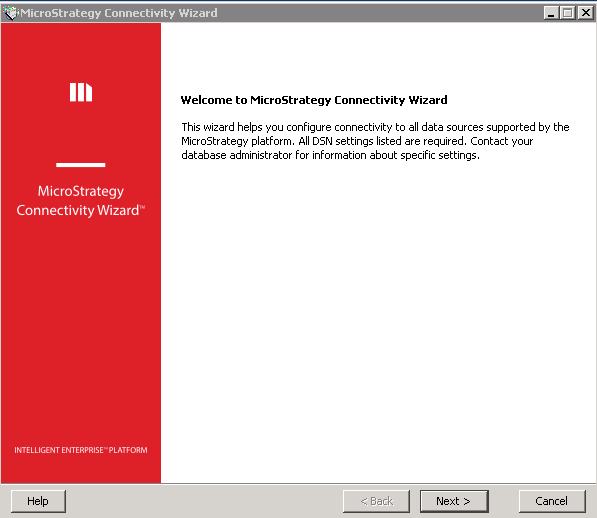
Launch the MicroStrategy Connectivity Wizard.
-
For Linux: [MicroStrategy Installation Folder] /BIN/Linux/bin/mstrconnectwiz
-
For Windows: [MicroStrategy Installation Folder] /BIN/x64/MAMDCW.exe
-
- Click Next.
- Choose MicroStrategy ODBC Driver for Db2 for Linux, UNIX, and Windows.
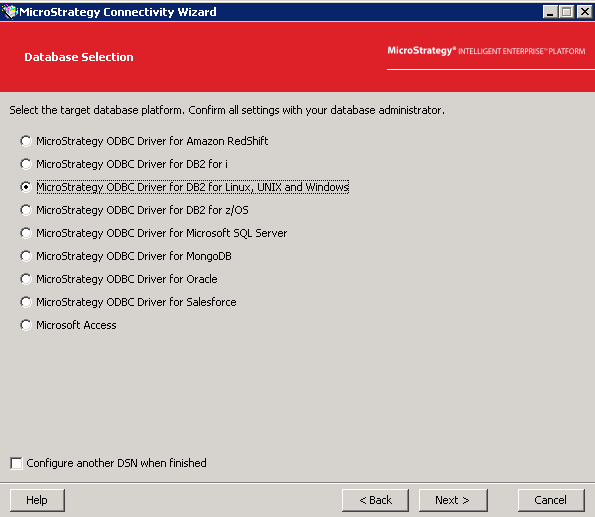
- Click Next.
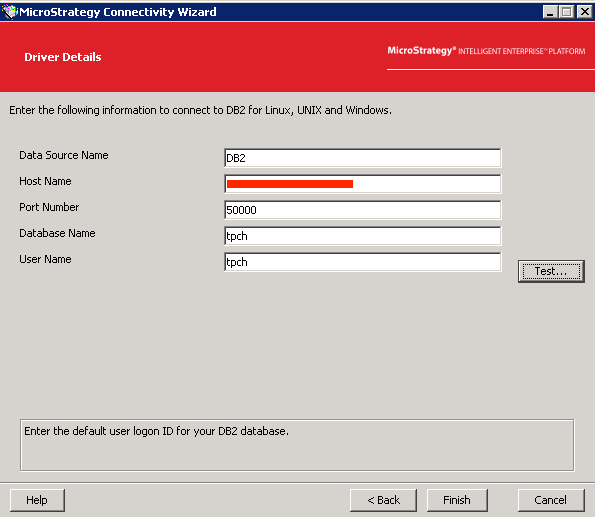
- Enter your connectivity information for Db2 and click Finish.
Create a New Database Instance
-
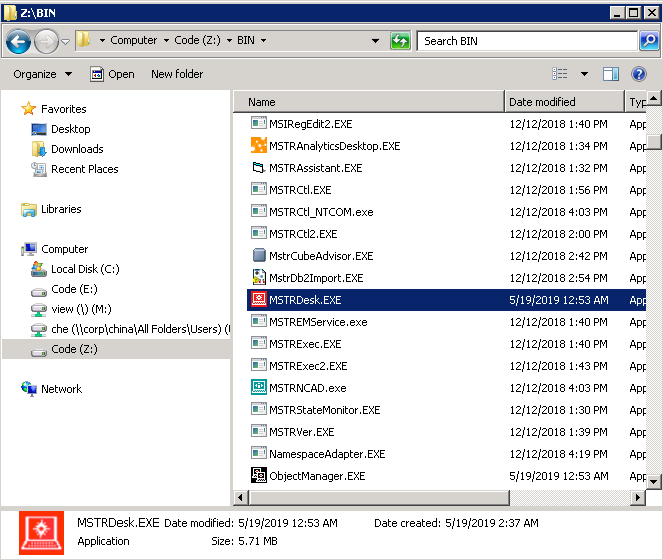
Launch MicroStrategy Developer.
-
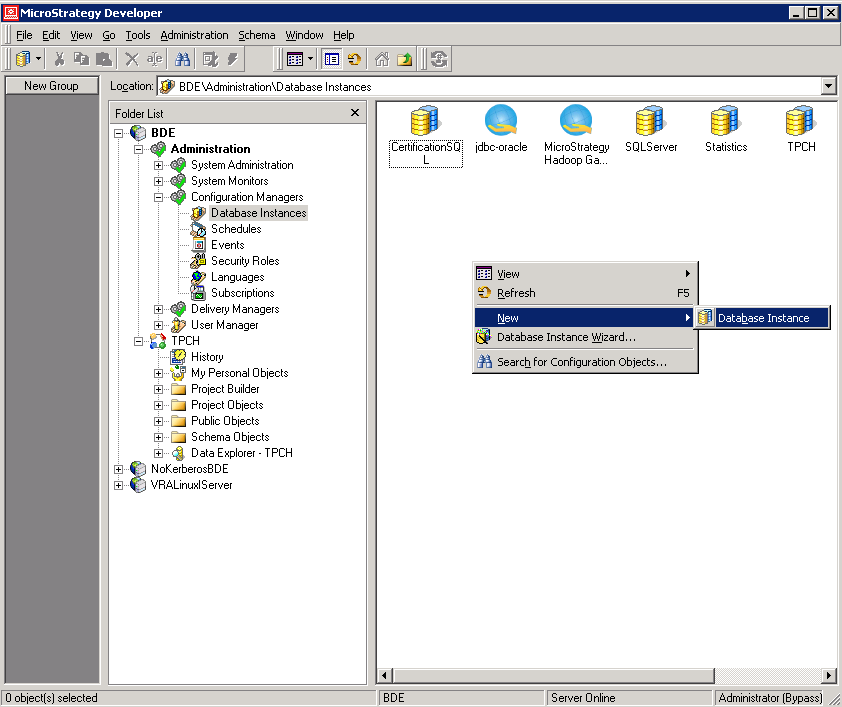
Create a new database instance.
-
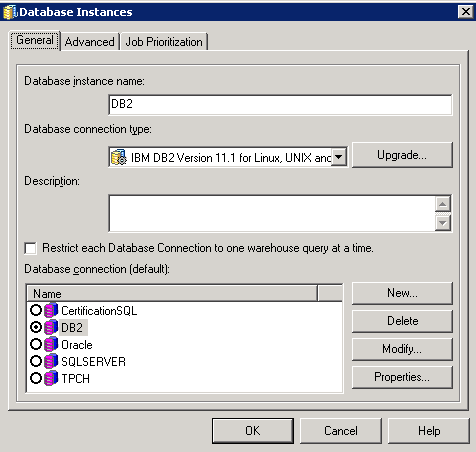
Enter the database information.
-
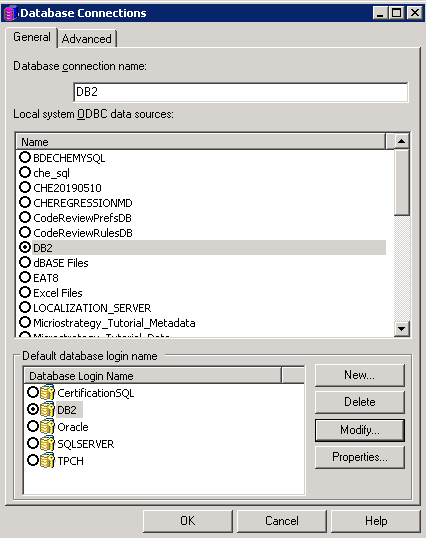
Under Database connection, click New.
-
Under Default database login name, click New.
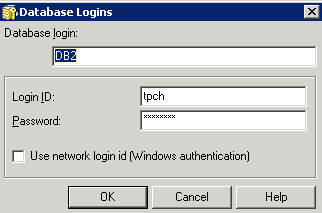
-
Right-click your project and select Project Configuration.
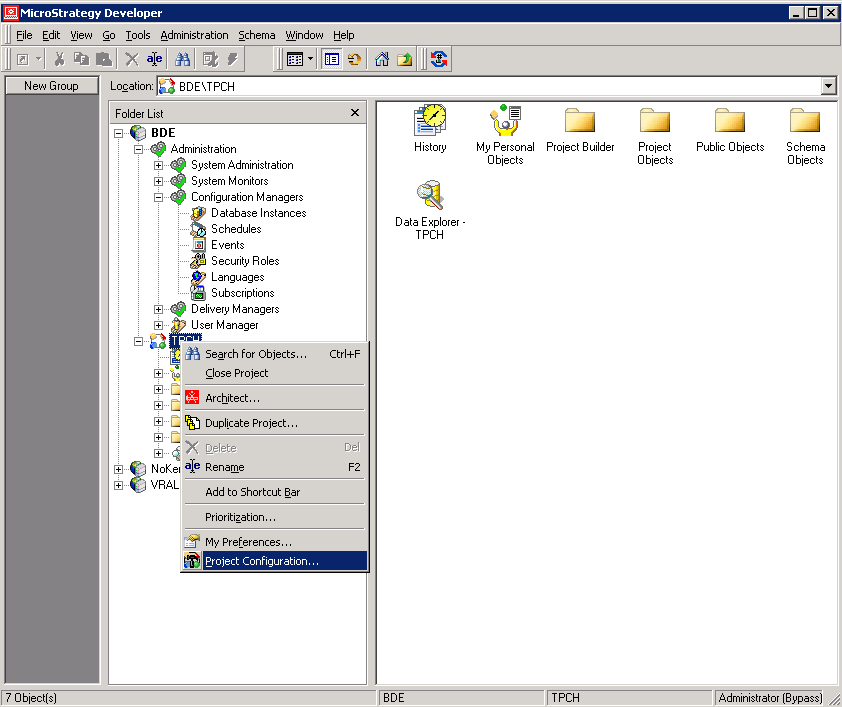
-
Go to Database Instances > SQL Data warehouses and select the Primary Database Instance for the Project (Db2).
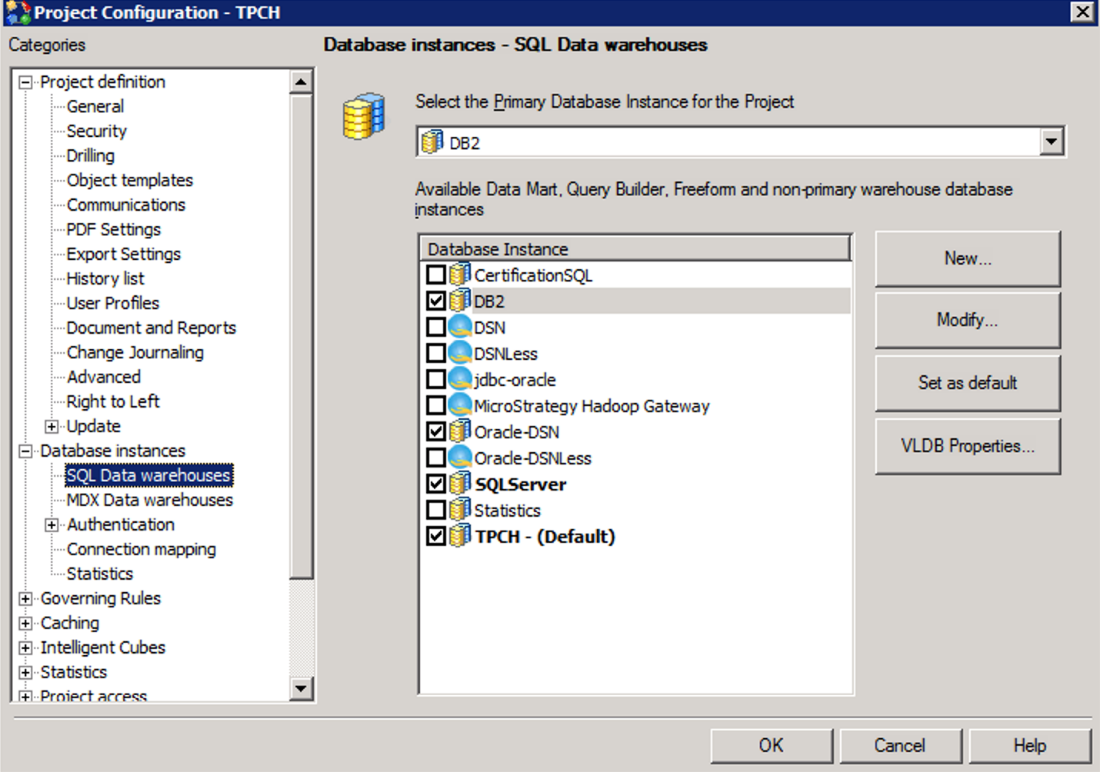
- Click OK.
- Select your project again and go to the navigation bar to choose Schema > Warehouse Catalog. Ensure connection is successful.
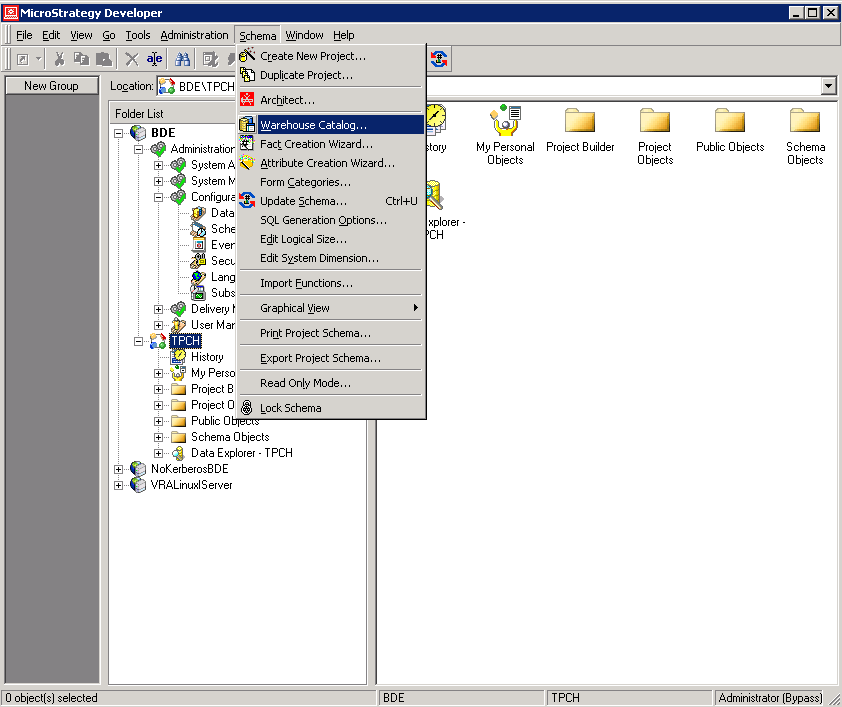
- Test the connectivity of the database instance using Workstation. If your environment has been prepared in Server Mode, skip steps 1 - 3.
- Start the dashboard server.
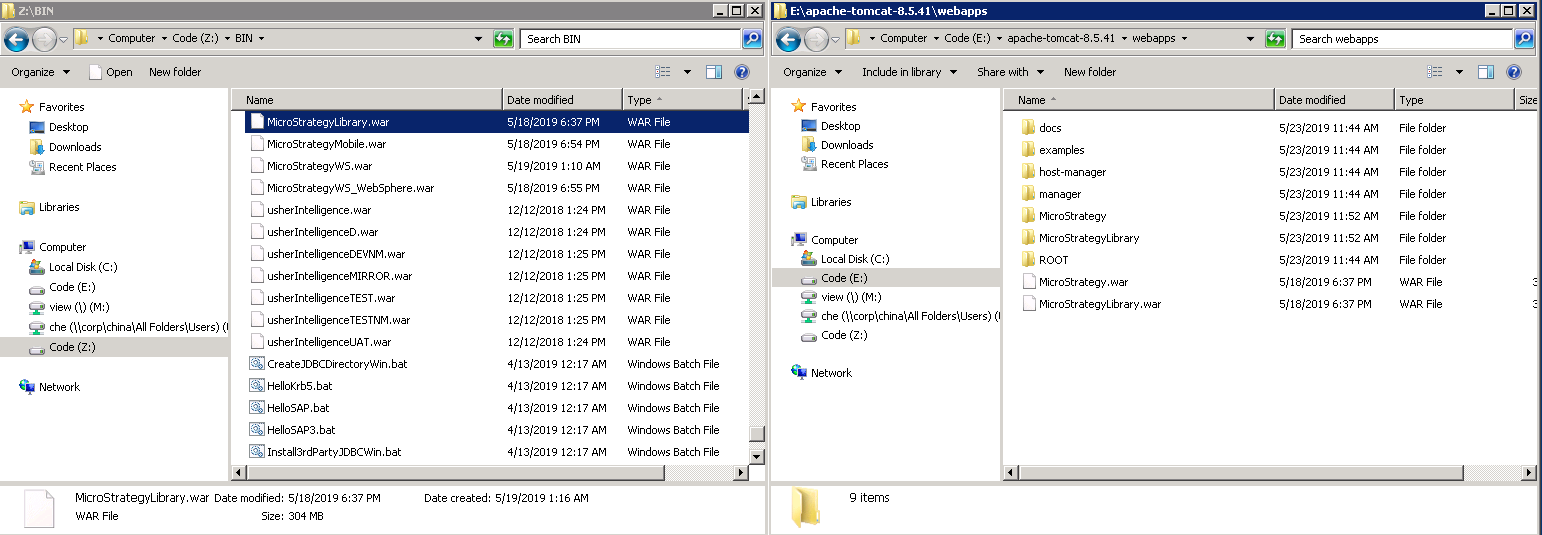
- Copy the MicrostrategyLibrary.war file and restart the Tomcat server.
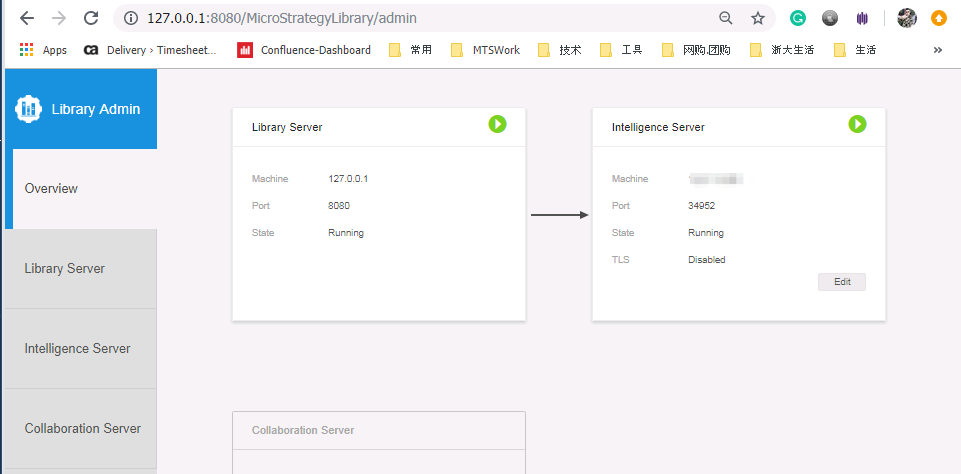
- Connect to the Intelligence Server in the Library Admin panel.
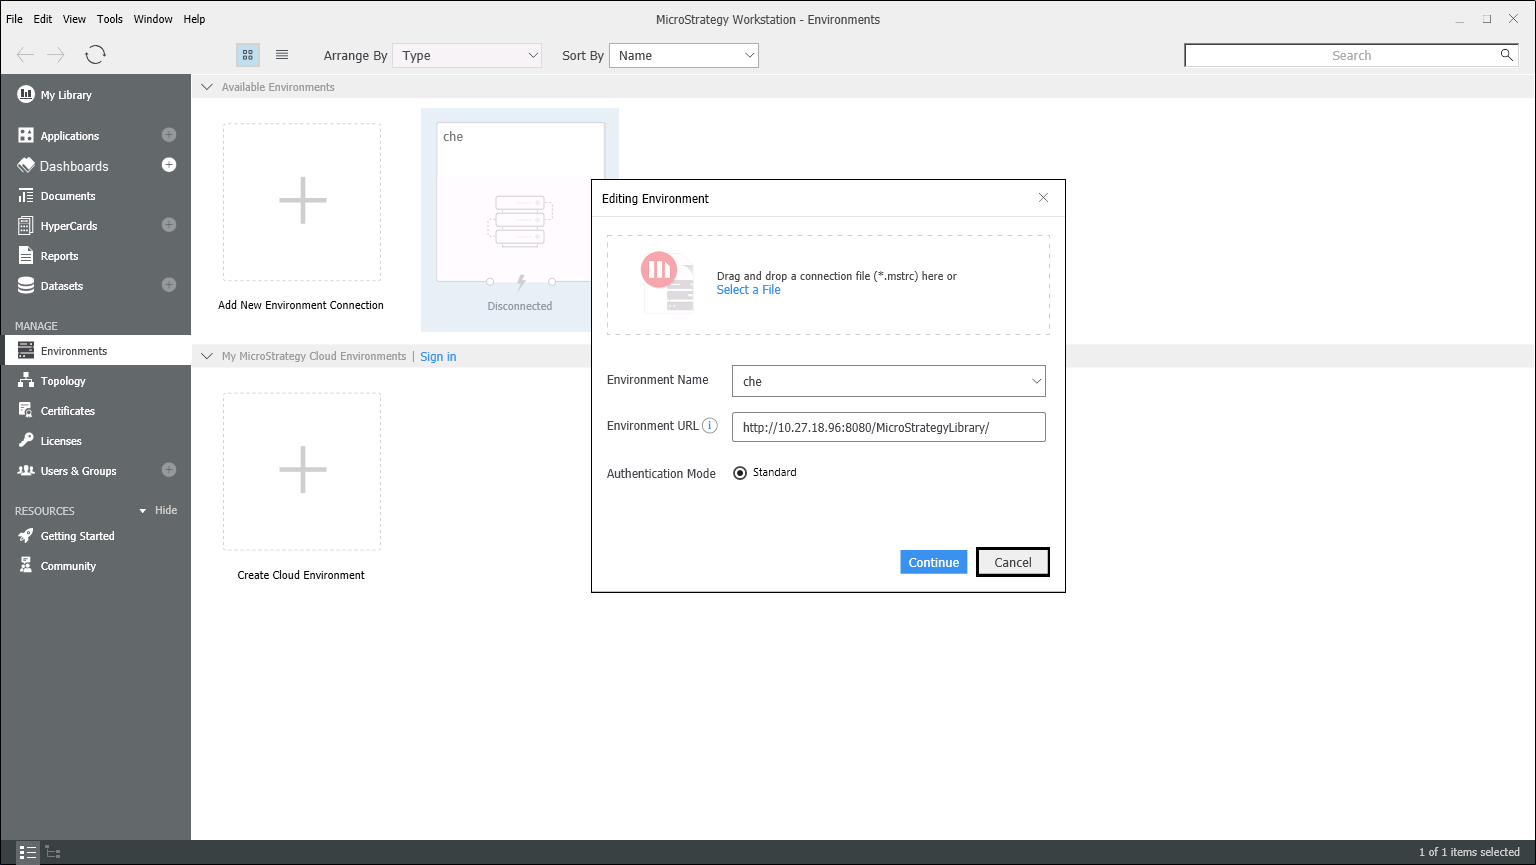
- Add a new environment connection in Workstation and log into your project.
- Next to Datasets, click Add External Data.
- Choose Database > Select Tables.
- Click Next.
- Click Add Data Source.
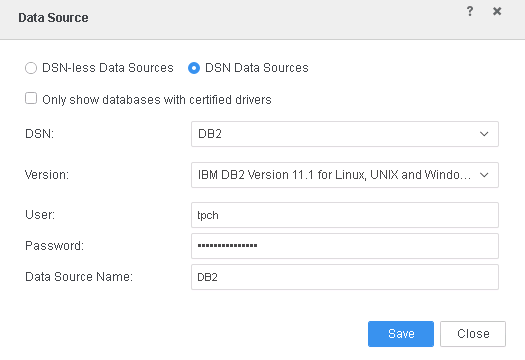
- Select DSN Data Sources.
- Enter the database information and click Save. You should successfully connect to the data source.
