MicroStrategy ONE
Formatting report borders
You can apply special formatting to the outside borders of a grid report, if you wish. The custom formatting you apply is visible when the report is printed. You can apply dotted or dashed lines, heavier or lighter line weights, and even apply colors to report borders. You can also make report borders disappear.
For example, if you have a report that presents a lot of data along with several subtotals and totals, the report may appear looking almost like a spreadsheet. It may be more aesthetically pleasing to see the data printed with the outside lines of the report gone, to create a more "open" feel and make the data look less overwhelming. By removing the outside border of a report, you can also make important, bolded, or totaled data stand out more clearly.
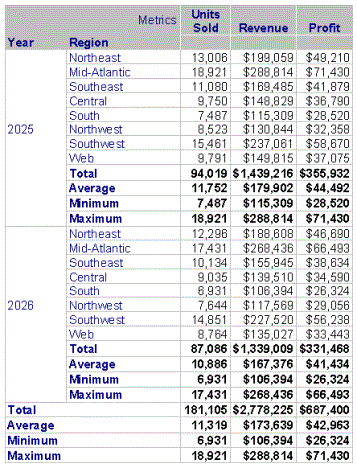
The following image shows the Regional Sales Management report in the Tutorial project with its default report borders, which are pale gray, the same color as the cell borders:
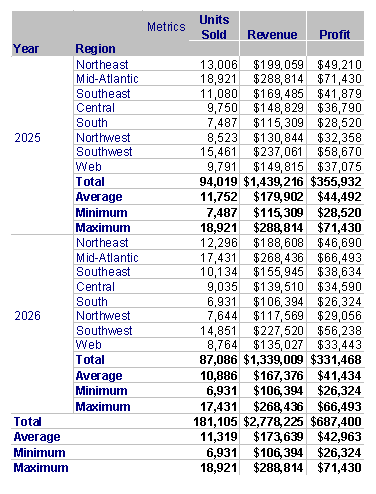
The next image shows the same report with the report's borders removed. The data looks less crowded, and the important data at the bottom of the report is emphasized:
To format report borders in Developer
- Open a grid report.
- In the top left-hand corner of the grid report, right-click in the empty area and select Formatting, then select Grid Borders.
- Select one of the Preset icons. The None icon on the left removes all borders from the report. The Outline icon on the right automatically adds a border around the outside of the report.
- If you chose to add a border, select the type of line Style you want, such as solid or dashed, and then select a Color.
-
Click on a line in the Border area and you can see your selections appear on the sample page in the Border area.
The Hair line style cannot be displayed in reports viewed in MicroStrategy Web. It is replaced with the Thin line style. If you want appearance to be consistent between Developer and Web report display, consider a line style other than Hair.
- Click OK.
- Some border effects can be seen well in Developer, while others are more clearly seen in Print Preview mode. To view your border settings, from the report's File menu select Print Preview.