Strategy One
Create Migration Packages
Strategy One (February 2026) adds the Use source object's "Last Modified" timestamp instead of migration time setting when creating migration packages.
Starting in Strategy One (January 2026), Settings display in the Migrations monitor page.
Starting in Strategy One (December 2025), you can migrate folder objects and their components through Object Migration.
This former preview feature, introduced in MicroStrategy 2021 Update 4, is out of the box starting in MicroStrategy 2021 Update 7.
Users can only view objects to which they have access.
There are three different package types you can create:
-
Object: Copies chosen objects with or without their dependencies between projects.
-
Project: Synchronizes a large number of objects between projects.
-
Administration: Copies the chosen administration objects with or without their dependencies between environments.
Object Migration Packages
The object package type is used to move objects between projects.
- Open the Workstation window.
-
In the Navigation pane, click
 , next to Migrations. The Object package Type is selected by default.
You can also multi-select objects anywhere within the Workstation window, right-click, and choose New Migration Package.

-
Choose a Source environment and project.
-
Click Add Objects to add content to your package. You can also drag and drop objects from anywhere within the Workstation window.
You can also drag and drop objects from anywhere within the Workstation window.
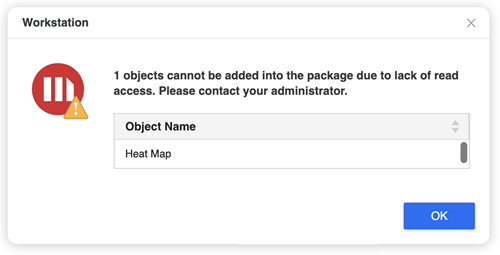
If the user does not have the read and browse ACL when creating a package, the object cannot be seen in the Add Objects dialog and an error appears when dragging and dropping objects into the Create Package dialog.
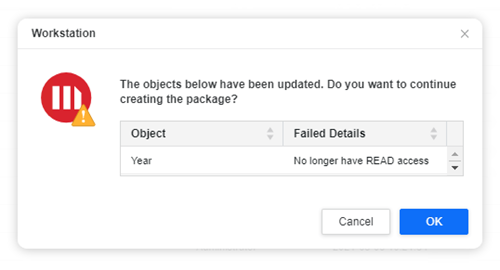
When objects are updated before the user clicks Create, an error with the object name and failure details appears. This message details whether the object was deleted, modified, or there is no longer read access since the objects' ACL changed.
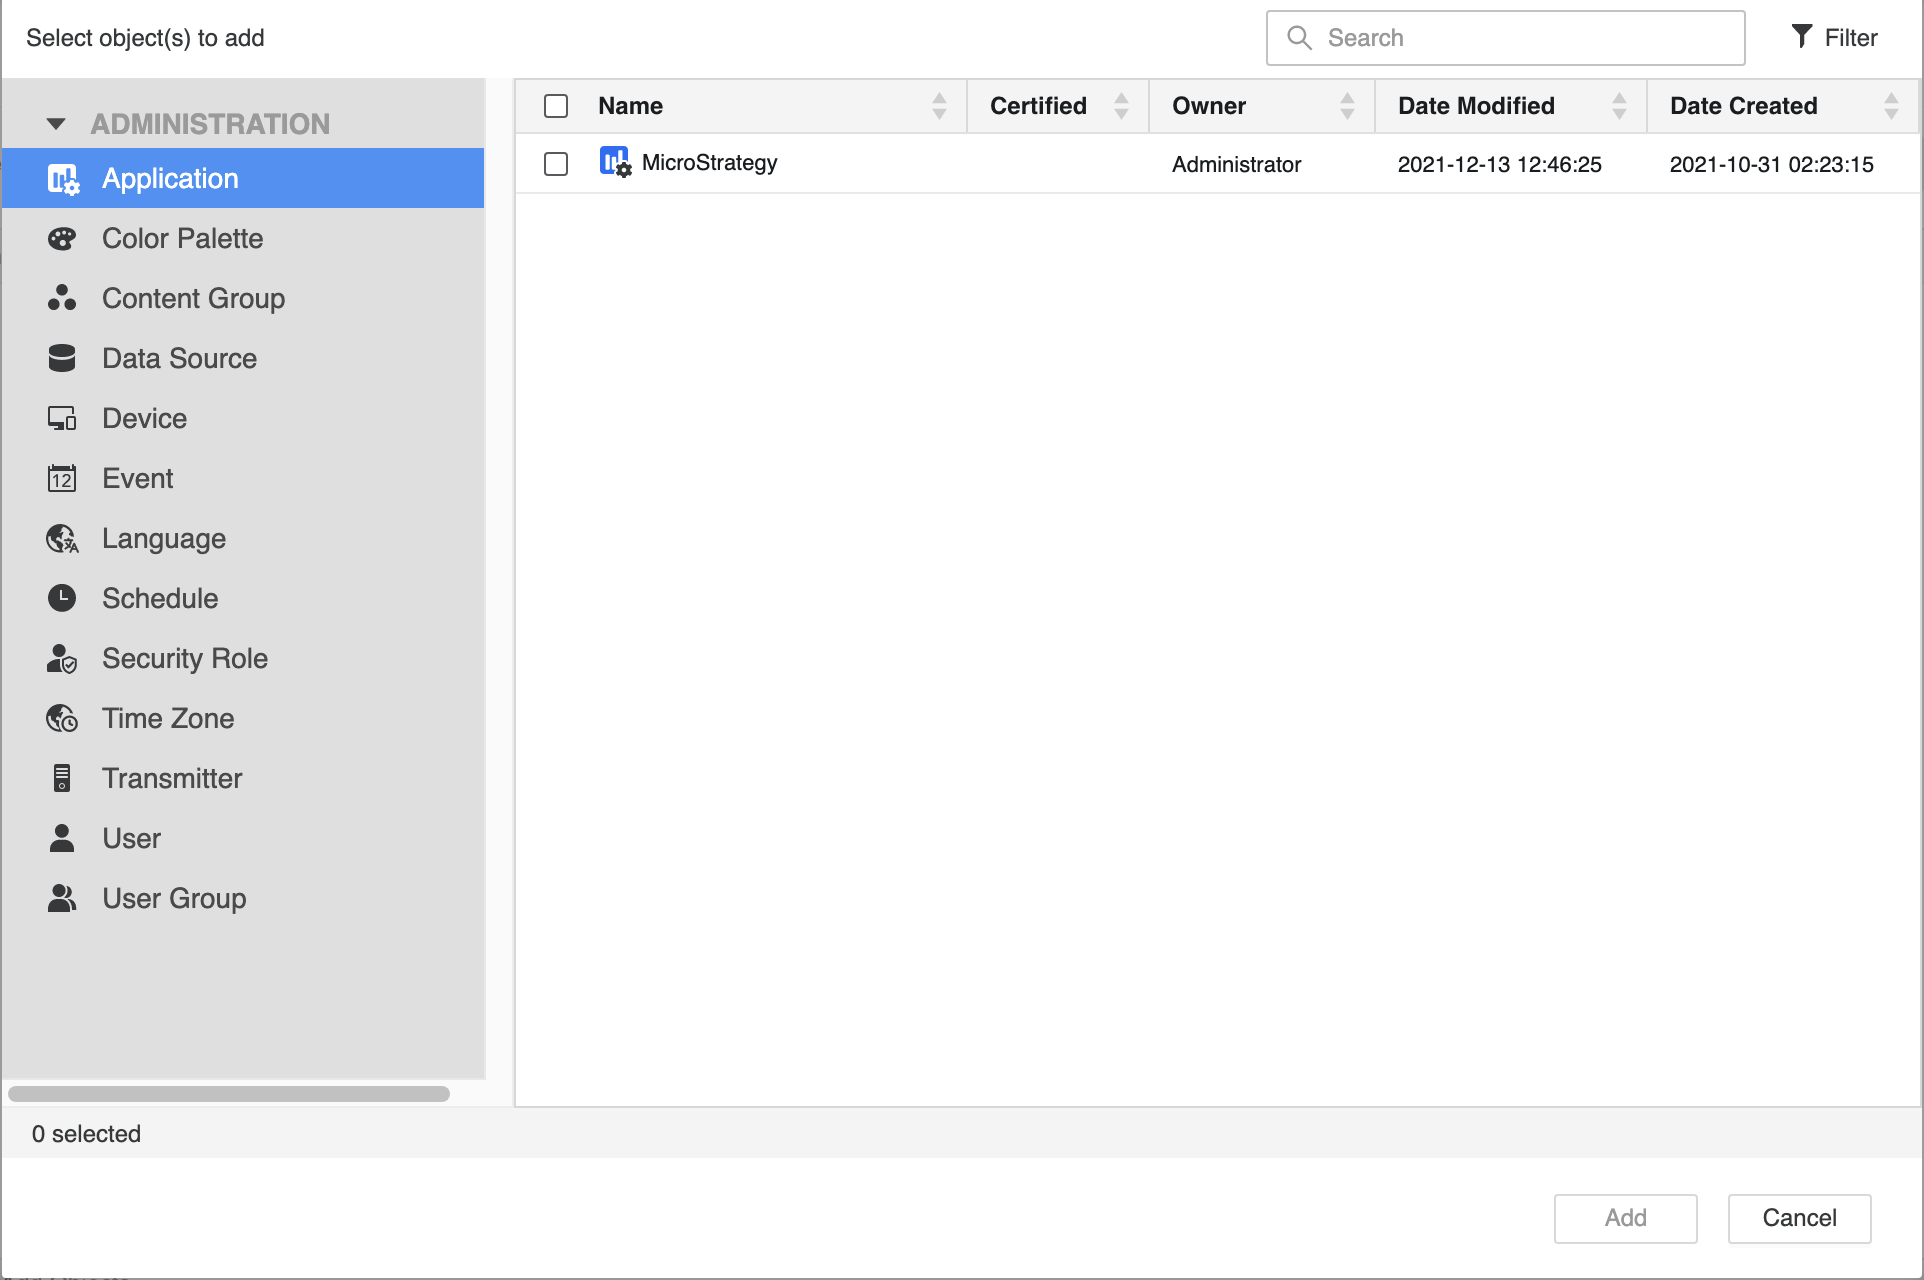
To import objects from a search, select one or more Search objects you created or choose from a default list of searches.

You can also import folders. Click the icon of Import Folders and select one or more folders to import.
-
After you add objects, you can add their dependencies. Right-click an object and choose Add Dependencies.
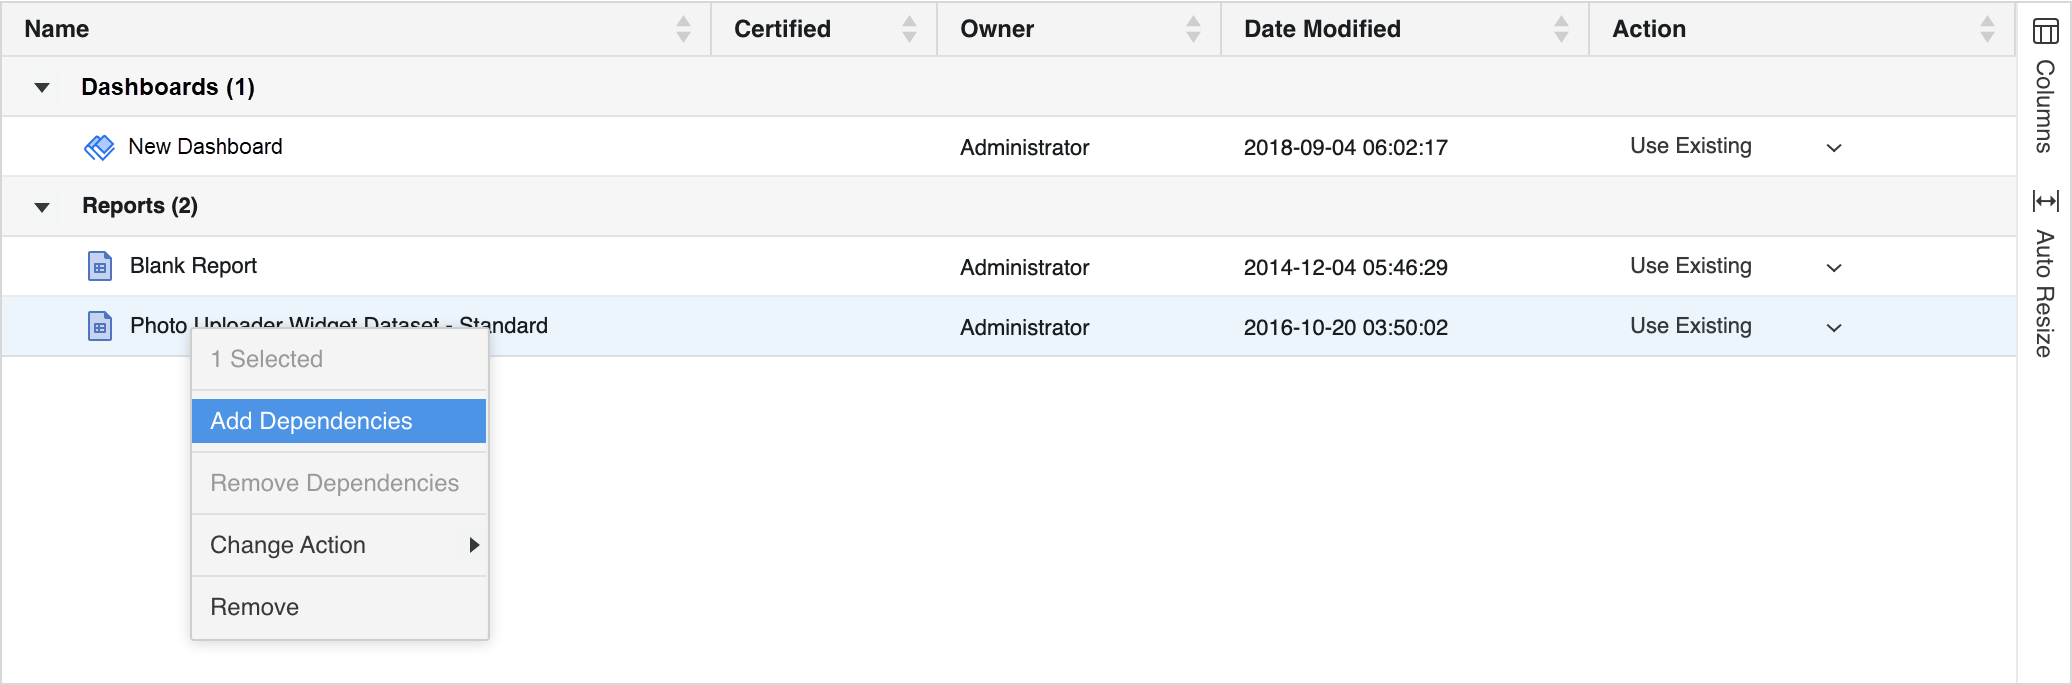
For the folder objects, you can import objects belonging to them, but not add their dependencies.

-
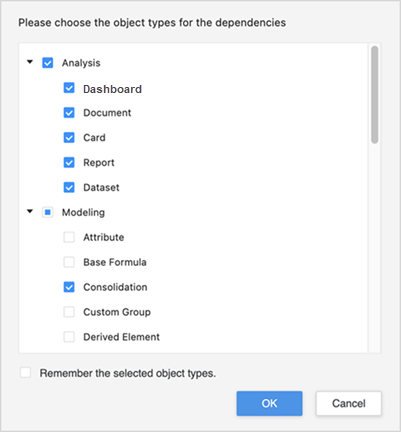
Select the type of dependencies you want to add to your package. Objects from other categories are not added.
Your selections on this dialog are remembered the next time you add dependencies. If you don't want to add different object types as dependencies, select Remember the selected object type and the dialog will not appear again for this package.
-
Added dependencies appear in a tree structure. You can choose to remove one or all dependencies of an object.

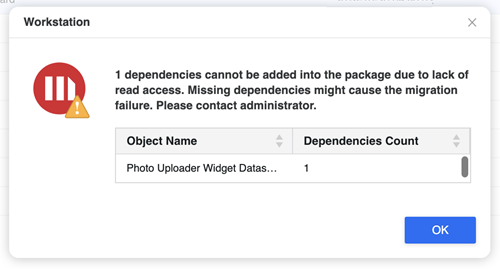
When adding dependencies, an error with a dependencies count appears when those dependencies lack the read ACL.
-
Set the Action for objects in the package. The action determines the how the object is saved in the source environment.
-
Click Settings
 to set ACL Options and Update Schema for migration objects.Click here for more details about the options.
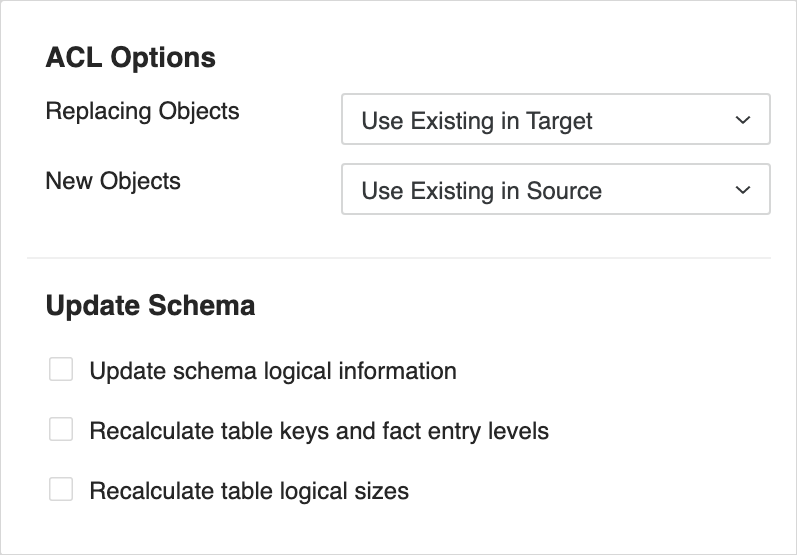
The ACL Options control what permissions are applied to objects when a conflict is resolved with a Replace, Create New, or Keep Both action.
For conflicts resolved with the replacing objects:
-
Use existing in Target Keeps the destination object ACL.
-
Use existing in Source uses the source object ACL.
-
Merge Both Migrates the object ACL in both the source and target objects. If this option is selected, the ACL is replaced even if the source and destination objects are identical.
For conflicts resolved with newly created objects (including the Create New and Keep Both action):
-
Use existing in Source Keeps the source object ACL.
-
Use existing in Target The object inherits its ACL from the destination folder. The permissions in the source project are not used.
The Update Schema options allow you to configure the package to automatically perform certain schema update functions. These options can be useful if you make any changes to schema objects.
-
Update schema logical information Applies an automatic schema update.
-
Recalculate table keys and fact entry levels Select this if you changed the key structure of a table or if you changed the level at which a fact is stored.
-
Recalculate table logical sizes Overrides any modifications that you have made to logical table sizes. Logical table sizes affect how the Strategy SQL Engine determines which tables to use in a query.
-
-
Click Create.
Project Migration Packages
The project package type is used to merge large amounts of objects between projects.
- Open the Workstation window.
-
In the Navigation pane, click
, next to Migrations.You can also multi-select objects anywhere within the Workstation window, right-click, and choose New Migration Package.
-
Change the package Type to Project.

-
Choose a Source environment and project.
-
Click Add Objects to add content to your package.
You can also drag and drop objects from anywhere within the Workstation window.
-
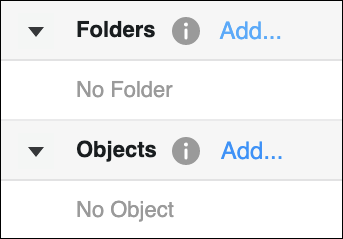
You can assign different actions to folders and objects. Next to Folders or Objects, click Add.
Objects located directly within chosen folder have the same Action assigned by default. The Action is not changed recursively for objects in subfolders. A different Action set on a specific object overwrites the Action chosen for the entire category of this type.
-
Click Settings
to set ACL Options, Schema Update details, and Advanced Conflict Resolution for migrating objects.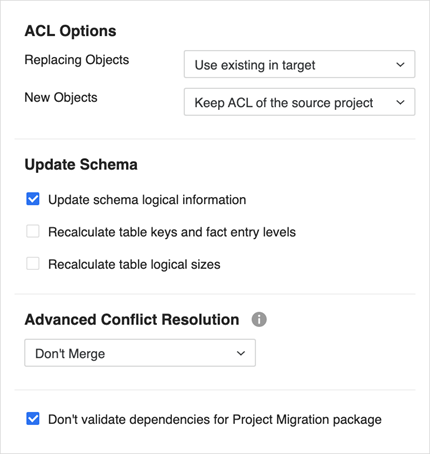
-
Click Create.
Administration Migration Packages
The administration package type is used to move administration objects between environments.
- Open the Workstation window.
-
In the Navigation pane, click
, next to Migrations.You can also multi-select objects anywhere within the Workstation window, right-click, and choose New Migration Package.
-
Change the package Type to Administration.
-
Choose a Source environment and project. Only environments supporting migrations appear.
-
Click Add Objects to add content to your package.
You can also drag and drop objects from anywhere within the Workstation window.
-
Once you have added objects, you can right-click them to Add Dependencies or Change Action based on your needs.
-
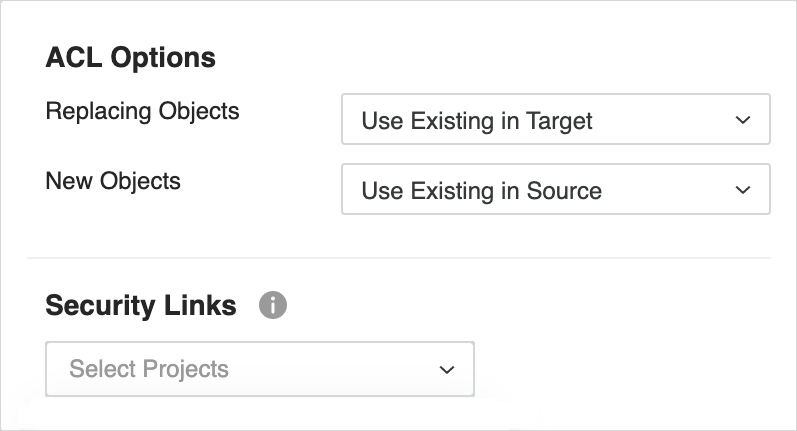
Click Settings
to set ACL Options and Security Links for migration objects.Click here for more details about the options.The ACL Options control what permissions are applied to objects when a conflict is resolved with a Replace, Create New, or Keep Both action.
For conflicts resolved with the replacing objects:
-
Use existing in Target Keeps the destination object ACL.
-
Use existing in Source uses the source object ACL.
-
Merge Both Migrates the object ACL in both the source and target objects. If this option is selected, the ACL is replaced even if the source and destination objects are identical.
For conflicts resolved with newly created objects (including the Create New and Keep Both action):
-
Use existing in Source Keeps the source object ACL.
-
Use existing in Target The object inherits its ACL from the destination folder. The permissions in the source project are not used.
In Security Links, use the checkboxes to include project-level information about any users and groups included in the configuration package. For more information about project security packages, see KB483069. This option is enabled only when users or groups are added into the Create Package dialog.
-
-
Click Create.
-
Track the progress of the package back in the grid. Once it is finished, click Migrate in the Action column.
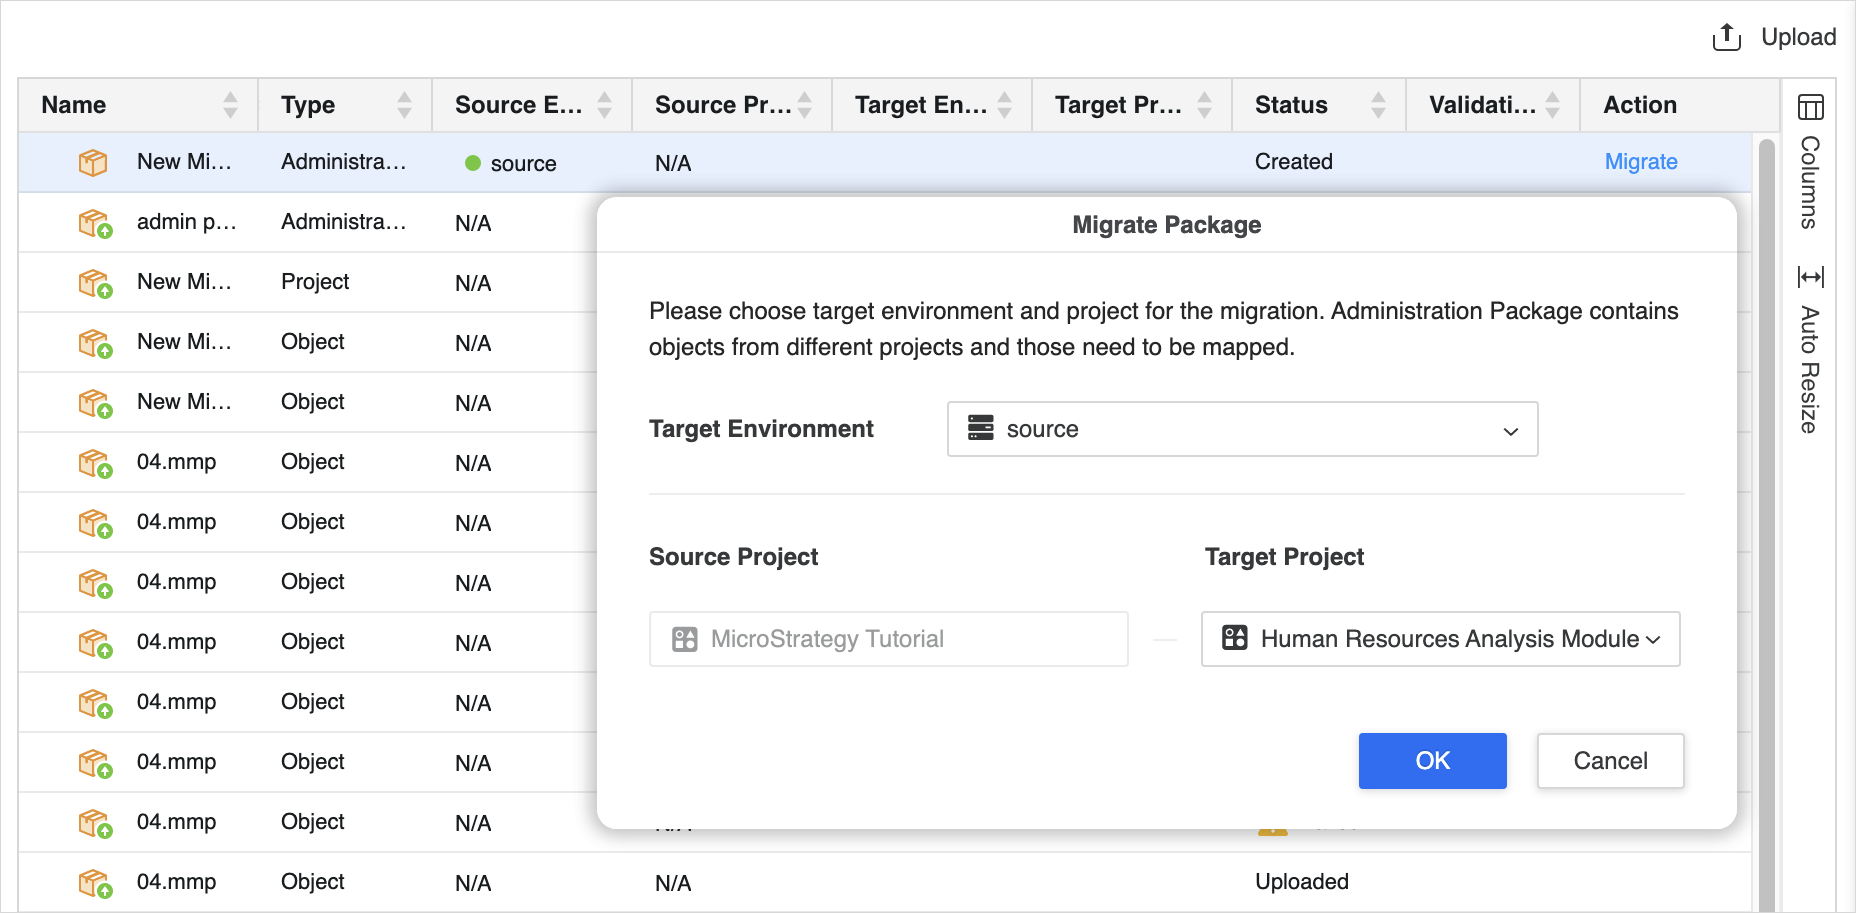
-
Select the target environment and project and click OK.
-
If the migration is successful, the Action column changes to Reverse. If you need to undo the migration, click Reverse. You can also right-click the record and delete it. If the migration fails, the Action column changes to Failed. Hover over it to view details about the migration failure.
Migration Package Settings
- Open the Workstation window.
- In the Navigation pane, click Migrations.
-
Click Settings
and optionally select the check box next to the following settings:-
Exclude parent attributes when searching dependencies: Starting in Strategy One (January 2026), if you select this setting, when you search dependencies for an attribute, the attribute's parent attributes will not be included.
-
Exclude child attributes when searching dependencies: Starting in Strategy One (January 2026), if you select this setting, when you search dependencies for an attribute, the attribute's child attributes will not be included.
-
Use source object's "Last Modified" timestamp instead of migration time: Starting in Strategy One (February 2026), select this setting for migrated items Last Modified dates to reflect the last modified timestamp from the migrated environment rather than the package's migration timestamp.
-