Strategy ONE
Modifying page setup options
You can modify the document's appearance before printing to ensure that the end result (the printed document) appears as desired. You can modify options such as paper size, borders, section display, and horizontal overflow.
Horizontal overflow specifies whether controls that extend beyond the width of a single page are printed on the next sheet of paper (the default setting) or on the same page. For examples and steps, see Controlling horizontal overflow.
For a multi-layout document, each layout can have different page setup options. For more information on multi-layout documents, including which options apply to the document as a whole or to individual layouts, see Creating multi-layout documents.
To modify the page setup options
-
In MicroStrategy Web, open the document in Design or Editable Mode.
-
If the document contains multiple layouts, click the tab of the layout whose printing options you want to modify.
-
From the Home menu, select Page Setup. The Properties dialog box opens.
-
On the left, select Page.
-
To change the paper size, select the new size, such as Letter or Legal, from the Paper Size drop-down list. This option alters the values for both Width and Height.
-
You can change the Width or Height of the page. These settings take priority over the Paper Size and Orientation settings. If you increase Width or Height beyond the Paper Size setting, then Paper Size and Orientation automatically adjust accordingly.
-
You can change the paper orientation to either Portrait (default) or Landscape. This option alters the values for both Width and Height.
-
By default, the document is scaled to 100% (full size). You can change this by doing one of the following:
-
To increase or decrease the scale of the document, select Adjust to and then enter the scale percentage.
-
To scale the document to a specific number of pages, select the Fit to option. You can then set both the number of pages wide, for horizontal scaling, and tall, for vertical scaling. The Fit to option ensures that the document fits within the parameters, but it does not increase the size of the document. If the document is already smaller than the set width and height, it will not be expanded.
-
-
To apply the scaling to the Page Header and Footer sections, select the Scale page header/footer check box. If the check box is cleared (default), the contents of the Page Header and Footer sections are printed at the size specified in the Property List, regardless of the scaling percentage applied to the rest of the document.
-
Horizontal fit specifies how to handle overflow content that does not fit on a single horizontal page. Horizontal fit specifies whether controls that extend beyond the width of a single page are printed on the next sheet of paper or on the same page. This option determines whether controls are printed left to right on multiple pages or immediately below each other on the same page.
By default, the overflow is printed on the next page. To print the overflow on the same page, select Below from the Overflow drop-down list. For examples of horizontal fit, see Controlling horizontal overflow.
-
To define page margins, do the following:
-
On the left, click Margins.
-
To change the distance between the top of the page and the top of the document or the top of the border, enter the new measurement in Top.
-
To change the distance between the bottom of the page and the bottom of the document or the bottom of the border, enter the new measurement in Bottom.
-
To change the distance between the left side of the page and the left side of the document or the left edge of the border, enter the new measurement in Left.
-
To change the distance between the right side of the page and the right side of the document or the right edge of the border, enter the new measurement in Right.
-
-
When all changes are complete, click OK to apply the changes and return to the document.
Printing a document on a single page
You may have a document that contains so many columns and/or rows that it prints on multiple pages, but the document needs to fit on a single page. Depending on the content, you can try any of these solutions:
-
Decreasing the font size of the text, by right-clicking the control and selecting Properties and Formatting. Select Font from the list on the left, and select a smaller font in the Size field.
-
Scaling the document to fit on a single page, by selecting Document Properties from the Format menu. Select Page from the list on the left. Click Fit to, and then type 1 in the next two fields, to fit the document to one page wide by one page tall.
If the document is grouped, you can combine scaling with the Page break between groups option in the Grouping Properties dialog box. This option fits each group onto a single page, and helps when the document is too big to fit on a single page.
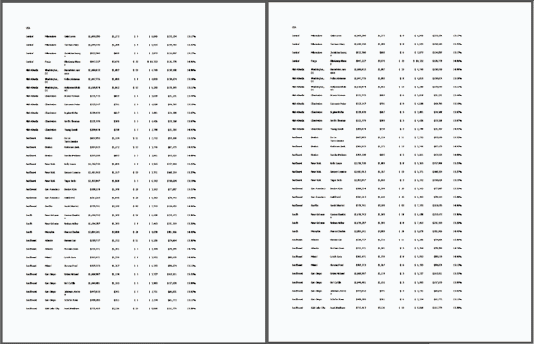
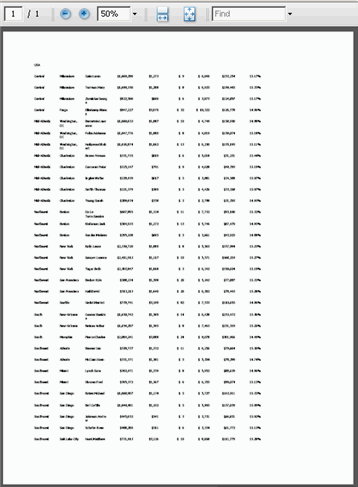
For example, a document contains nine columns of data and is grouped by Country. Printed at full size, the document is two pages across and two pages long, for a total of four pages. The document can be scaled to fit on a single page, as shown below:
You can also use the Page break between groups option to apply Fit to Page scaling to separate groups instead of applying it to the whole document. For example, a document grouped by region contains nine columns. Each region is two pages in width and two pages in length, but should print on a single page. The Page break between groups option forces a page break between each region. Since the document cannot then be fit on a single page, the page scaling is applied to each group. Shown below are the first two pages of the document.