Strategy One
Manage Excel Templates
Starting in Strategy One (May 2025), create Excel templates to standardize Excel content delivered in subscriptions. You can upload an Excel file to use as a template and further customize your template settings and objects.
Create an Excel Template
- Open the Workstation window with the Navigation pane in smart mode.
-
In the Navigation pane, click Subscriptions.
-
Select an Environment from the upper-left drop down.
-
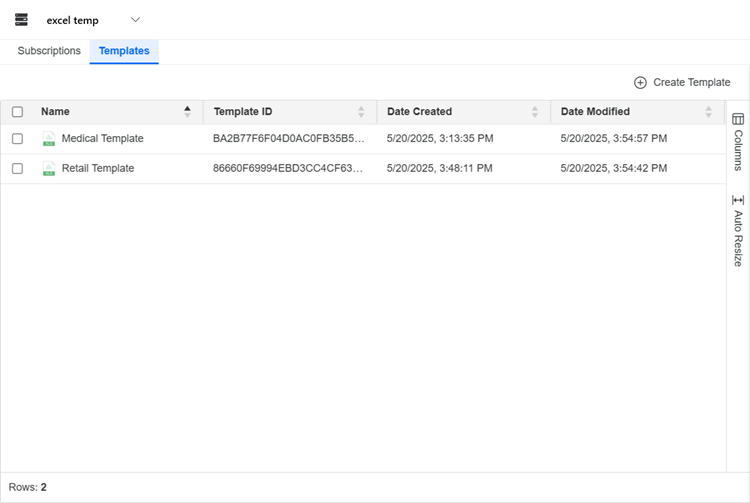
Click Templates and click Create Template.
-
Type a Name for the template.
-
Click Select a File and choose your .xlsx file.
-
Click Open and Create.
The template is added to Workstation and displays additional information such as the Name, Template ID, Date Created, and Date Modified.
Use an Excel Template
-
Open the Workstation window with the Navigation pane in smart mode.
-
In the Navigation pane, inside the Administration group, click
 , next to Subscriptions.
 -
Choose an environment and project, then click Select.
-
In Name, enter a descriptive name for the subscription.
-
From the Type drop-down list, choose Email.

-
To add content to the subscription, click
 in the Content pane.
 -
Click Templates and choose your template.
-
Click Select.
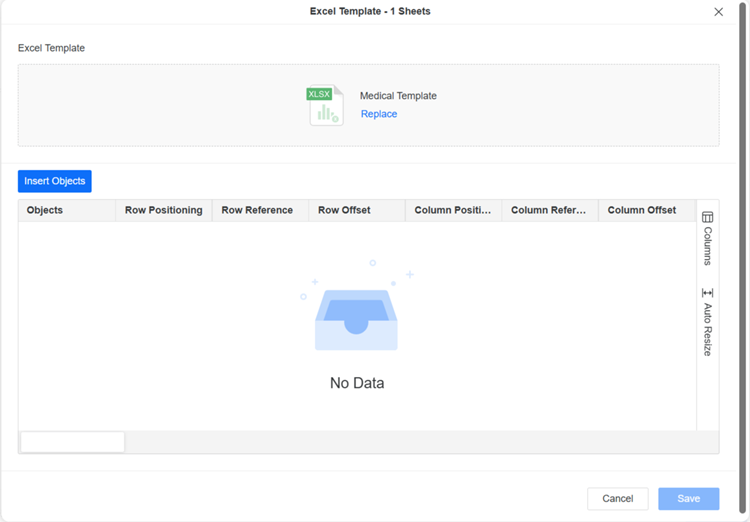
The Excel template dialogue displays.
-
To choose the objects included in the subscription:
-
Click Insert Objects.
-
Choose your object and click Select.
-
Repeat this process for each object.
-
- If your object is a prompted report:
- Right-click the object and choose Edit Prompt.
- Choose your prompt selection and click Apply.
- Optionally format your Excel for each object by expanding the column drop-down lists or typing a value for the following fields:
- Row Positioning Defines where the object is placed in a row using the following options:
- Absolute The object is offset from the left of the sheet.
- Relative Top The object is offset from the top of another row.
- Relative Bottom The object is offset from the bottom of another row.
- Row Reference The row to use as a starting point for the offset. This value is not used for absolute row positioning, which is always offset from the top of the sheet.
- Row Offset The number of rows the item is offset from the top of the sheet, if absolute row positioning is used, or from the Row Reference.
- Column Positioning Defines where the object is placed in a column using the following options:
- Absolute The object is offset from the left of the sheet.
- Relative Left The object is offset from the left side of another column.
- Relative Right The object is offset from the right side of another column.
- Column Reference The column to use as the starting point for the offset. This value is not used for absolute column positioning, which is always offset from the left of the sheet.
- Column Offset The number of columns the item is offset from the left of the sheet, if absolute column positioning is used, or from the Column Reference.
- Row Positioning Defines where the object is placed in a row using the following options:
-
Click Save.
-
Add additional content, as needed, in the Content pane.
- In the Recipients pane, select the recipients of the subscription. Starting in Strategy One (March 2025), you can add user groups to the Recipients pane.
- In the Delivery pane, choose from time-based schedule objects or event-based triggers. Depending on your environment, you can also choose an expiration date for the subscription in Stop After or Expire on and Timezone.
- Use Subject and Message to define the subject line and associated message body. In both the subject and message of the email for a report subscription, you can include macros and starting in MicroStrategy ONE (December 2024), attributes and metrics that dynamically change based on the recipient, project, and other parameters. To choose from a list of available macros, attributes, and metrics, type{& or {.
-
To adjust subscription-level settings, click Settings
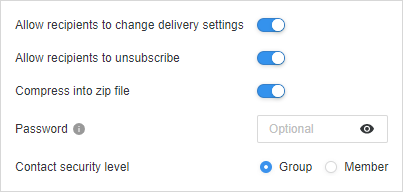
 on the right side of the toolbar. These settings include:
-
Allow recipients to change delivery settings or unsubscribe
-
Choose whether to compress non-HTML files into a zip file and, optionally, define the zip file's password
-
Set the contact security level to group or member
Click here to learn more about the contact security level.The contact security level is the security level used for your contacts. Contacts can have their own member security or you can choose to have each contact inherit from their respective contact group. Contacts and contact groups are assigned to a given user and inherit the privileges of the user to which they are assigned. These privileges determine what a given recipient is able to see when they receive the subscription.
-
- You can choose to Run the subscription immediately after saving.
- Click Save.