Strategy ONE
Comparing the New Customization Method
This topic discusses a common customization scenario and compares the method for accomplishing it in MicroStrategyWeb 8.x and MicroStrategy Web 9.x. The modification steps along with the files and code samples for Web 8.x are listed. The same customization example is then accomplished in Web 9.x by using the Web Customization Editor. This is intended to help you understand the streamlined and convenient process of achieving all your customizations using the Web Customization Editor..
Since the Web Customization Editor leverages the benefits of the plug-in architecture, it automatically creates plug-ins inside the plugins folder based on your customization requirements. Each plug-in corresponds to a single customization task. A plug-in contains software code specific to the customization. This software code is then virtually merged into the appropriate file or files (such as configuration files, JSP or ASP.NET files, etc.) when the application server hosting MicroStrategy Web is restarted.
Consider a customization scenario for removing the Related Reports section on the Report Execution page. This scenario requires a code change to the Page Configuration file, pageConfig.xml, for deleting the dockLeft page section that contains Related Reports from the Report Execution Page.
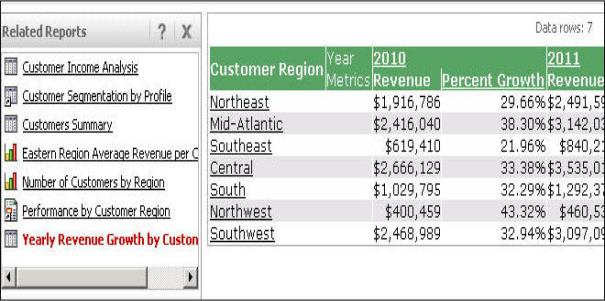
The Related Reports content, which provides a listing of all the reports available in the same folder, is not displayed by default. You make it visible by choosing Related Reports from the View menu at the top of the screen. Since you are removing the Related Reports content, you also need to remove the Related Reports option from the View menu. This topic focuses on comparing the two customization methods and thus does not include steps for removing the Related Reports option from the View menu.
Before customization:
After customization:

Customization method in MicroStrategy Web 8.x
Before the plug-in architecture was available in MicroStrategy Web, the code responsible for accomplishing the above customization had to be manually inserted into a copy of pageConfig.xml. Thus this copy contained the customization-specific code along with the rest of the existing default code. Additional files such as web.xml had to be modified to make sure MicroStrategy Web used the copies of the modified files. This process, even though it isolated the customized files in a separate folder, still made it difficult to identify the customization changes from the rest of the default code.
![]() Click here for actual customization steps in MicroStrategy Web 8.x
Click here for actual customization steps in MicroStrategy Web 8.x
Customization method in MicroStrategy Web 9.x
In MicroStrategy Web 9.x, the Web Customization Editor is your single point of entry for performing all customizations. Now for the same customization scenario with the plug-in architecture, the Web Customization Editor creates a plug-in (subfolder inside the plugins folder) that contains pageConfig.xml. This pageConfig.xml does not contain anything other than the code that helps achieve the customization. When the application server is started, MicroStrategy Web looks into the plugins folder and identifies the existence of pageConfig.xml. It then deploys the customization by virtually taking the software code from these two files and merging it into the out-of-the-box pageConfig.xml that is available in the WEB-INF\xml folder.
Actual customization steps in MicroStrategy Web 9.x using the Web Customization Editor
-
Click on MicroStrategy Web Configuration inside the Application Settings view to expand the hierarchical tree. The expanded list comprises the different settings that can be modified to perform customizations.
-
Click on Pages to expand the list of pages used in MicroStrategy Web.
-
Double-click the report (Report Execution) page.
-
Click the Template Properties tab to make changes to the Default page template.
-
Right-click the dockLeft page section and select Make section empty. The location field reflects the blank page section.
-
Save your changes.
-
Access MicroStrategy Web and run a report. The Related Reports content is no longer displayed on the Report Execution Page
The separation of the customization code changes from default code from MicroStrategy Web along with the ease of maintenance and upgrade are the hallmarks of the plug-in architecture. The Web Customization Editor creates the plug-in (that is, plug-in subfolder) in the plugins folder based on your customization tasks. The plugins folder can contain several plug-in subfolders that each correspond to separate customization tasks.
Note: To access additional detailed customization scenarios in Web 9.x, refer to the Customizing MicroStrategy Web section. This section comprises a Fundamentals of Customization section, which introduces the fundamentals of customization in MicroStrategy Web and helps you get started with basic customization tasks, and Advanced Customization Topics, which introduces advanced concepts and provides information about Web Objects and Web Beans APIs.
See also: