Strategy One
Integrate Strategy with Microsoft Entra ID OIDC Single Sign-On
Prerequisite
Complete all Configure OAuth Parameters with Microsoft Entra ID steps in Configure OAuth Parameters: Authorization Code Workflow.
Create a Data Source Using OIDC Single Sign-On Authentication Mode
-
Open the Workstation window.
-
Connect to an environment.
-
Create an Enterprise Security Object. For more information, see Manage OAuth Enterprise Security with Identity and Access Management (IAM) Objects.
All required information should be collected in the Configure OAuth Parameters with Microsoft Entra ID section of Configure OAuth Parameters: Authorization Code Workflow.
-
In the Navigation pane, click
 next to Data Sources.
 -
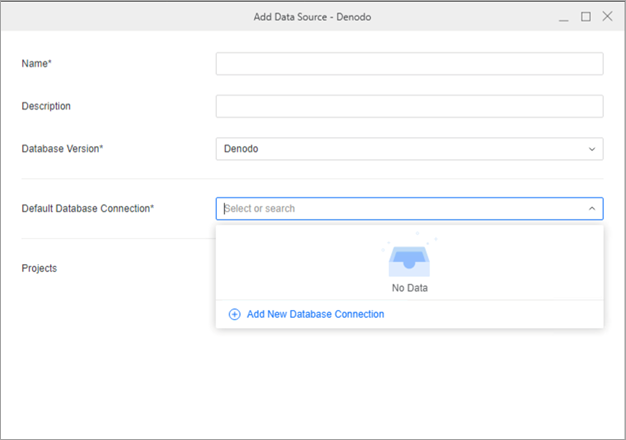
Search for and choose Snowflake from the data source list.
-
In the Default Database Connection drop-down list, click Add New Database Connection.
-
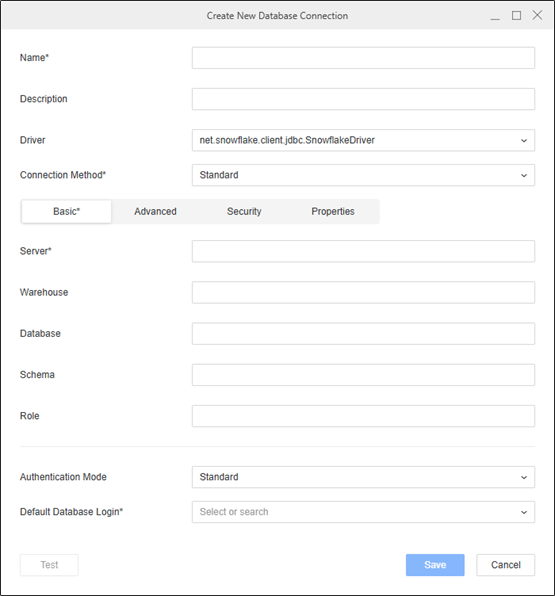
Type a Name for the new database connection.
-
In the Driver drop-down list, choose the Snowflake ODBC or JDBC driver.
-
In Connection Method, ensure Standard is selected.
-
Click the Basic tab.
-
Type a Server Name.
-
Optionally type a Warehouse, Database, Schema, and Role.
-
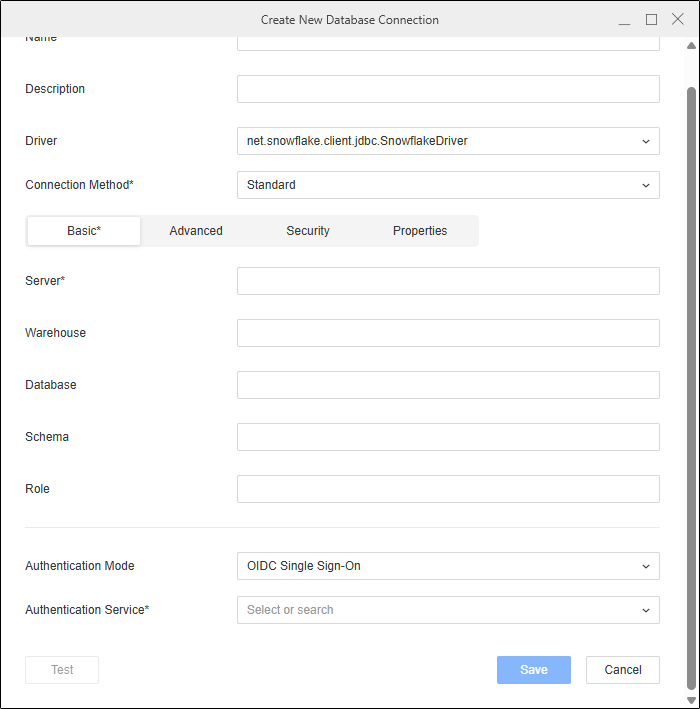
In the Authentication Mode drop-down list, choose OIDC Single Sign-On.
-
In the Authentication Service drop-down list, choose an authentication service or click Add New Authentication Service.
For more information, see Manage OAuth Enterprise Security with Identity and Access Management (IAM) Objects.
-
In Scope, enter the same values you defined in your Enterprise Security Object.
-
Click Save.
-
Type a Name and select Projects for the data source.
-
Click Save.
Create and Map Users to Entra ID
-
Open the Workstation window.
-
Connect to an environment.
-
In the Navigation pane, click User and Groups.
-
Click
next to All Users.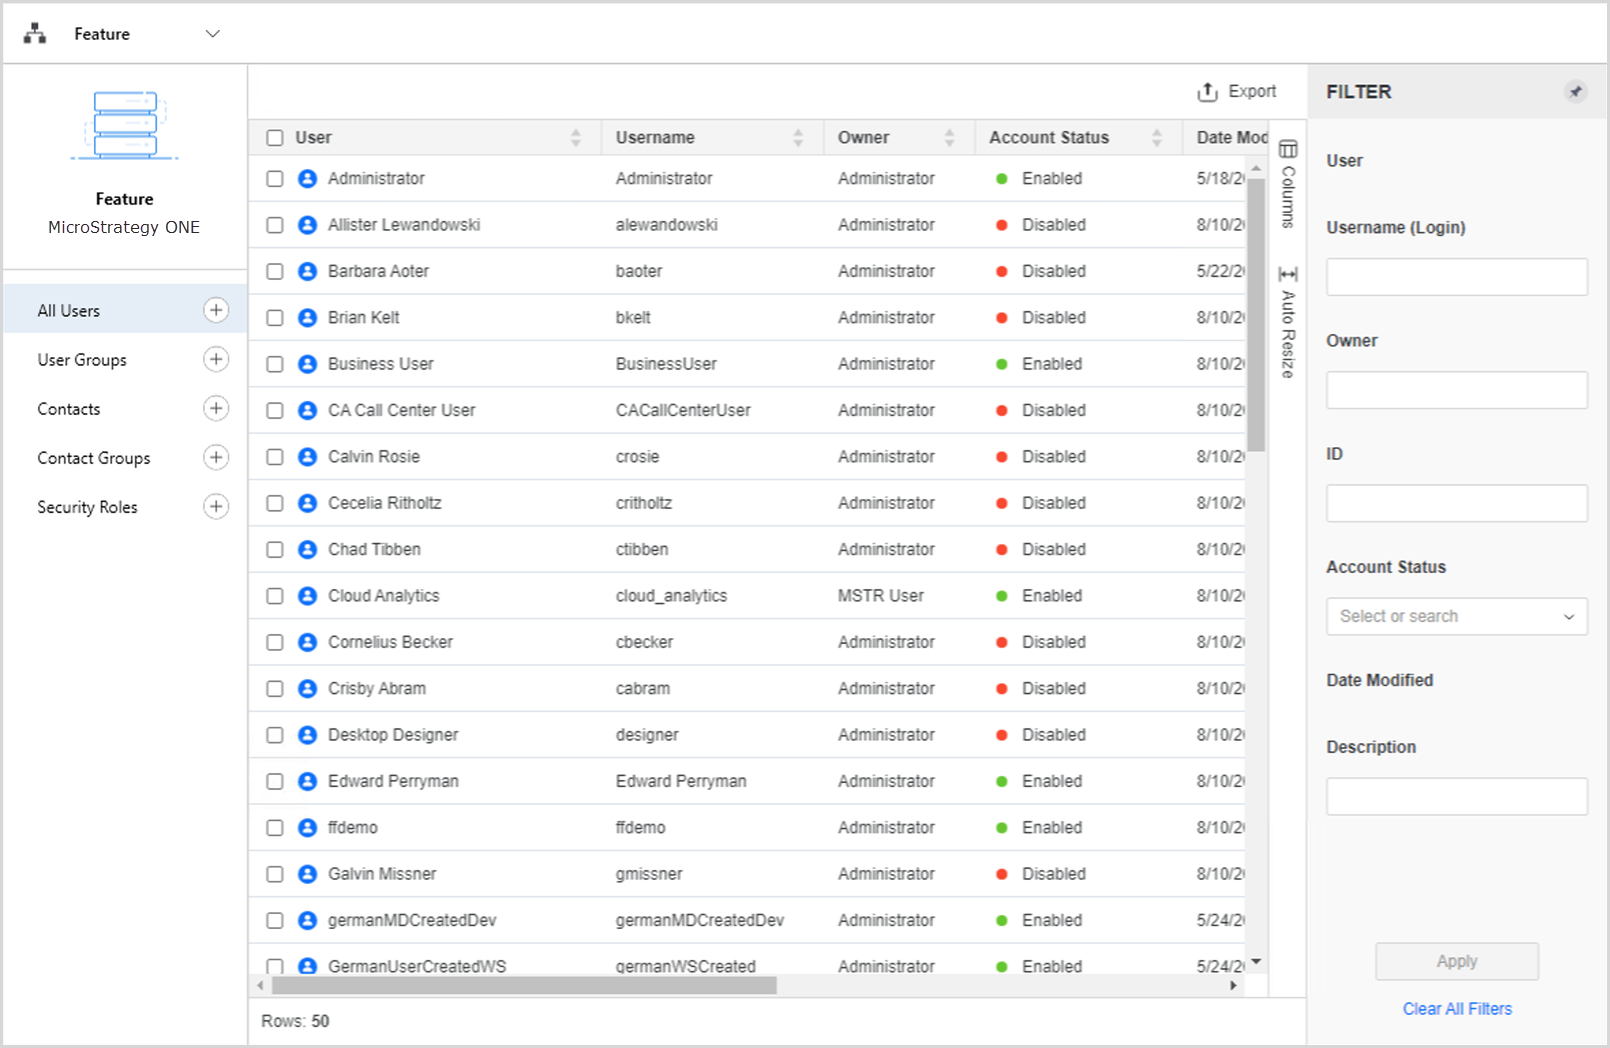
-
In Account and Credentials, enter a Full Name, Email Address, Username, and Password, if required.
-
In the left pane, click Privileges and add the following privileges:
-
Access data from Databases, Google BigQuery, BigData, OLAP, BI tools
-
Create and edit database instances and connections
-
Create and edit database logins
-
Create configuration objects
-
Create dataset in Workstation
-
Configure project data source
-
Monitor Database Connections
-
Use Workstation
-
-
In the left pane, click Authentication.
-
In Trusted Authenticated Request User ID, type the user's email address.
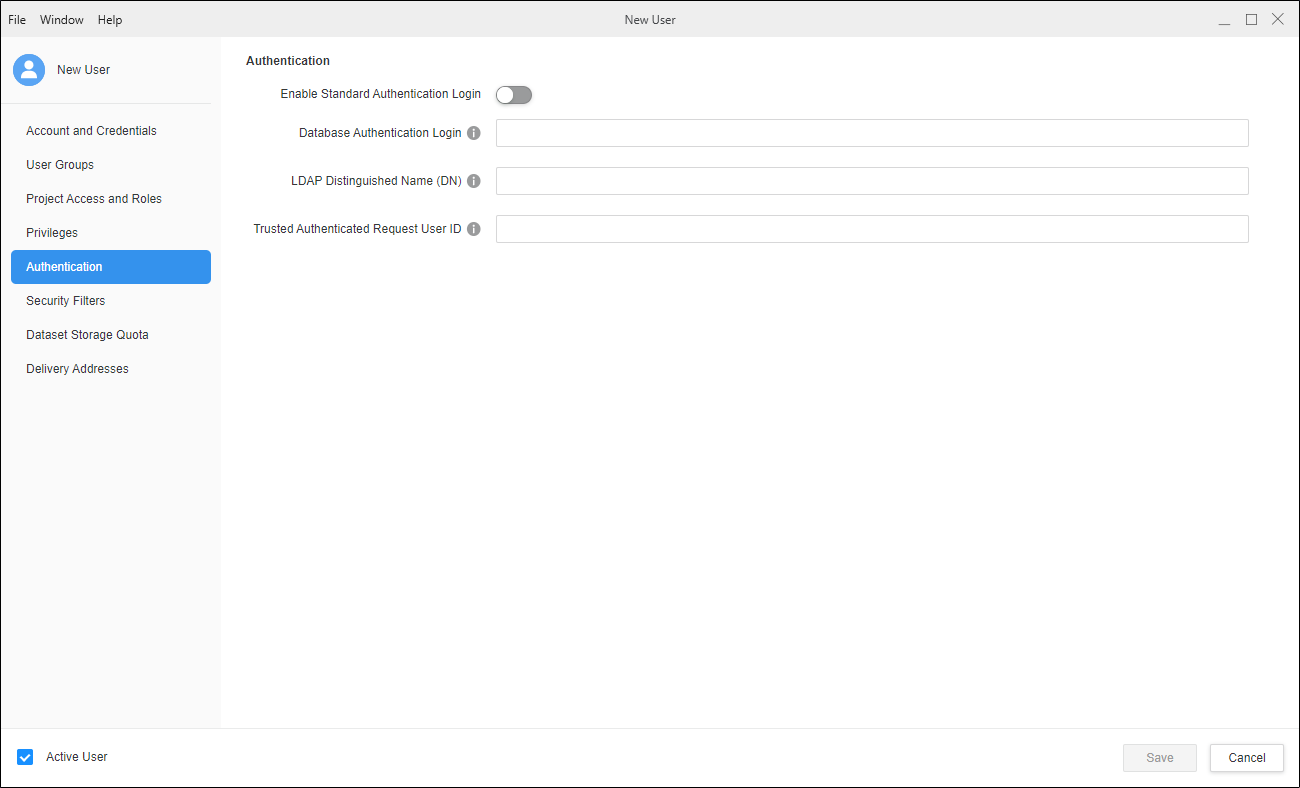
-
Click Save.
Configure OIDC
-
Open the Workstation window.
-
Connect to an environment.
-
Right-click the environment and click Configure Enterprise Security > Configure OIDC.
-
In Select an identity provider, expand the drop-down list and choose Azure.
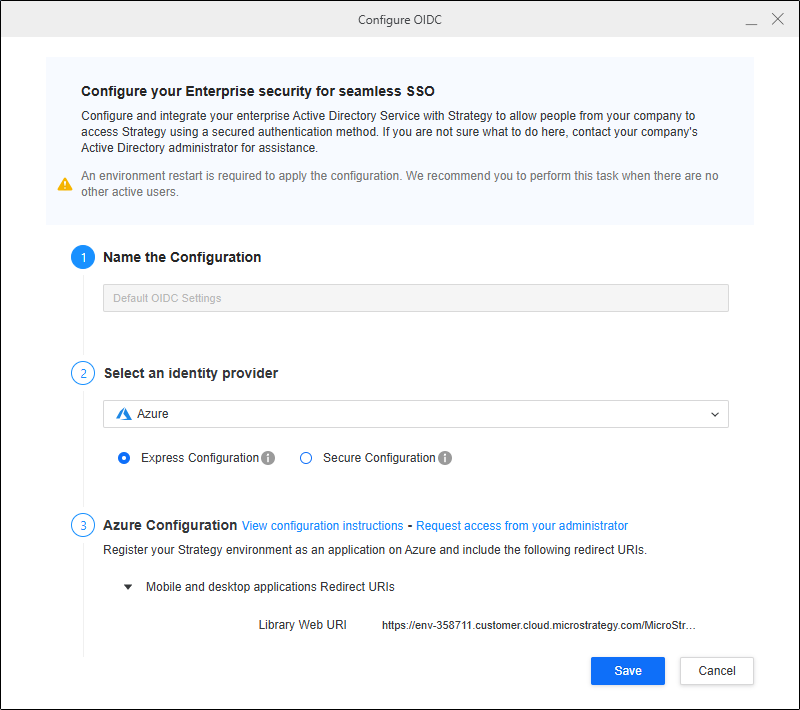
-
Complete the steps in Enable OIDC Authentication for Strategy Library to configure OIDC for your Strategy environment.
In Step 3: Azure Configuration, ensure the Login Redirect URIs are added in Configure OAuth Parameters with Microsoft Entra ID in Step 3 of Configure OAuth Parameters: Authorization Code Workflow.
-
In Step 4: Strategy Configuration, upload the manifest file you downloaded in in Configure OAuth Parameters with Microsoft Entra ID in Step 8 of Configure OAuth Parameters: Authorization Code Workflow.
-
Click Save.
-
Restart the Web server.
Single Sign-On with OIDC
-
Open the Workstation window.
-
Connect to an environment.
-
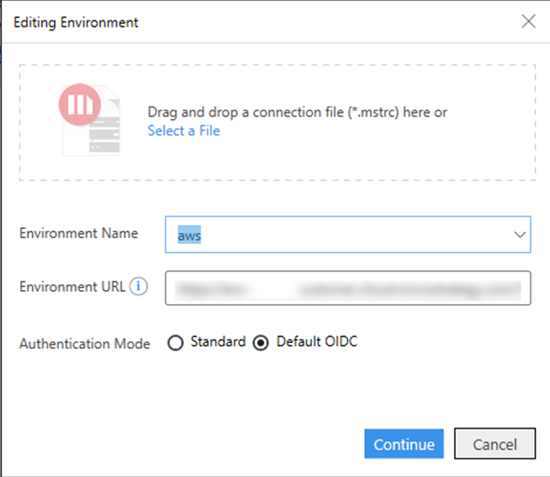
Right-click the environment and click Edit Environment Information.
-
In Authentication Mode, select Default OIDC and click Continue.
-
Log in to your Entra ID account in the browser dialog.
-
Use an Administrator account to grant privileges to the new user.
You can ignore this step if you have mapped the user to your Entra ID account (as seen in Enable Single Sign-On with OIDC Authentication) and already granted privileges.
-
In the Navigation pane, click
next to Datasets. -
In the Project drop-down list, choose a project.
-
Select Data Import Cube and click OK.
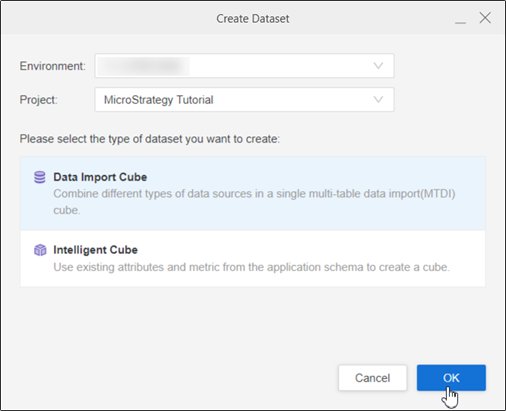
-
Choose the data source you created for your OIDC SSO in Create a Data Source using OIDC Single Sign-On as Authentication Mode.
The namespaces and tables display.