MicroStrategy ONE
Creating an attribute-to-attribute qualification
In a filter, an attribute-to-attribute qualification allows you to create reports that compare two attributes through attribute forms, as shown in this example below. An attribute-to-attribute qualification can also compare an attribute to a custom expression.
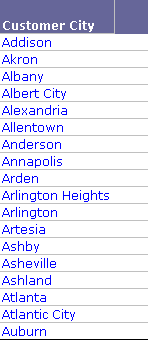
For example, your new utility company has call centers located throughout the country, and your recent surveys indicate that customers who live in the same city as a call center are particularly satisfied with service due to extremely rapid repairs during power outages. To begin your new advertising campaign, you want to generate a list of Call Centers that coincide with Customer Cities. In this case, you qualify on the Customer and Call Center attributes using an attribute-to-attribute qualification filter. When you add this filter to a report with the Customer City attribute, only a small subset of the total number of Call Center attribute elements are displayed. Each of the elements (cities) present on the report is also a Customer City.

For directions to create this attribute-to-attribute qualification and report, see the Advanced Filters chapter of the Advanced Reporting Help.
Prerequisite
This procedure assumes that you have already begun creating an attribute qualification. If you have not, see Steps to create an attribute qualification.
To create an attribute-to-attribute qualification
-
In the Attribute Qualification pane, select an attribute in one of the following ways:
-
Type the name of the attribute in the Attribute box and click OK.
-
Click ... (the browse button) to select an attribute from the Attributes folder. Click OK.
-
Drag the attribute from the Object Browser into the Attribute box.
-
-
Select a form from the Qualify On drop-down list.
-
Select any operator, except In list and Not in list, from the Operator drop-down list.
-
Choose Custom from the drop-down list.
-
Type the custom expression in the text box.
-
Finish creating the attribute qualification, beginning at this step.
Example
For example, you can create a report that displays the orders that were shipped within a week of their order date, by comparing Order Date with the Ship Date. To do this:
-
Select the attribute Ship Date from the Object Browser.
-
Select ID from the Qualify On drop-down list.
-
Select Greater than from the Operator drop-down list.
-
Select Custom from the drop-down list and type the expression (Day@ID +7). This adds 7 days to the Day attribute, which is the Order Date. All the Ship Dates that satisfy this condition are returned in the result set of the report.
