MicroStrategy ONE
Grouping Keys into a Single Layout
You can display related keys on a single screen in the MicroStrategy Badge app to give users quick access to keys that control related tasks.
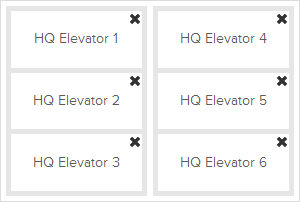
For example, each elevator in your building has a separate key. You can group these keys into one Elevators group key so that users can tap on the Elevators group key and have easy access to any elevator key.
You must integrate your physical access control system with MicroStrategy Identity. For steps, see Enabling access to physical locations with Identity.
To Display Related Keys as a Group
- Log into MicroStrategy Identity Manager:
- Navigate to the Identity Manager home page.
- On your smartphone, open MicroStrategy Badge and scan the displayed QR code.
- Click Physical Gateways.
- Under Building Access, click Edit next to the physical access system whose keys you want to modify. The keys for your physical access control system are displayed.
- Click Group Keys. All group keys in the network are displayed.
- Click the Create Group Key icon . The Group Keys page opens.
- Type a descriptive name for the group key in the Group Key Name field.
- You can choose whether to display or hide the key in the app. For Group Key Hiding, select from the following:
- Show: The single key is displayed in the app and available to users in your network.
- Hide: The single key is hidden in the app for users in your network.
- To add keys to the group key, click Add. The Add Keys page opens.
- Select the keys to include in the group key, then click Add. The keys are added to the first column of the group key layout.
- You can customize the layout for how keys in the group are displayed to users in their MicroStrategy Badge app. Under Group Key Collection, do the following:
- From the drop-down list, select the number of columns to use to display the keys.
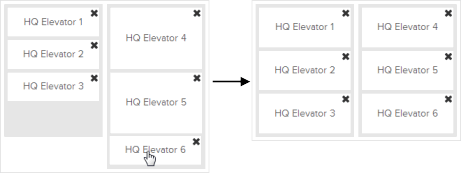
- Click a key, then drag and drop it to the column where you want it, as shown on the left in the example below. The result after the drag and drop is shown on the right:
Drag and drop the keys until they are in your preferred layout.
- Click Publish to save your changes.
Related Topics
Renaming, Hiding, or Deleting Keys
Editing How Individual Keys are Displayed
Allowing Multiple Keys to be Used for a Single Action
Enabling Bluetooth® and Location Services for a Badge


