MicroStrategy ONE
Badge Design
You can define a unique look for each badge, with a custom background and icon. You can also apply your company colors and logo to the badge.
For steps to display additional user details on a badge, such as each user's phone number, see Displaying Additional User Information on a Badge.
To display custom images for your badge background and badge icon, prepare the following images:
- Badge icon:
- File type:
.jpg,.jpeg, or.png - Size range: The minimum resolution is 200 x 200 pixels.
- File type:
- Badge background:
- File type:
.jpg,.jpeg, or.png - Recommended size: 640 x 1136 pixels.
You can upload this image from your computer, or you can link to an image available on a website.
- File type:
To Customize a Badge's Design
- Log into MicroStrategy Identity Manager:
- Click Users & Badges.
- Under Badge Management, click Design.
-
Click Badge View.
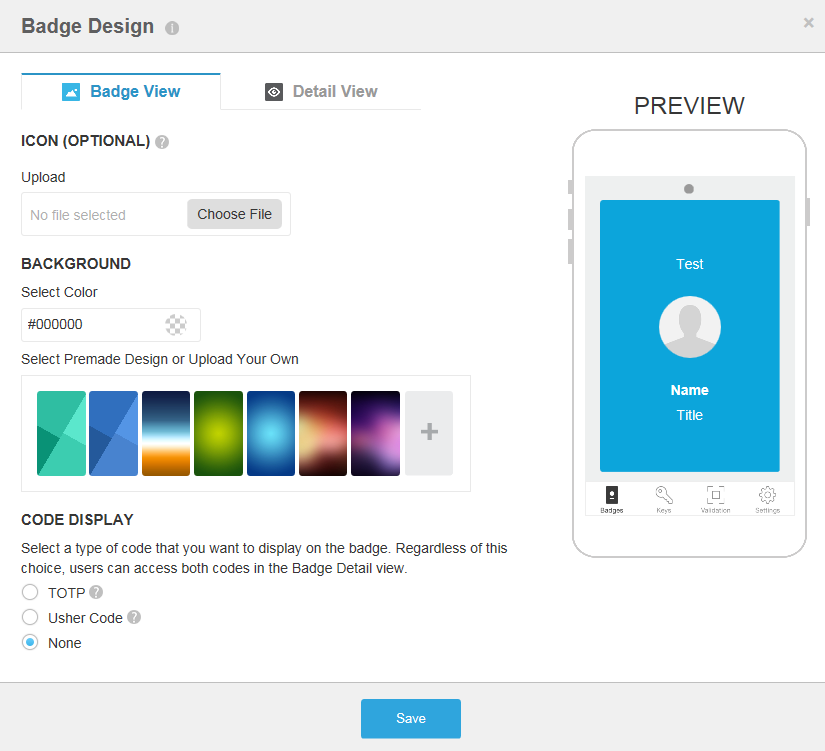
Upload an Icon for the Badge
- Click Choose File and then navigate to and select an icon image. A preview of the image is shown, with the area that will appear on the badge icon highlighted.
-
To select a different area of the image to display as the badge icon, drag the highlight to the part of the image that you want to display. Additionally, resize the highlighted area to resize the icon image.

Define the Badge Background
To define a solid background color, click the Select Color field, then choose the color and shade. You can also define a custom color by typing a hex value, such as #2d1dc2.

- To display a background pattern, select the pattern that you want to display.
- To upload a background image from your computer, click the + (plus) icon, then click Upload a PNG or JPG. Navigate to and select a background image.
- To display an image available on a website, click the + (plus) icon. In the Enter Image URL field, type the URL of the image, then click Enter.
If you upload a background image from your computer or from a website, a preview of the image is shown, with the area that will appear on the badge highlighted. To select a different area of the image to display on the badge, drag the highlighted area over the part of the image that you want to display.

Display a Code on the Badge
Under CODE DISPLAY, select one of the following options:
-
TOTP (Time-based One-time Password, also called OTP) — The OTP is not unique to each user and is designed for use with another identifier (such as a username or employee ID) to authenticate your identity. For example, you would enter your username and this OTP to log in to a VPN. By default, the OTP is 6 digits in length and updates every 60 seconds.
The TOTP code is generated using a seed that is sent from the MicroStrategy Identity Server to the client. The code is independently generated from this seed by both the server and the client, and the comparison of the two numbers is used to authenticate identity. And since it is used with another identifier, the TOTP code is more secure than the Badge Code.
- Badge Code — The Badge Code is unique to each user and can be configured to change routinely. For example, this code can be given over the phone to identify yourself if you are talking to someone who does not know you. By default, the Badge Code is 4 or 8 digits in length and updates every hour (previously it refreshed every 60 seconds).
-
None — No code is displayed on the badge.
By default, no code is displayed on the badge. To view both codes, tap anywhere on the badge to access the Badge Information page. The Badge Information page displays the One Time Password, the Badge Code, and a QR Code for scanning the Badge Code.
Click Save.
Related Topics
Defining badge security and designing badges
Distributing Badges to Users in Your MicroStrategy Identity Network