MicroStrategy ONE
Use the SurveyMonkey Connector
Starting in MicroStrategy ONE Update 12, you can use the SurveyMonkey connector as part of the new data import experience. If you are using a version earlier than MicroStrategy ONE Update 12, see Use the SurveyMonkey Connector Before MicroStrategy ONE Update 12.
Check out the following topics to get started:
Configure Parameters for SurveyMonkey in Old Data Import
- Open the Workstation window.
- Ensure that Help > Enable New Data Import Experience is enabled.
- In the Navigation pane, click
 , next to Datasets.
 - Choose an Environment, Project, and Data Import Cube.
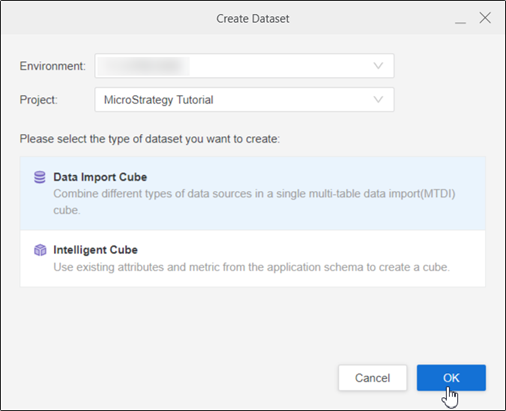
- Click OK.
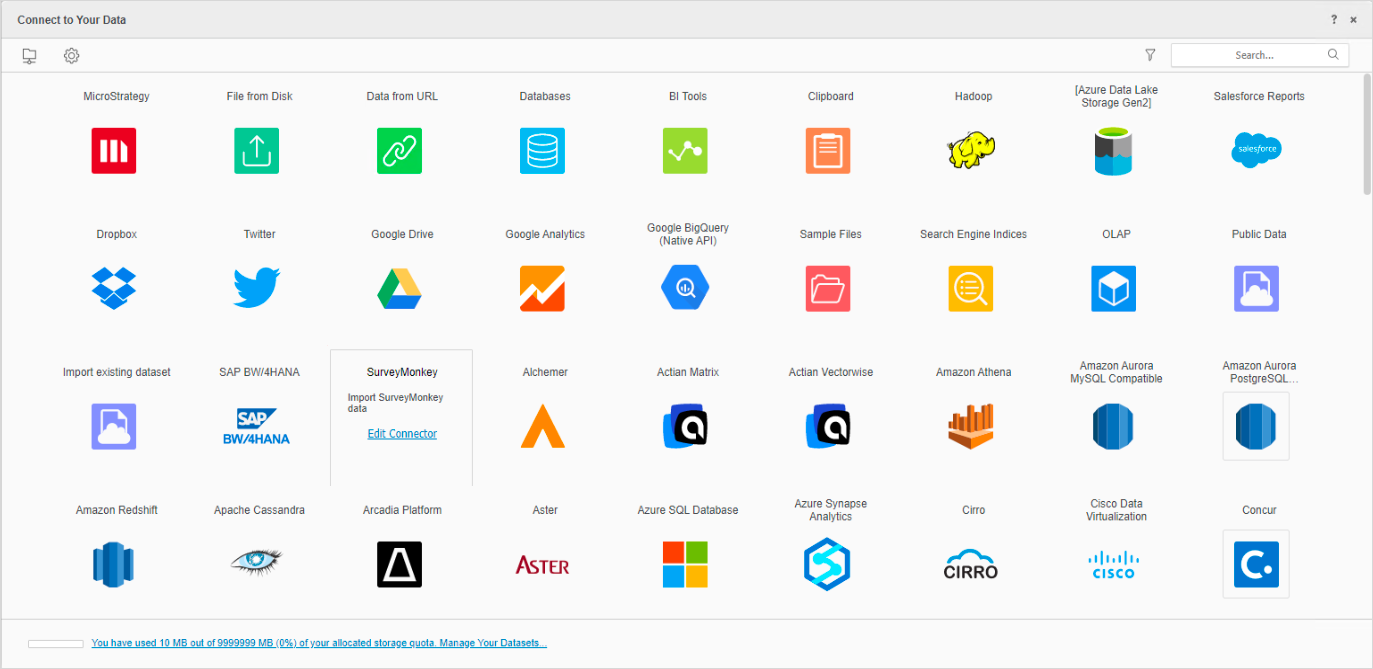
- Choose SurveyMonkey from the Connect to Your Datawindow.
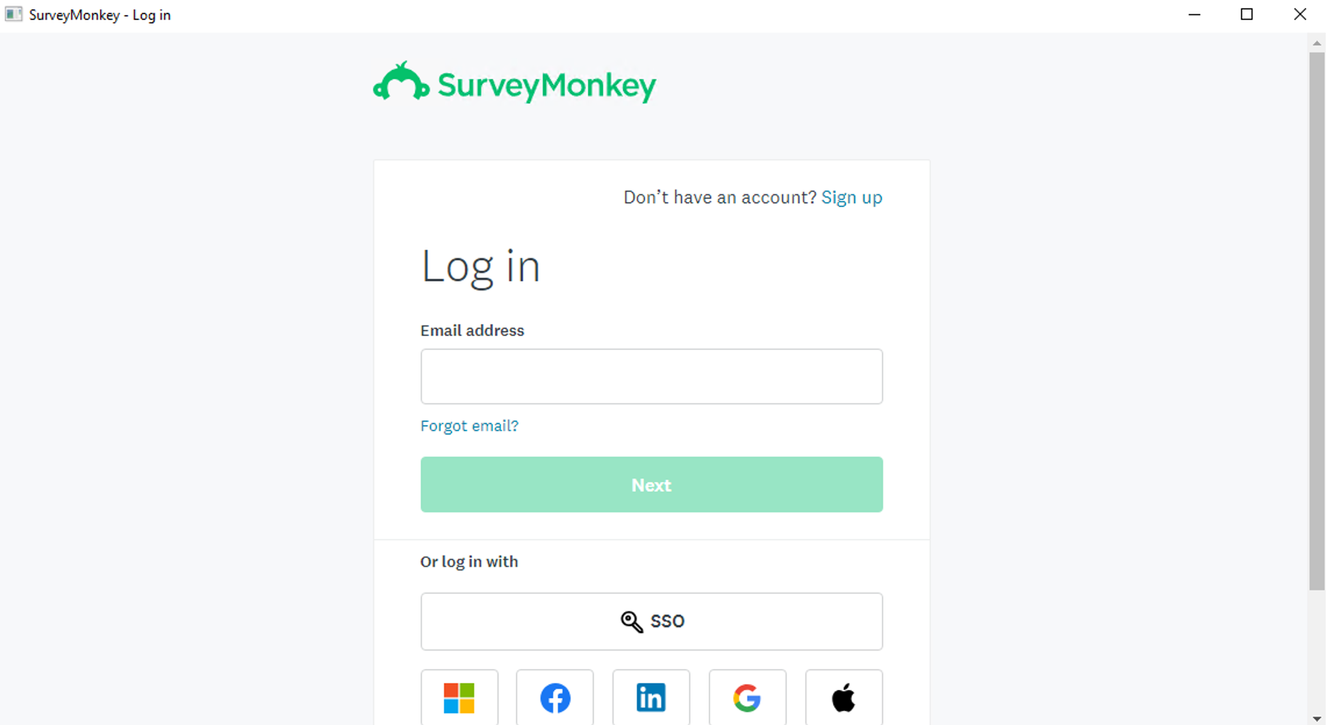
- Sign in using Connector URL, Client ID, and Client Secret.

- Click Save.
Import Data from SurveyMonkey
Once you configure the required parameters, you can start importing data. This feature is only available when the new data import experience is enabled.
- Open the Workstation window.
- Ensure that Help > Enable New Data Import Experience is enabled.
- In the Navigation pane, click , next to Datasets.
- Choose an Environment, Project, and Data Import Cube.
- Click OK.
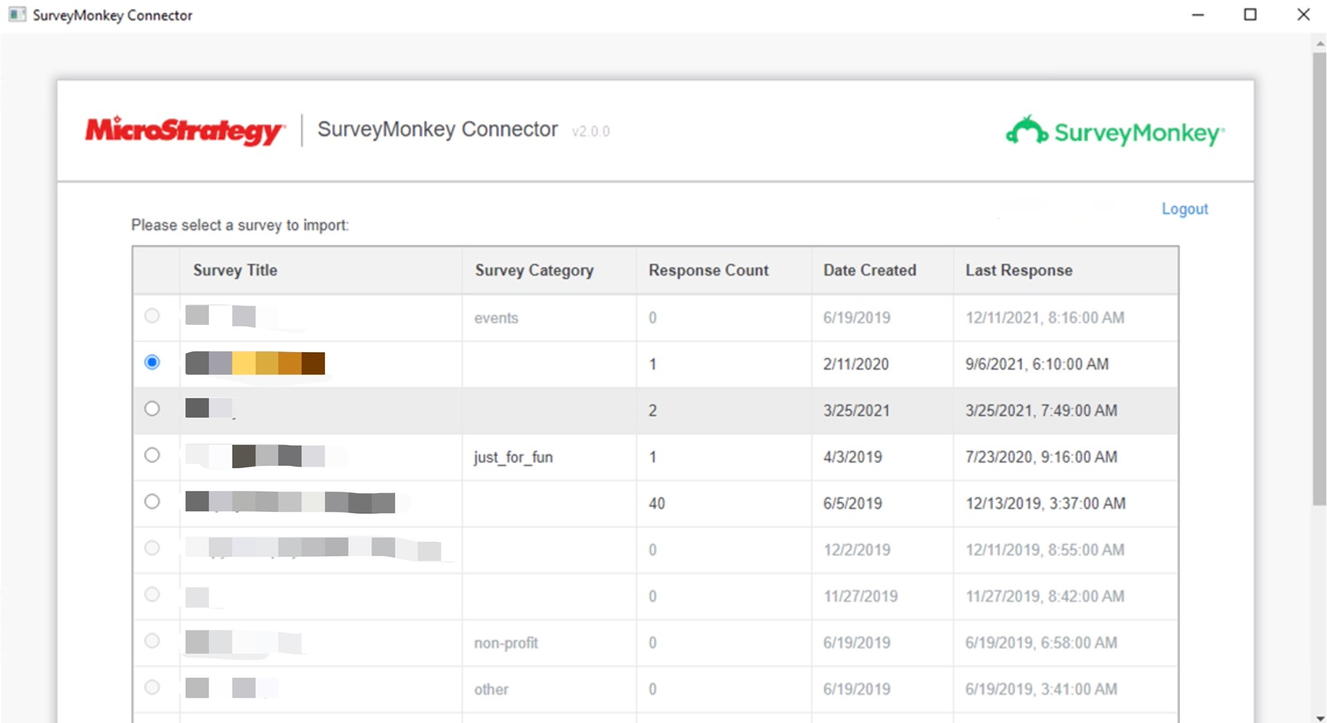
- Choose Survey Monkey from the Services drop-down.

- Sign in to your Survey Monkey account.
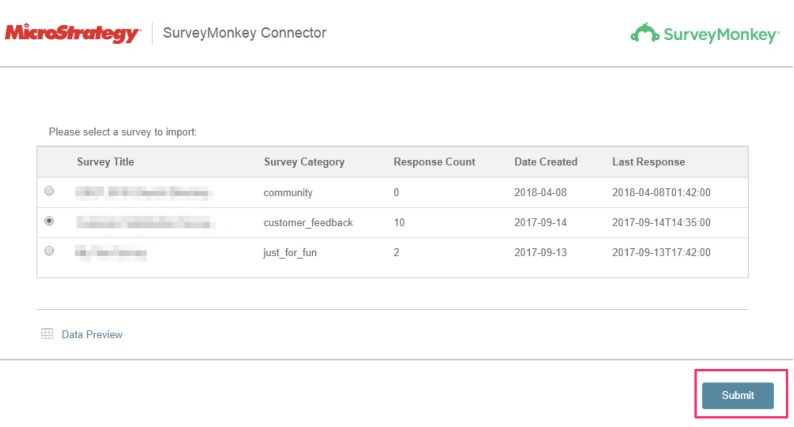
-
Choose a Survey to import and click Submit.
- If necessary, click Prepare Data to view the sample data and adjust column types.
- Publish the cube to MicroStrategy.
Use the SurveyMonkey Connector Before MicroStrategy Update 12
To use the SurveyMonkey connector with MicroStrategy Web, your administrator must perform the steps detailed in the Configure the SurveyMonkey Connector topic of the MicroStrategy Web Administration Help.
- Open a new or existing dashboard.
- Choose Add Data > New Data.
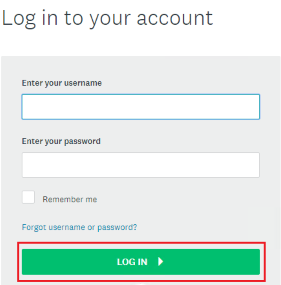
- Click the SurveyMonkey connector icon from the data source list. You are redirected to your SurveyMonkey login page.
- Log in and grant the connector application permission to connect to your data.
You only need to grant the connector application permission when launching the SurveyMonkey connector for the first time.
- Upon successful authorization, you are redirected to a data import page displaying a list of your surveys.
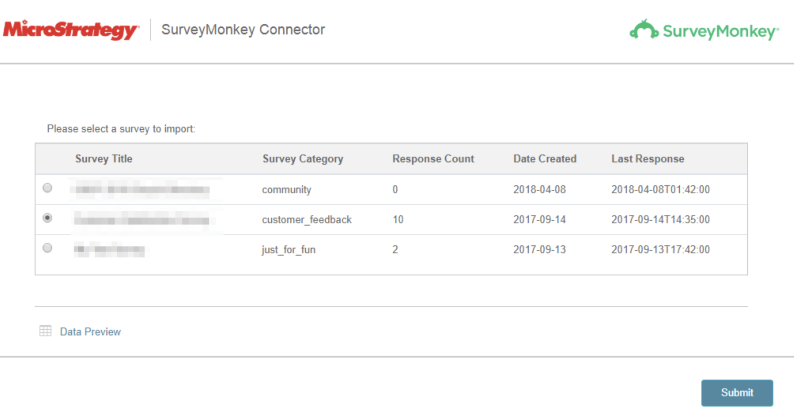
- Select a survey to import.
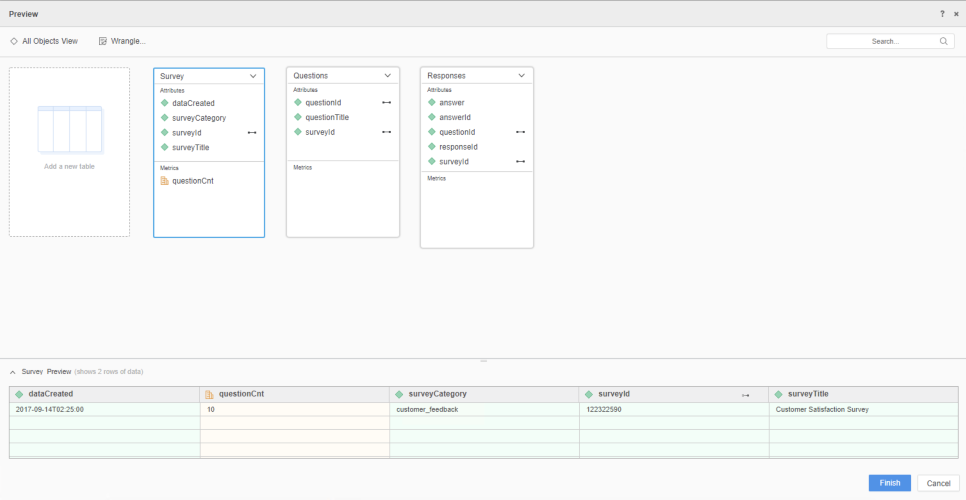
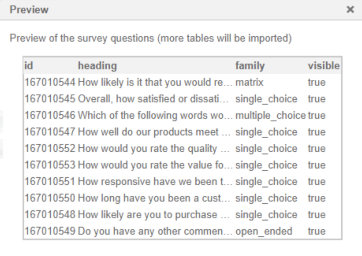
- Click Data Preview to preview the questions in the survey.
- Click Submit. A preview of your imported data appears.
- On the Preview dialog, wrangle your data and click Finish.