MicroStrategy ONE
Group Hierarchical Attribute Elements
You can group several hierarchical attribute elements to combine them into a single hierarchical element group.
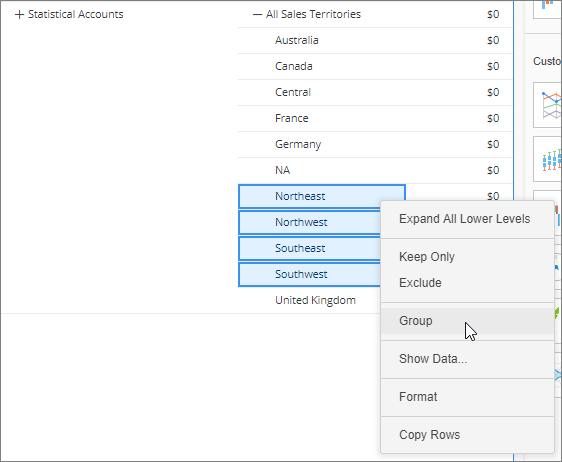
Group several states in the Southeast section of the United States into a group called Southeast.
- Select the hierarchical attributes you want to group. Press and hold the Ctrl key to select multiple attributes.
- Right-click the selected elements and choose Group.
- On the Group dialog, enter the name of the group in the Name field.
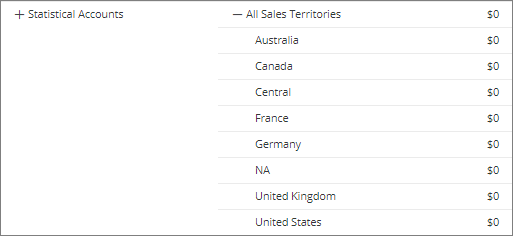
- Click Save. The group appears in the visualization, replacing the attribute elements you selected. The new element is placed under the earliest common ancestor.
- The grouped attribute
appears with a
 icon in the Datasets panel, by default. The attribute is renamed AttributeName
(Group), where AttributeName
is the attribute from which you selected elements. You can rename the
grouped attribute by right-clicking it in the Datasets panel, selecting
Rename, and entering the new
name.
icon in the Datasets panel, by default. The attribute is renamed AttributeName
(Group), where AttributeName
is the attribute from which you selected elements. You can rename the
grouped attribute by right-clicking it in the Datasets panel, selecting
Rename, and entering the new
name. - To remove a group, right-click it and choose Ungroup.
- To edit a group, right-click it and choose Edit Group.
When you create a derived element (such as a group) from a hierarchical element, the same underlying hierarchical element in the Filter panel (within the same chapter) is automatically replaced with the newly created derived element. The filtering conditions of the underlying hierarchical element are synchronized with the derived element.
If the hierarchical attribute is used within a filter and is not targeted at the visualization where the derived element is created (that is, different chapters), then the hierarchical element is not automatically replaced. You can manually replace the hierarchical element with the derived element by right-clicking it in the Editor panel and choosing Replace With.
Grouping functionality also exists for regular attribute elements. For more information on grouping non-hierarchical attribute elements, see Create an Element Group.