MicroStrategy ONE
Managing Multiple Subscriptions at Once with Developer
The Subscription Manager allows you to manage all the subscriptions for a project from one interface. It is a convenient, central location that displays every subscription, and allows you to filter on various criteria.
To access the Subscription Manager, log in to Developer and expand Administration, then Configuration Managers, and then select Subscriptions. For detailed information about the Subscription Manager, see the MicroStrategy Developer Help.
In Developer, the administrator can subscribe multiple MicroStrategy Mobile users to a single report at once, or subscribe a single user to multiple reports by using the Subscription Creation Wizard.
For more information about using the Subscription Creation Wizard, refer to the MicroStrategy Developer Help.
To Subscribe One or More Users to One or More Reports
- From the Administration menu, point to Scheduling and then select Subscription Creation Wizard. The Subscription Wizard opens.
- Review the information on the Introduction dialog box and click Next. The Specify Characteristics dialog box opens, as shown below:
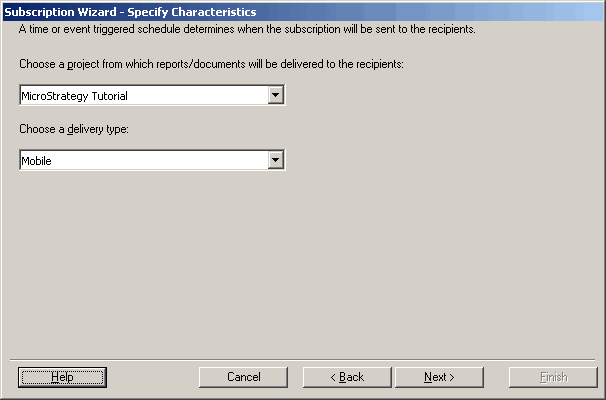
- From the Choose a project from which reports/documents will be delivered to the recipients drop-down list, select the project that contains the reports that you want to create a subscription to.
- From the Choose a delivery type drop-down list, select Mobile to send the report directly to the Mobile device, select Cache Update to update server side caches for reports and documents that use the pre-caching feature, or select History List to deliver the report to a Mobile device using the History List.
Use cache update subscriptions to update server side caches for your pre-cached reports and documents. For instructions on configuring the pre-cache option for reports and documents, see Configuring the Home Screen for iPhone and Android Phone or Configuring the Home Screen for iPad or Android Tablet.
- Click Next. The Choose Reports/Documents dialog box opens, as shown below:
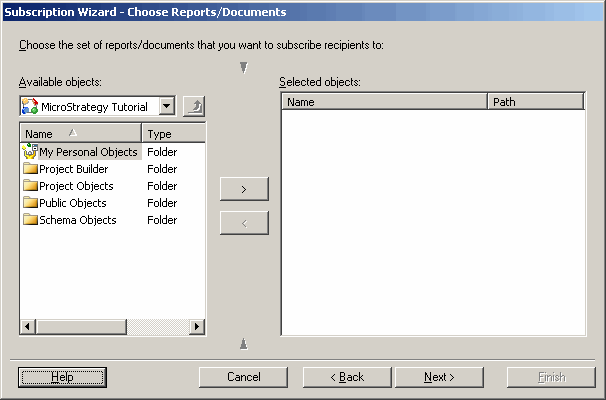
- Browse to the reports/documents to be delivered and click the right arrow to add them to the Selected objects. Click Next.
- Answer any prompts for the selected reports/documents.
You cannot schedule reports with prompts unless the report has default answers.
- Click Next. The Choose Recipients dialog box opens, as shown below:
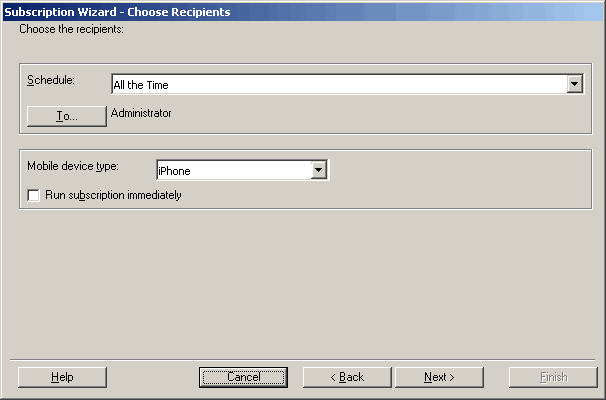
- From the Schedule drop-down list, select the schedule to execute the reports/documents.
- Click To... to open the Select Recipients dialog box, as shown below:
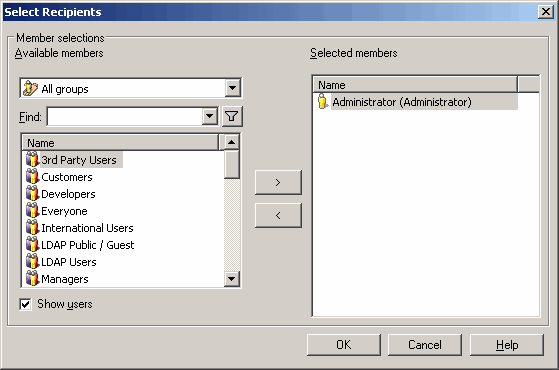
- Browse to the recipients of the subscription and click the right arrow > to add them to the Selected recipients. Click OK to return to the Subscription Wizard - Choose Recipients dialog box.
- If you are creating a history list subscription for a document, choose the form of export to generate from the Pre-generate export drop-down list. The options for this setting are an HTML page, a PDF document, or an Excel spreadsheet.
- If you are creating a Mobile delivery, from the Mobile device type drop-down list, choose Phone or Tablet.
- If you are creating a cache update subscription for pre-cached reports and documents, select either Phone or Tablet from the Delivery Format drop-down list.
- To send the report to the selected recipients immediately after creating the subscription, select the Run subscription immediately check box.
- Click Next. The Specify Subscription Properties dialog box opens, as shown below:
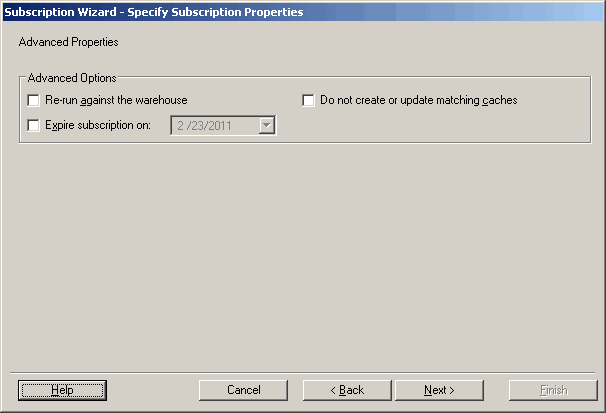
- Specify your subscription properties as follows:
Depending on the reports or documents selected, one or more options may be grayed out and unavailable. For details on these options and when they are available, see the System Administration Help.
- To configure a date when the subscription will stop sending reports, select the Expire subscription on check box and select a date.
- If you are creating a History List delivery, you can have an automated delivery notification email sent when the report is delivered. To do this, select the Send notification to default email address of each recipient check box.
- If you are creating a History List delivery, to ensure that previous versions of the report in the recipients' delivery location are replaced with the most recent version, select the The new scheduled report will overwrite older versions of itself check box. If this check box is not selected, the older versions remain.
- To ignore any existing report or document caches and ensure that the report or document always has the latest data, select the Re-run against the warehouse check box.
- To update History List caches and not Matching caches, select the Do not create or update matching caches check box. For an explanation of Matching and History caches, see the Caching chapter of the System Administration Guide.
- Click Next. The Summary dialog box opens.
- Review the settings and click Finish. The subscription is created and available for viewing in the Subscription Manager.
