Strategy ONE
Formatting the border or background of a document or layout
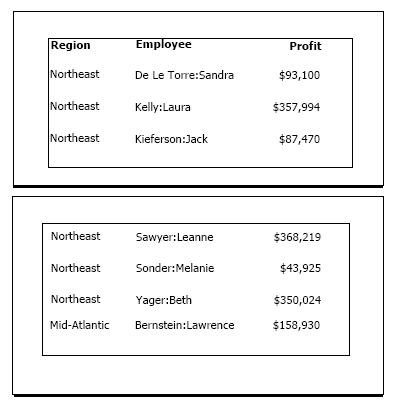
You can format the border or background of a document for a more professional-looking presentation. The document's border extends around the printable area on each page of the document. The two pages of the sample document displayed below show a document border.
While the sample document border shown above is a thin black line around the entire border, other border line options include thick, hairline, dotted, dashed, and double. You can change the color of the border. You can also apply the border to one or more sides of the document.
If the document contains multiple layouts, you can format the border and background of each layout.
To format the border and background of a document or layout
-
In MicroStrategy Web, open the document in Design or Editable Mode.
-
From the Tools menu, select Document Properties. The Properties dialog box opens.
-
From the left, select Color and Borders.
-
From the Fill drop-down list, select a color for the background of the entire document.
-
To format the borders, select one of the following options from the Borders area:
-
None: Select this to remove the entire border.
-
All: Select this to display borders for all sections of the document.
-
Custom: Select this to customize borders using the drop-down lists.
-
-
Click OK to apply the changes and return to the document.
The section color takes precedence over the document/layout color. For steps to define the color of a document section, see Formatting the background color of document sections.